As an Amazon Associate, we earn from qualifying purchases. Some links may be affiliate links at no extra cost to you. Although our opinions are based on curated research, we haven't used these products. Articles generated with AI.
How to Repair a Horn Speaker in 3 Simple Steps
Repairing a horn speaker typically involves three key steps: diagnosis, disassembly, and replacement. First, use a multimeter set to Ohms to check the diaphragm’s resistance (approximately 5.8 Ohms for an 8-ohm speaker) and test functionality with a 1.5-volt battery. Next, remove the three screws securing the diaphragm cover and inspect for damaged wires or connections. Finally, install a replacement diaphragm with matching resistance values, test again, and reassemble carefully. The complete repair process reveals additional troubleshooting techniques for persistent issues.
Key Takeaways
- Remove the diaphragm cover by carefully unscrewing the three securing screws with even pressure.
- Test the diaphragm using a multimeter to check for proper resistance (approximately 5.8 Ohms for 8-ohm speakers).
- Verify functionality by briefly connecting a 1.5-volt battery to the terminals to produce sound.
- Replace damaged diaphragm with a matching unit if tests reveal broken connections or abnormal resistance.
- Reassemble the horn speaker by securing the diaphragm cover with the original screws, avoiding overtightening.
Inspecting and Diagnosing Horn Speaker Issues
Diagnosing a malfunctioning horn speaker requires systematic inspection to identify the root cause of issues. Technicians should begin by using a multimeter set to the Ohm range to check continuity across the diaphragm, which can reveal broken connections that might later require a soldering iron to repair. When a speaker produces no sound, removing the three screws that secure the diaphragm cover provides access for visual examination of internal components.
Testing the diaphragm with a brief 1.5-volt battery connection helps verify functionality while avoiding potential coil damage from prolonged current exposure. Resistance measurements should be compared against reference values—for instance, an 8-ohm speaker typically measures approximately 5.8 Ohms when functioning properly. Careful documentation of any physical abnormalities, such as previously repaired wires that have failed, guarantees accurate diagnosis before proceeding with repairs. Additionally, verify that the speaker achieves a frequency response matching industry standards to ensure clear audio output during testing.
Disassembling the Speaker and Replacing the Diaphragm
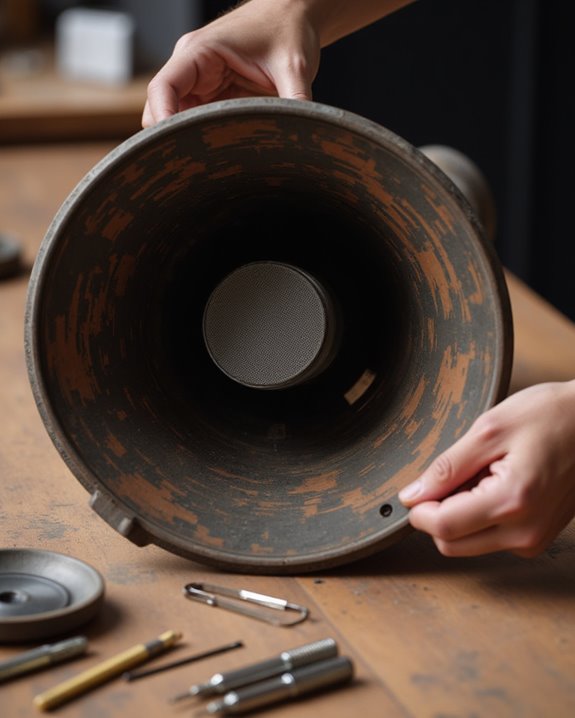
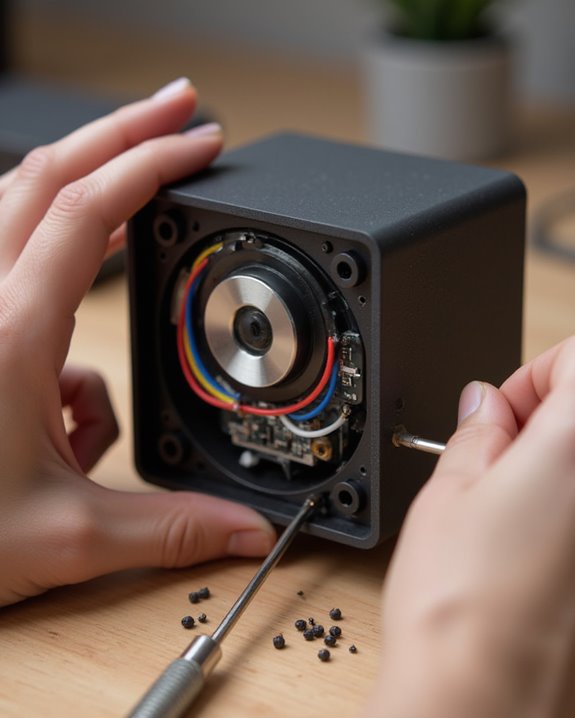
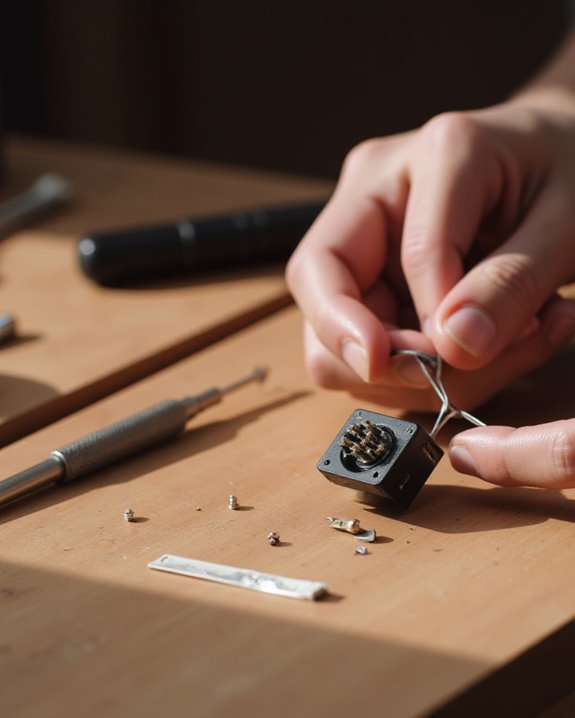
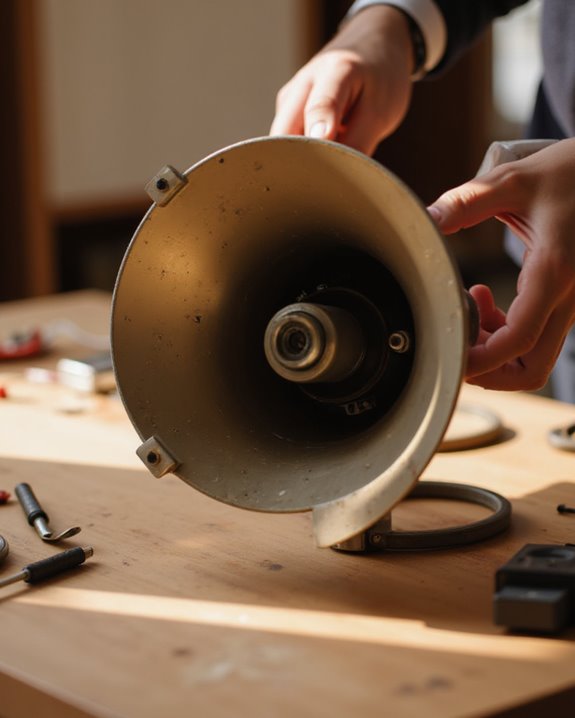
Three critical steps form the foundation of proper horn speaker disassembly when replacing a damaged diaphragm. First, locate and remove the three screws that secure the diaphragm cover, guaranteeing even pressure on both the left and right sides during removal to prevent warping the housing. Next, carefully examine the existing diaphragm for damaged wires or previous repair attempts that may have been improperly executed.
After purchasing a replacement diaphragm with a verified 5.8 Ohm reading, install it by securing it firmly in position. Before completing reassembly, conduct an immediate functionality test using a 1.5 volt battery; this vital verification guarantees the diaphragm produces sound. If no sound emerges during testing, inspect all connections between the left and right terminals before proceeding with final reassembly.
Testing and Reassembling Your Repaired Horn Speaker
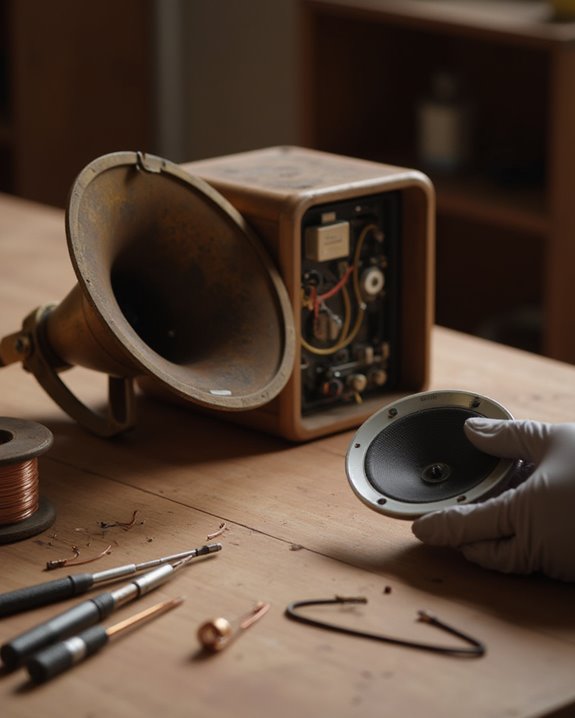
Once the new diaphragm has been properly installed, rigorous testing must be conducted to confirm successful repair before final reassembly of the horn speaker. Connect a 1.5-volt battery briefly to the speaker terminals for a few seconds; a clearly audible sound indicates successful repair without any further adjustments needed. For verification, technicians should measure the diaphragm with a multimeter set to the Ohm range, confirming a reading of approximately 5.8 for an 8-ohm speaker.
If pressing the battery against the terminals produces no sound, further diagnosis is required before proceeding with reassembly. Once testing confirms proper functionality, reassemble the speaker by replacing the diaphragm cover and securing it with the original three screws, following the disassembly steps in reverse order, being careful not to overtighten any button or component.
Frequently Asked Questions
How to Repair the Speaker?
To repair a speaker, one should test continuity with a multimeter, disassemble by removing screws, replace the damaged diaphragm, verify functionality with a battery test, and reassemble. Regular maintenance tips include continuity checks.
What Are the Parts of a Speaker Horn?
A speaker horn consists of a diaphragm for vibration, wires for electrical connectivity, screws with washers for assembly, and structural components like cones or rims often made from pressed paper or paper mache horn materials.
How Do Horn Speakers Work?
Essentially, horn speakers work by converting electrical signals through a vibrating diaphragm. The horn shape leverages acoustic principles to amplify and direct sound waves, improving efficiency and projection compared to conventional speakers.
How to Repair a Small Speaker Cone?
Repairing a small speaker cone requires sanding damaged areas, applying speaker glue to weakened sections, filling with spackling compound, and finishing with primer and paint to match the original surface texture and appearance.