Tweeter repair begins with accurate damage diagnosis, checking for dented domes, voice coil issues, or wire breaks. Physical damage can be fixed using gentle vacuum suction, hair dryer heat application, or adhesive-pulling techniques with masking tape. Electrical failures require multimeter testing, with 8.6 ohms on a 4-ohm tweeter indicating potential problems. Voice coils demand especially careful handling during repairs, and proper disassembly involves methodical grille removal and component inspection. Proper volume management and switch engagement practices can prevent future tweeter damage.
Key Takeaways
- Use gentle vacuum suction on low settings to restore dented tweeter domes without damaging the diaphragm.
- Apply heat with a standard hair dryer to increase dome material pliability before attempting dent repair.
- Test tweeter functionality with a multimeter, checking resistance against manufacturer specifications (8.6 ohms on a 4-ohm tweeter indicates damage).
- Bridge wire breaks or resolder disconnected lead wires to resolve electrical failures in the voice coil.
- Perform comparative diagnostics between functional and malfunctioning tweeters using frequency sweep tests to detect irregularities.
Identifying Common Tweeter Damage Types
Damage assessment serves as the critical first step in any tweeter repair process. Technicians must examine tweeters for physical dents on the dome, which commonly occur from impact damage and cause noticeable distortion in high-frequency reproduction. Voice coil issues represent another prevalent failure mode, typically manifesting as overheating or wire breaks that interrupt electrical continuity.
To properly diagnose voice coil problems, one would find continuity testing particularly effective, though make sure to approach with caution when prying up the diaphragm for visual inspection, as this could permanently alter performance characteristics. Amplifier-related damage presents additional complexity, especially when underpowered units create distortion that overwhelms the tweeter’s capacity. Experienced technicians routinely observe mismatched impedance issues, where tweeters rated for specific ohm values operate outside their designed parameters, leading to premature failure.
Essential Tools and Materials for Repairs
Once a technician has identified the specific tweeter damage, preparing the correct repair tools becomes the next priority. Years ago, audio repair specialists developed techniques requiring precise instruments for delicate dome manipulation. Let’s see what equipment proves essential for successful restoration.
A vacuum cleaner with adjustable suction settings provides controlled dent removal without risking further damage. A standard hair dryer serves as a gentle heat source to soften dome materials, making them more pliable during repairs. Adhesive materials like masking tape or Blu-Tac create the necessary pulling force for dent extraction. For hands-free approaches, a cardboard roll wrapped in cling wrap enables safe mouth suction techniques. Finally, soldering equipment remains indispensable for connecting lead wires to tweeter terminals during diaphragm replacement, ensuring proper isolation to prevent electrical shorts.
Diagnosing Voice Coil and Diaphragm Issues
When addressing tweeter performance problems, accurately diagnosing voice coil and diaphragm issues becomes the critical first step before attempting any repairs. Technicians should begin with resistance measurements using a multimeter, comparing readings against manufacturer specifications—a reading of 8.6 ohms on a 4-ohm tweeter suggests potential damage from Environmental Impacts such as overheating or physical wear. The Historical Evolution of diagnostic techniques now includes visual inspection for diaphragm deformations, which often result from excessive volume or impact.
Comparative Diagnostics between functional and malfunctioning tweeters helps identify issues like continuity problems, indicating open circuits within the voice coil. Frequency sweep tests reveal vibration irregularities that point to misalignment issues, while careful examination of lead wires may uncover shorting concerns that contribute to overheating and subsequent diaphragm failure.
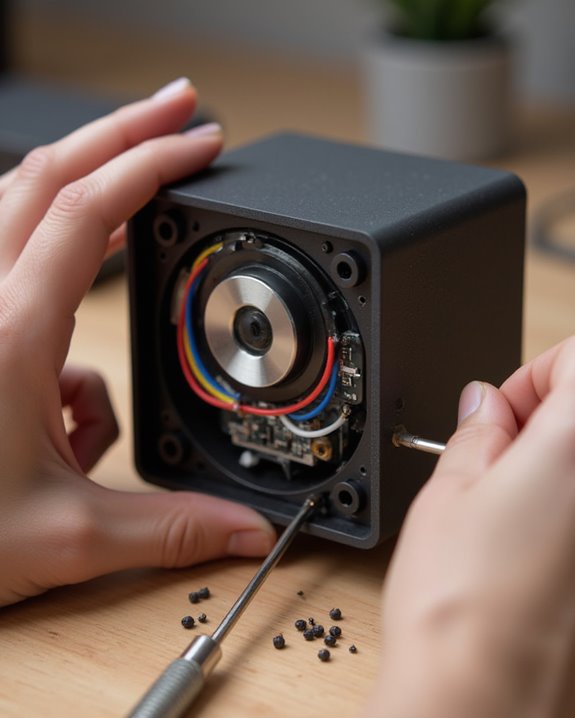
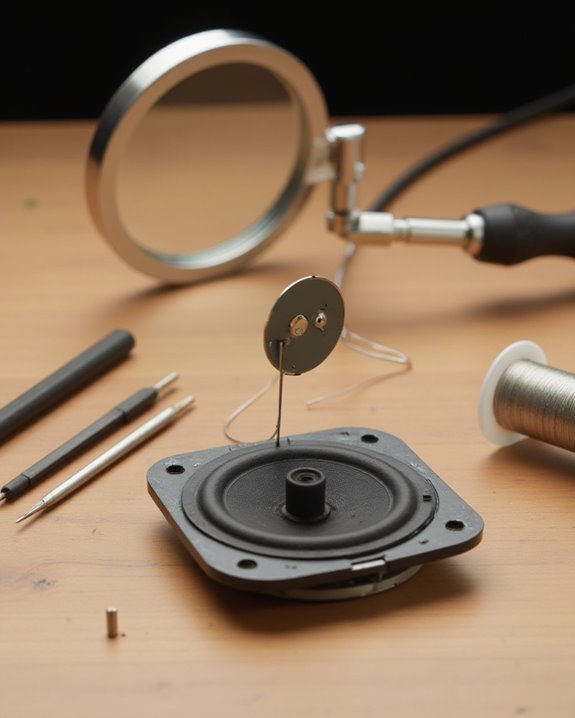
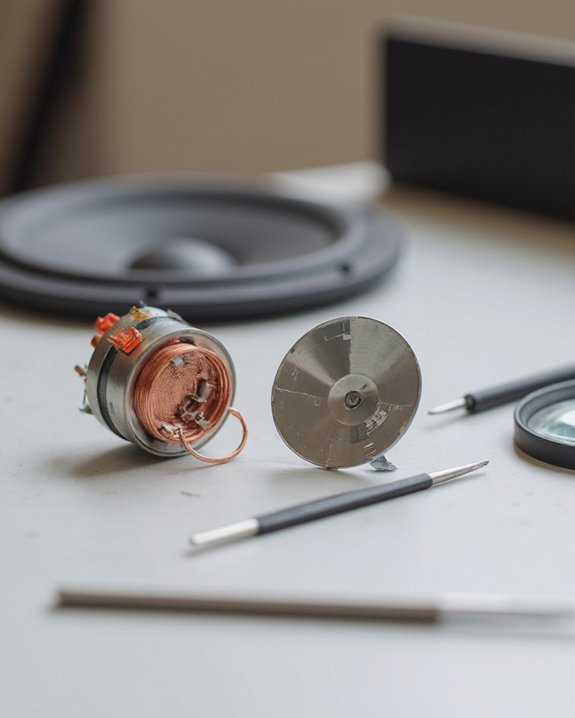
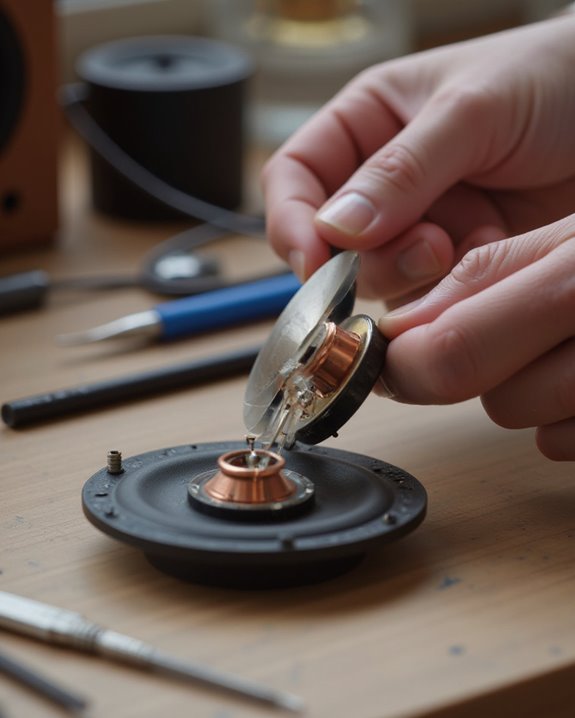
Step-by-Step Tweeter Disassembly Guide
Proper disassembly of a tweeter speaker requires methodical attention to detail and a gentle touch to avoid damaging delicate components. Following Acoustic Principles during disassembly preserves the speaker’s integrity, beginning with removal of the protective grille to access the tweeter assembly. A considered Design Philosophy guides technicians to carefully pry the diaphragm from its face plate using appropriate tools, taking care to protect the voice coil from damage.
The next critical steps involve disconnecting lead wires from terminals, ensuring they remain isolated from the magnet gap to prevent shorting—a reflection of sound Material Choices in high-frequency driver construction. Technicians should then unscrew or unclip the tweeter unit, noting original positioning for reassembly. Following removal, thorough inspection of the magnet assembly and component testing with a multimeter completes the disassembly process.
Repairing Dented Domes and Physical Damage

Dented domes represent one of the most common physical issues affecting tweeter performance, requiring specialized techniques that respect the delicate nature of these components. Using gentle vacuum suction on low power settings often restores the dome’s original shape, particularly effective on models like Proac 1SC tweeters when proper care is taken during the process.
Dome heating with a hair dryer before attempting repair softens the material, making it more pliable and reducing risk of further damage during the restoration process. The adhesive pulling technique, utilizing masking tape or Blu-Tac, offers another solution by creating controlled tension on the dented area. For difficult cases, mouth suction through a cardboard roll wrapped in cling film provides a precise suction technique, giving users direct control over pressure application without risking electrical components.
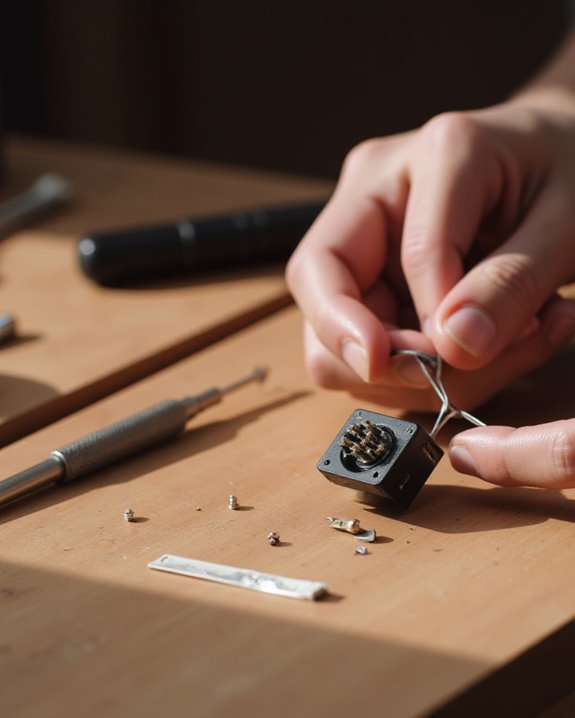
Resolving Electrical Failures and Wire Breaks
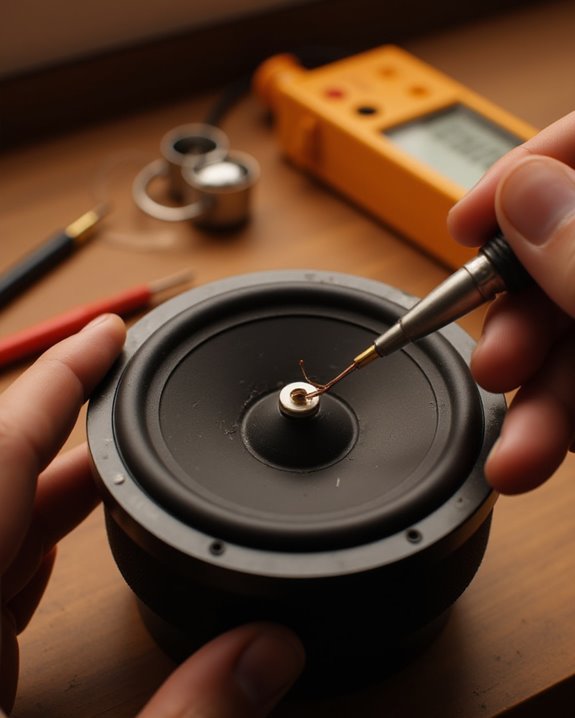
Electrical failures in tweeter speakers typically manifest through intermittent sound, complete silence, or distorted audio, requiring systematic diagnosis and precise repair techniques. When wire breaks are detected, technicians can salvage the component by carefully prying up the diaphragm and bridging the breaks, though this may affect acoustic upgrades due to the voice coil’s delicate nature. For terminal issues, direct soldering of lead wires to the tweeter’s back terminals resolves connectivity problems while avoiding heat damage that could melt vital components.
Preventing shorts through signal boosting circuits requires isolating wires from metal parts, often accomplished by applying black tape to edges. After component swapping or repairs, verification through ohm readings (such as confirming 8.6 ohms versus manufacturer specifications) and continuity testing during frequency sweeps guarantees proper function and prevents future electrical failures.
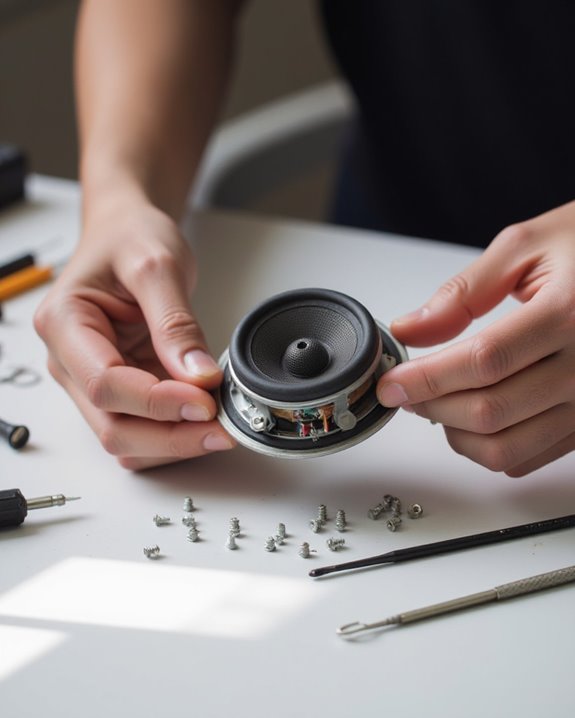
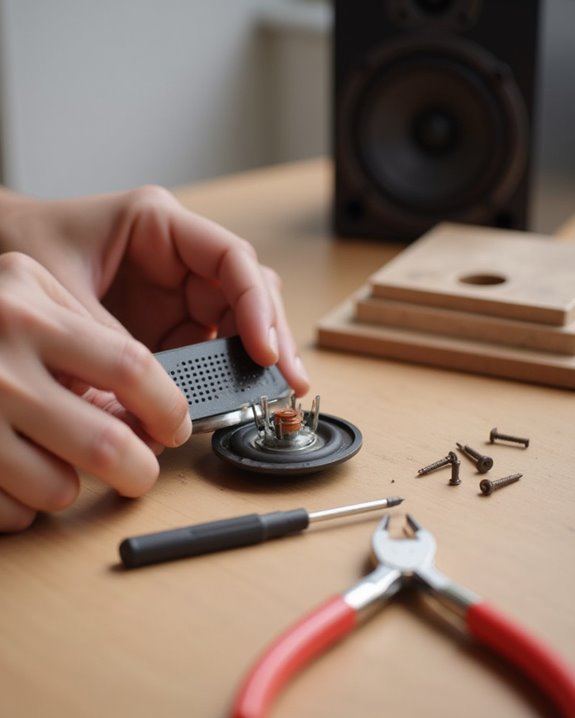
Proper Reassembly Techniques
Following successful diagnosis and repair of electrical faults, successful reassembly of tweeter speakers requires methodical attention to component alignment and connection security to restore ideal functionality. Surface preparation begins with centralizing the coil on the face plate, creating proper alignment before placing the magnet on top. Technicians must insert a gasket to isolate lead wires from the magnet gap, preventing potential shorts. Adhesive bonding of black tape along wire edges provides additional isolation from metal components, enhancing electrical integrity during operation.
When soldering lead wires to terminals, maintain appropriate heat control to prevent melting components, ensuring both terminal prongs remain intact. After confirming circuit continuity through testing, trim excess wires for a clean finish. Finish polishing completes the process, with all components securely fitted according to HF1000 repair specifications.
Testing and Preventing Future Damage
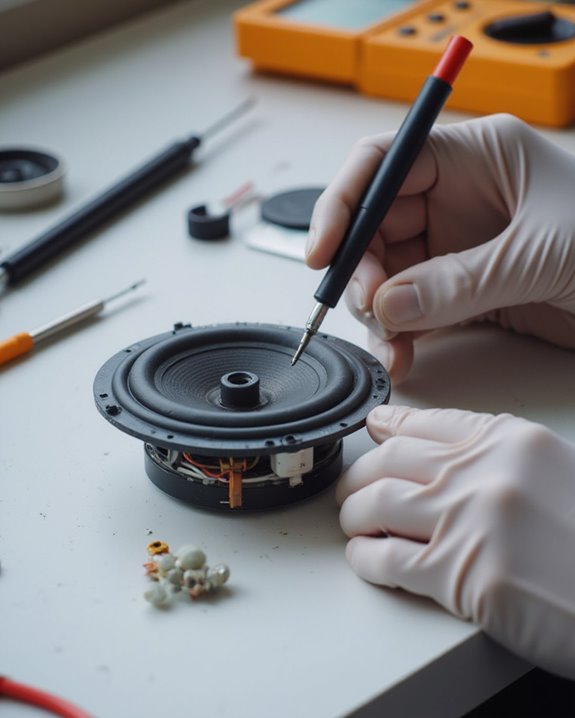
Once a tweeter speaker has been properly reassembled, thorough testing becomes the next step in verifying repair success. Technicians should first measure the tweeter’s resistance using a multimeter, confirming it matches specifications like the 8.6 ohms commonly found in HF1000 units, followed by a continuity test to detect any shorts or breaks in the circuit. A thorough frequency sweep test will verify the tweeter vibrates correctly across its intended range.
For lasting Protection against future damage, proper Power Regulation becomes essential. Installing protective components such as fuses or thermistors, available from suppliers like Parts Express, provides essential Surge Protection for the delicate voice coils. Equally important is Usage Training for listeners, emphasizing the importance of engaging speaker switches before increasing volume rather than starting at maximum levels, which commonly leads to overheating and failure.
Frequently Asked Questions
Can a Speaker Tweeter Be Repaired?
In a world of disposable tech, tweeters offer surprising Repair Success. Some damages allow intimate DIY fixes, while severe issues require professional service. Warranty Options exist, with replacements sometimes offering Upgrade Benefits.
How to Tell if a Speaker Tweeter Is Blown?
To identify a blown tweeter, listen for sound symptoms like distorted or absent highs. Perform a visual inspection for physical damage to the dome. Conduct audio testing with frequency sweeps to confirm proper vibration response.
How to Repair Pushed Tweeter?
Repairing a pushed tweeter requires gentle dome alignment using specialized fixing tools. One can apply controlled suction with a vacuum or use careful mouth technique. Various glue types may secure the dome after restoration.
What Causes a Tweeter to Fail?
Like fragile crystal shattered by a careless touch, tweeters fail primarily from usage errors: excessive volume, underpowered amplification, or improper settings. Heat exposure from overdriven voice coils and inherent design flaws also contribute to their demise.
What Kills Tweeters?
Tweeters succumb to multiple threats: overheating risks from excessive power, moisture effects that compromise delicate components, and frequency issues when pushed beyond limits. Underpowered amplifiers, excessive volume, and improper handling ultimately destroy these sensitive components.