Repairing a Pioneer speaker involves three key steps: diagnosis, component replacement, and reassembly. First, test for absent high frequencies using a portable wire setup or multimeter to identify faulty components. Next, carefully disassemble the speaker by removing the grill and back panel to access and replace damaged capacitors or drivers. Finally, reassemble the unit, ensuring all screws are properly tightened, and test sound quality using the paper towel roll method. The following detailed instructions will transform this complex repair into a manageable project.
Key Takeaways
- Diagnose speaker issues using portable test wire and multimeter to check for absent frequencies and continuity.
- Remove front grill and back panel by unscrewing 14 screws to access internal components.
- Identify and replace faulty components like capacitors by soldering new parts with matching specifications.
- Clean corroded connection points and secure loose components with appropriate adhesive.
- Reassemble speaker carefully, allow adhesives to dry, then test using paper towel roll method for sound quality.
Diagnosing Sound Issues in Your Vintage Speakers
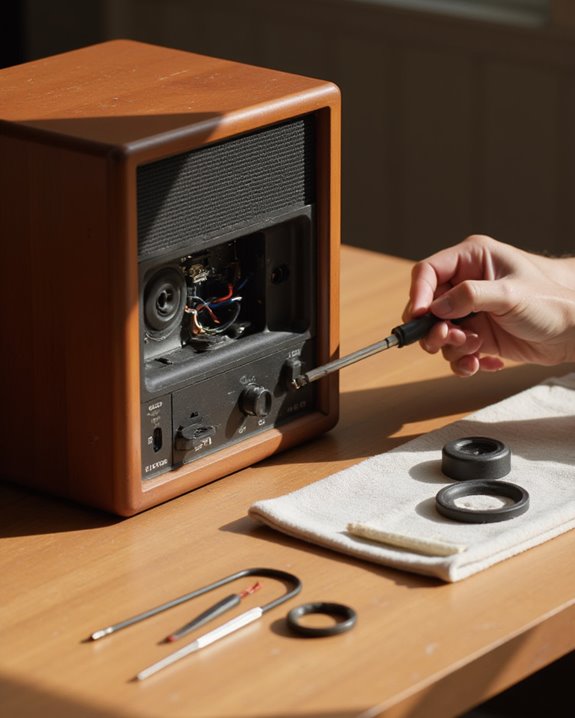
When approaching the repair of vintage Pioneer speakers, proper diagnosis forms the critical first step toward successful restoration. Technicians should begin with a portable test wire connected to a phone, which quickly reveals if high frequencies are absent or if the sound appears muffled. This initial check can be performed with a simple two wire setup, typically using blue and white wire connections that work in either direction.
For more thorough testing, the paper towel roll method isolates tweeter sounds while a battery and foil test checks for proper driver response. Before proceeding with repairs, use a multimeter to test continuity across speaker terminals, and gently scrape any corroded connection points to guarantee clean contact. Allowing the speaker to sit disconnected for several hours before reattaching wires often provides additional diagnostic clarity.
Disassembling and Replacing Faulty Components
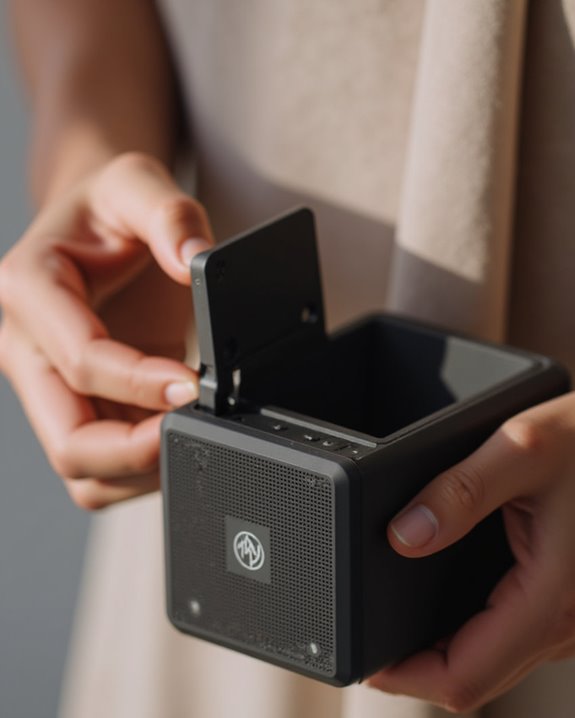
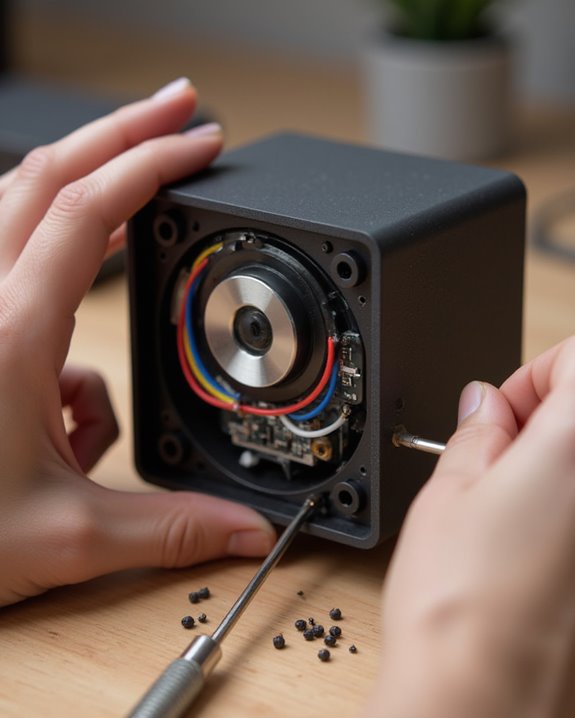
Once the diagnostic procedures have identified faulty components in a Pioneer speaker, proper disassembly becomes necessary for effective repair. For Pioneer CS77A models, technicians should begin by removing the front grill attached with velcro pads, then use a drill driver to remove the 14 screws securing the back panel, being careful to avoid damaging staples.
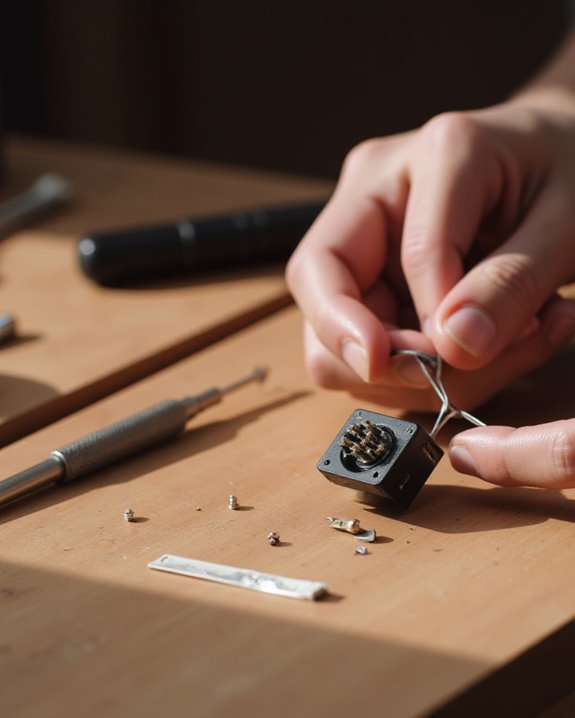
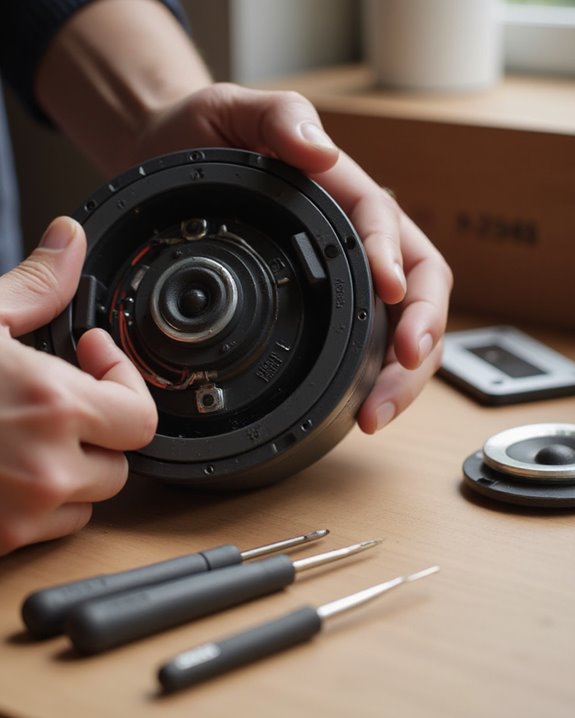
To access the crossover board, remove the two sets of screws and disconnect speaker wires by unclipping one end of each connection. When replacing capacitors, a soldering iron helps melt the solder around old components after cutting through any securing glue. Make sure to install non-polarized replacements that match specifications. For tweeter or woofer repairs, completely vacuum old foam surrounds before applying new adhesive. After installation, secure all components to prevent vibration and verify correct wiring connections.
Reassembly and Sound Testing for Optimal Performance
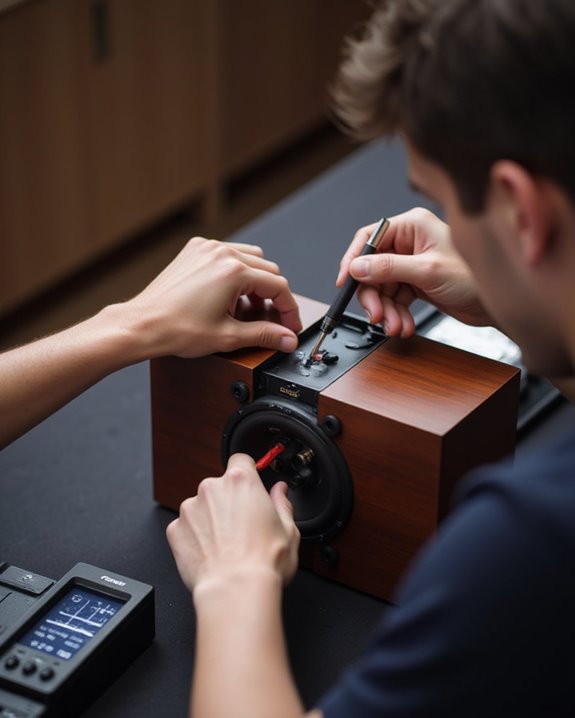
Carefully reassembling Pioneer speakers represents a critical final stage in the repair process, requiring methodical attention to detail for ideal acoustic performance. When securing the back panel, technicians must reattach all fourteen screws using a drill driver to save time, while taking care to properly handle any staples present. Keep in mind that adhesives need several hours to dry completely before testing begins.
Sound testing involves two distinct phases: initial verification with a portable test wire and thorough assessment using the paper towel roll method. Every time a technician tests a rebuilt speaker, they should check for muffled sound or missing frequencies that indicate remaining issues. Technicians who’ve got two tone selector knobs should adjust highs by 2 dB and mids by 1.5 dB for ideal balance, then verify using jazz recordings for authentic sound reproduction. Additionally, ensuring the repaired speaker achieves precise sound reproduction through balanced components can significantly improve overall audio clarity.
Frequently Asked Questions
How to Repair the Speaker?
Speaker repair involves proper speaker testing methods, consulting wiring diagrams, applying adhesive techniques for component attachment, maintaining tools for precision work, and following repair safety protocols when replacing capacitors and handling electronic components.
Why Are My Pioneer Speakers Not Working?
Just as professionals diagnose complex problems, Pioneer speaker issues likely stem from wiring faults, input issues, compatibility errors, or environmental noise. Check electrical connections, capacitors, foam surrounds, and tweeter functionality before attempting repairs.
How to Fix a Blown Speaker Without Replacing It?
Blown speakers can be revived through speaker reconing, cone patching, or adhesive restoration. DIY sealing of tears with specialized glue preserves functionality, while preventive wiring adjustments protect against future damage without replacement.
How to Fix Sound Speaker Problem?
Sound speaker problems can be resolved through Audio Calibration, checking Power Supply connections, performing Firmware Updates if applicable, improving Room Acoustics with proper placement, and eliminating Signal Interference from nearby electronic devices.