Repairing a radio speaker involves three key steps: first, diagnose the problem by playing music at medium volume while listening for distortion or examining the cone for visible damage. Second, clean components with rubbing alcohol and repair minor tears using a 1:1 mixture of white glue and water. Finally, test the speaker at low volume after allowing adhesives to dry completely, gradually increasing volume to confirm proper function. The following detailed instructions will help restore ideal sound quality with minimal tools.
Key Takeaways
- Diagnose speaker issues by playing music at medium volume to detect crackling, muffling, or absent vibrations.
- Clean speaker components with rubbing alcohol and carefully inspect the cone for tears or deteriorating foam.
- Apply a 1:1 mixture of white glue and water to repair minor cone tears before they worsen.
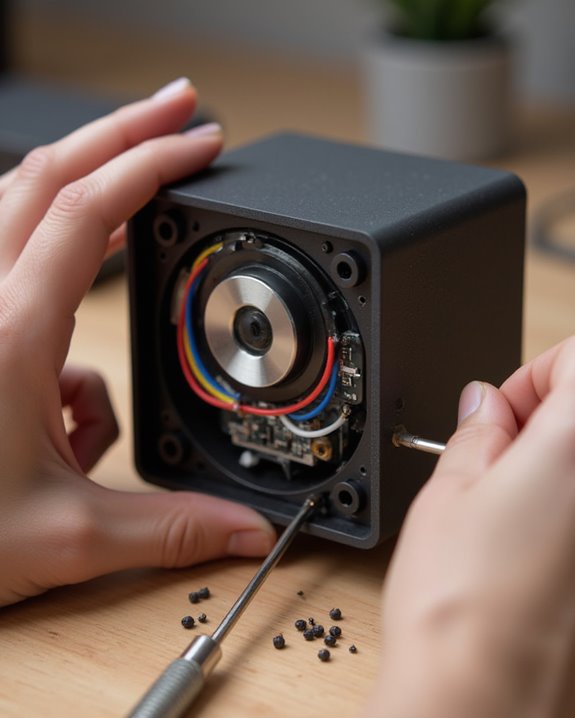
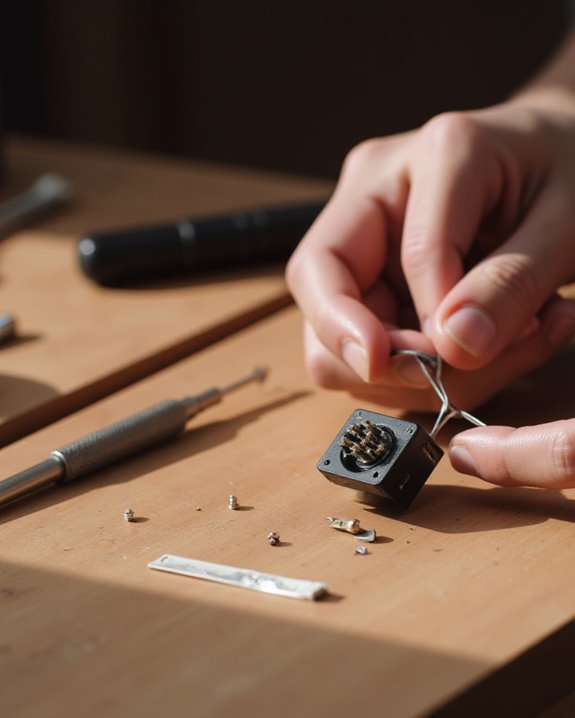
- Replace damaged voice coils and spiders by accessing internal components through mounting hardware.
- Test repairs gradually at low volume, allow adhesives to dry completely, and secure all mounting screws.
Diagnosing the Radio Speaker Problem
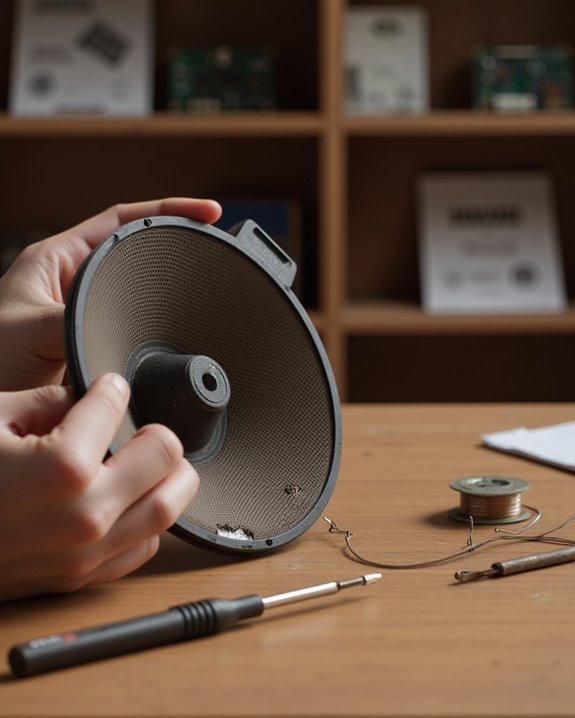
Identifying the root cause of a malfunctioning radio speaker requires systematic troubleshooting before attempting any repairs. Technicians should first play a familiar song at medium volume, listening carefully for muffled sounds, crackling, or rattling that indicate internal damage. These sound quality issues often suggest a blown speaker or damaged voice coil.
Next, inspect the speaker visually for physical defects, examining whether the speaker cone is damaged through tears, holes, or deteriorating foam surrounds. Test the speaker at higher volumes while adjusting equalizer settings to isolate which frequency ranges produce distortion. If the speaker operates at low volume but distorts when increased, this typically indicates cone damage or voice coil misalignment. A properly functioning speaker should produce vibrations; units without sound or vibration may have detached voice coils or broken connections requiring immediate repair.
Repairing Damaged Speaker Components
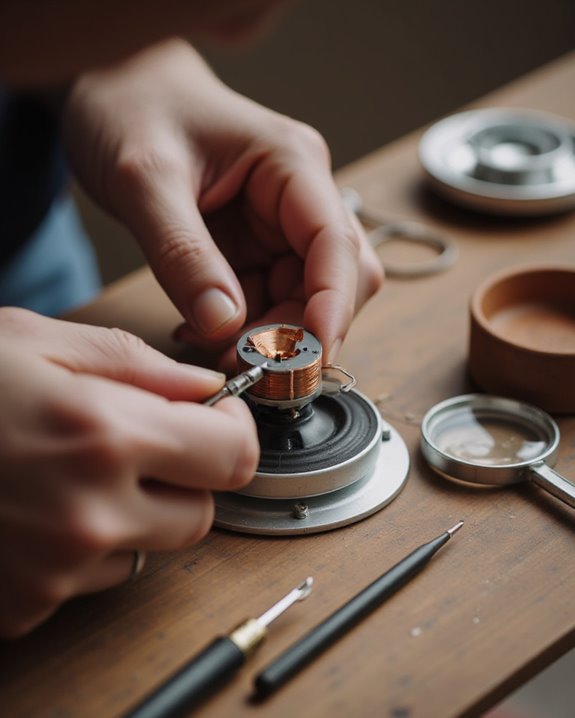
When faced with a malfunctioning radio speaker, technicians can often restore functionality through targeted repairs of specific components. Professional repair begins with cleaning the speaker cone using rubbing alcohol and cloth to remove dust that could affect adhesion. For minor tears, a simple mixture of white glue and water (1:1 ratio) applied with a paintbrush can address wear and tear without further damage to the speaker.
More extensive repairs involve replacing deteriorated surrounds by measuring speaker diameter for correct sizing, carefully removing old components without disturbing wires attached to the frame, and applying PVA glue around the new surround. Damaged voice coils require accessing internal components by unscrewing mounting hardware, replacing the faulty coil, and securing it with a new spider. After repairs, proper reassembly and testing with familiar audio guarantees the electronic devices function correctly.
Testing and Finalizing Your Speaker Repair
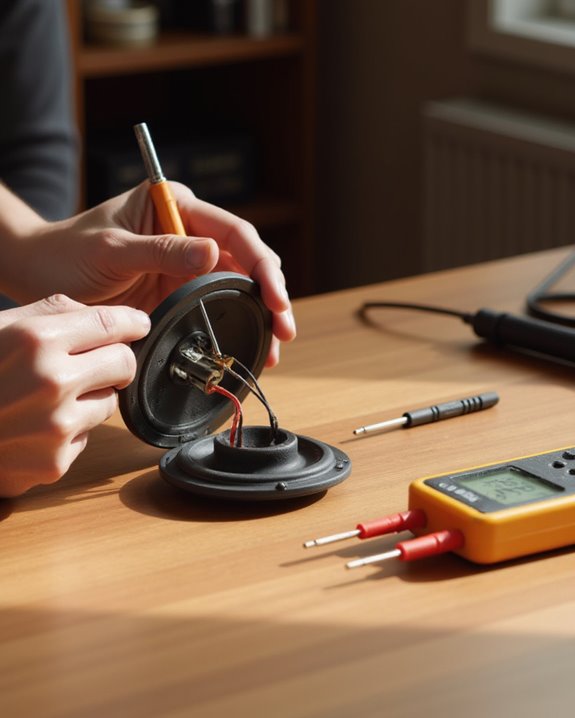
Finalizing a radio speaker repair requires thorough testing to verify proper functionality before returning the device to regular use. After completing repairs to Fix a Speaker or Repair a Blown component, wait several hours or ideally overnight for any adhesives to fully dry. Make sure to test with a familiar song played at low volume (3-4 out of 10) to detect any remaining distortion or crackling issues, ensuring the accuracy of your repair assessment.
If buzzing persists, tighten all mounting screws securely, making sure each is flush and stable. Clean any residue with rubbing alcohol using a lint-free cloth to maintain clear and crisp sound quality. Avoid playing at high volumes initially while evaluating the listening experience. Once satisfactory performance is confirmed, replace the speaker grill and reattach covers. Consulting your model number to find a manual can provide additional testing guidance. For optimal results, consider sound quality optimization techniques from device integration resources to enhance your speaker’s overall performance.
Frequently Asked Questions
How to Repair the Speaker?
Over 70% of speaker failures are repairable. Speaker repair involves fault diagnosis through visual inspection, connection repair of torn cones using glue, surround replacement with proper adhesives, and signal testing after maintenance to verify vibration fix success.
What Are the 3 Main Parts of a Speaker?
The three main parts of a speaker include the cone (diaphragm aspects), the voice coil (electromagnetic mechanisms), and the surround (suspension benefits). These critical speaker elements work together to transform electrical signals into audible sound waves.
How to Make a Speaker Step by Step?
SpeakerBuilding requires careful MaterialSelection and DesignConcepts. AssemblyProcess includes attaching voice coil to cone, securing surround, and implementing proper WiringTechniques. Finalize with EnclosurePlans, followed by TestingMethods for SoundOptimization during PrototypeCreation and IntegrationIdeas.
How to Fix a Blown Speaker Without Replacing It?
While most assume blown speakers are terminal, savvy Sound Symptoms diagnostics can lead to resurrection. Applying glue-water mixture to torn cones, reattaching voice coils, and cleaning surrounds are proven Speaker Troubleshooting and Maintenance Hacks for Audio Prevention.