Repairing a speaker coil involves three essential steps: diagnostics, replacement, and verification. First, identify damage through audio testing and visual inspection, listening for rattling or checking for thermal discoloration. Next, carefully remove the damaged voice coil by disconnecting power, removing mounting screws, and separating components with appropriate tools. Finally, install the new voice coil precisely in the magnetic gap, secure with adhesive, and test performance gradually with bass-heavy music. Proper technique guarantees ideal sound restoration without further component damage.
Key Takeaways
- Power off and remove the speaker, then carefully scrape away glue around the cone edge with a sharp tool.
- Precisely inspect for thermal damage shown by discoloration and separate the cone from the damaged voice coil.
- Clean all surfaces thoroughly with rubbing alcohol on a paper towel before installing the new voice coil.
- Insert the new voice coil into the magnetic gap using a paper shim for proper alignment to prevent scraping.
- Allow adhesives to cure completely before testing with bass-heavy music at gradually increasing volumes.
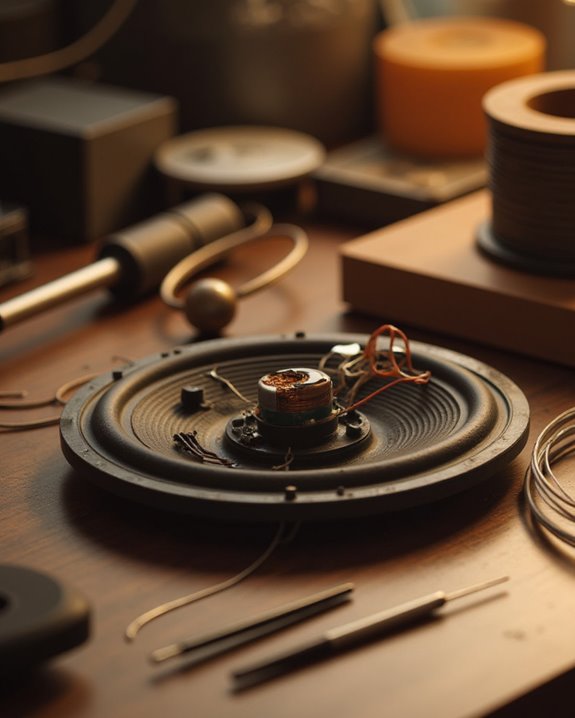
Diagnosing Speaker Coil Damage
Detection of speaker coil damage requires careful attention to audio performance and physical characteristics. When evaluating a potentially damaged voice coil, users should play familiar songs at varying volumes, listening specifically for rattling, crackling, or muffled speaker sounds that indicate coil detachment or overheating damage. The cone and surround should vibrate normally during operation; absence of movement suggests the voice coil may be compromised.
Visual inspection is equally important, focusing on the dust cap and the edge of the speaker for signs of thermal damage. The old surround may show discoloration where temperatures have reached up to 400°F, potentially damaging the cone or melting internal components. Testing with proper power levels is essential, as excessive DC voltage from an overdriven amplifier can damage the speaker by burning the voice coil like a filament.
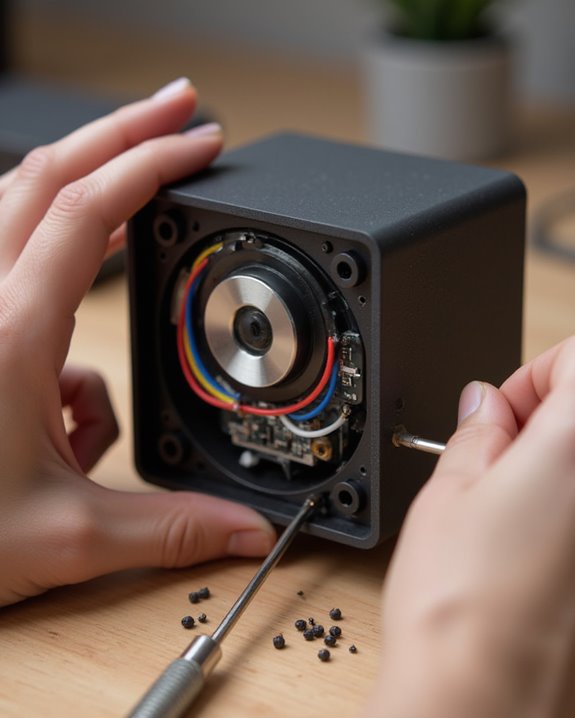
Removing and Replacing the Voice Coil
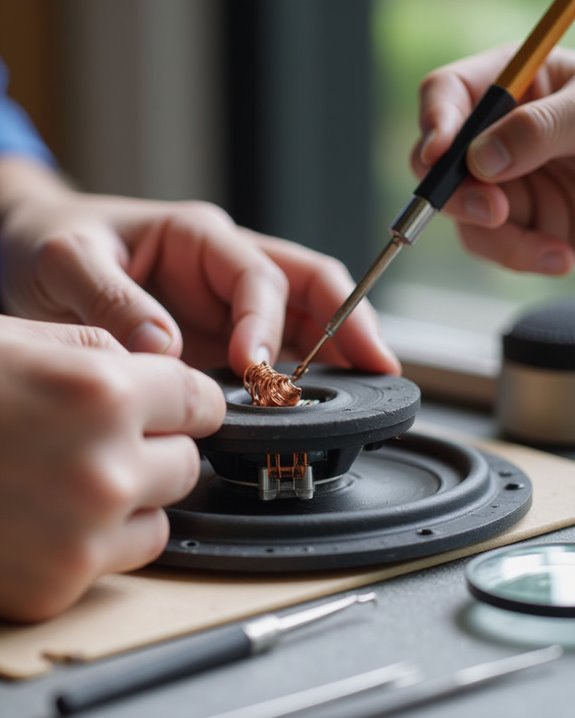
Once a damaged voice coil has been identified through audio testing and visual inspection, the repair process can begin with careful removal of the compromised component. First, technicians should power off the speaker and remove mounting screws to isolate the internal components. Using a razor blade or similar sharp tool, they must carefully scrape away the glue around the speaker cone edge to separate the cone from the damaged voice coil.
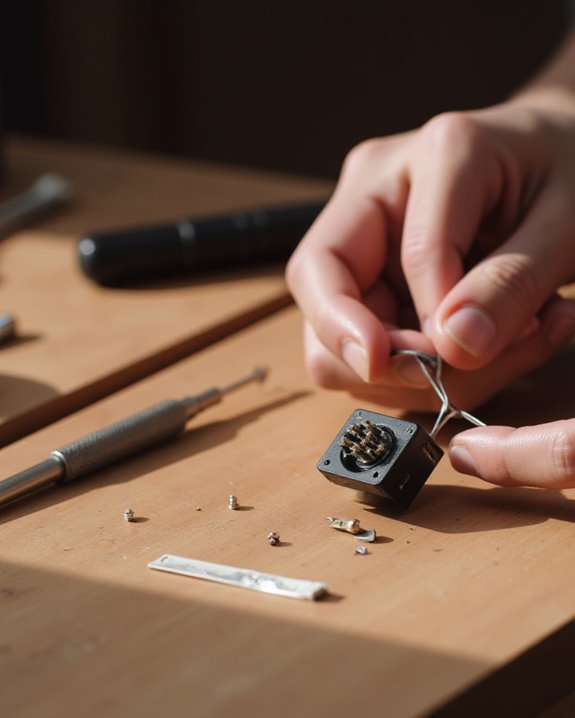
After removal, all surfaces should be cleaned with rubbing alcohol on a paper towel to eliminate excess glue and residue, preparing the assembly for the new voice coil. The new component must be inserted precisely into the magnetic gap and secured with fresh glue. During reassembly, a paper shim helps maintain proper alignment, preventing the voice coil from scraping against the magnet and ensuring ideal sound reproduction.
Testing and Finalizing Your Repair
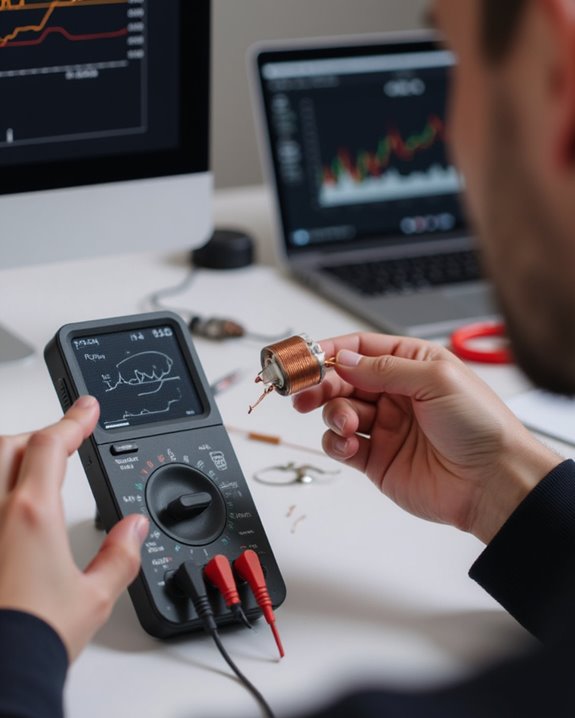
After allowing sufficient time for adhesives to cure, technicians must conduct thorough testing procedures to verify the success of a voice coil repair. Once the glue is completely dry and the cone is attached securely to both the voice coil and outer edge, the speaker assembly must be reinstalled and set aside for final evaluation. Testing should begin with bass-heavy music at medium volume to verify the cone even distributes vibrations without distortion or rattling.
Professionals recommend using a familiar song to detect any anomalies, making sure to feel the speaker even for proper vibrations across its surface. Gradually increase volume to verify performance across all frequencies. A properly executed repair yields much better sound quality, comparable to a new surround installation, with successful repairs potentially lasting years under regular use.
Frequently Asked Questions
Can a Blown Voice Coil Be Repaired?
Is a silenced speaker truly dead? Blown voice coils can be repaired through reconing, where specialists replace damaged components. Cost factors, success rates, and repair feasibility depend on coil testing and proper diagnosis methods. Professional advice recommended.
How Do You Wind a Speaker Voice Coil?
Voice coil winding requires appropriate wire types mounted on a bobbin of suitable size. Proper machine setup, tension levels, and layer methods guarantee consistent turns count. Alignment tools help position core materials for maximum efficiency.
How Do You Fix a Blown Speaker Cone?
Like a surgeon mending delicate tissue, fixing a blown speaker cone involves Cone Diagnosis, cleaning with alcohol, applying diluted glue to tears, stitching larger rips, and conducting Testing Procedures with bass-heavy music to verify repairs.
What Kind of Glue to Use to Repair Speaker Cones?
For speaker cone repairs, PVA alternatives like diluted Elmer’s are preferred. While epoxy options, silicone adhesives, rubber cements, hot melt, acrylic bonds, latex sealants, resin glues, and flexible compounds exist, a 1:1 PVA-water mixture works best.