When a speaker produces no sound, diagnose the issue systematically with a multimeter to test impedance (4-8 ohms) and continuity. Visual inspection of the cone, surround, and voice coil can reveal tears, deterioration, or burnt components requiring replacement. For minor cone damage, apply diluted white glue (1:1 with water), while voice coil issues typically necessitate complete replacement. Secure all connections during reassembly, and test repairs gradually at low volume. The following repair techniques can transform seemingly dead speakers into functioning audio equipment again.
Key Takeaways
- Check for blown voice coil by measuring impedance with a multimeter, which should read between 4-8 ohms.
- Visually inspect speaker cone and surround for physical damage, tears, or deterioration requiring repair.
- Test wires and connections for continuity, as breaks or loose connections often cause complete sound loss.
- Apply white glue diluted 1:1 with water to repair minor cone tears or use epoxy for securing loose components.
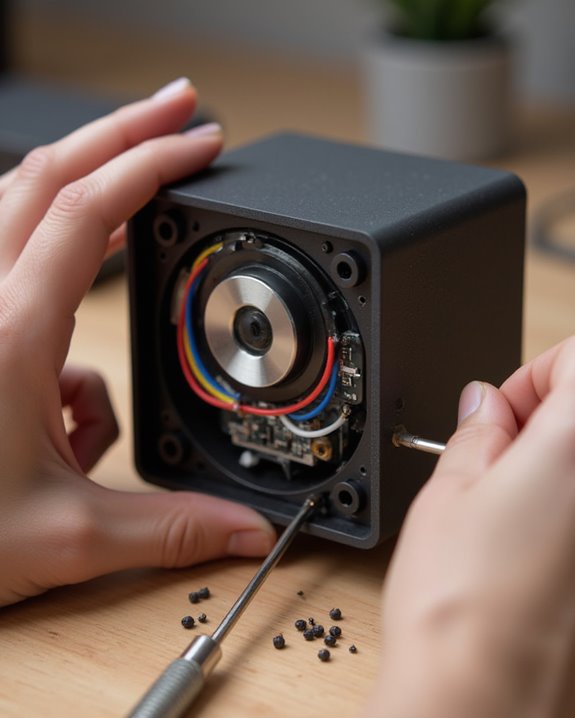
- Remove the speaker from its enclosure to examine internal components and replace damaged voice coil if necessary.
Understanding Why Your Speaker Has Gone Silent
When a speaker suddenly stops producing sound, identifying the underlying cause is essential for effective repairs. Speaker failures typically stem from one of several common issues, each requiring different troubleshooting approaches. A blown voice coil, which overheats and melts during operation, represents one of the most frequent causes of complete silence, as this critical component can no longer create the vibrations necessary for sound production.
Physical damage to speakers, whether from accidental drops or impacts, often leads to internal damage affecting the cone or suspension components. Electrical problems, including short circuits or voltage spikes, can similarly render speakers silent by compromising essential internal components. Additionally, normal wear and tear over time causes gradual deterioration of speaker elements, particularly in the surround or cone materials, eventually resulting in complete failure after years of regular use.
Essential Tools for Speaker Repair
A proper toolkit serves as the foundation for successful speaker repair, enabling technicians to accurately diagnose issues and implement effective solutions. The multimeter stands as the primary necessary tool, allowing technicians to test the speaker for appropriate impedance (typically 4-8 ohms) and verify continuity in wiring connections. When technicians inspect the speaker components for physical damage, a sharp prying tool assists in removing damaged elements like the dust cap without causing additional harm.
For adhesive applications, white glue diluted with water in a 1:1 ratio effectively repairs minor cone tears, while five-minute epoxy provides stronger bonds for securing wires and components under stress. Rubbing alcohol paired with lint-free cloths completes the essential toolkit, removing dust and adhesive residue from delicate surfaces without damaging the speaker materials during the cleaning process.
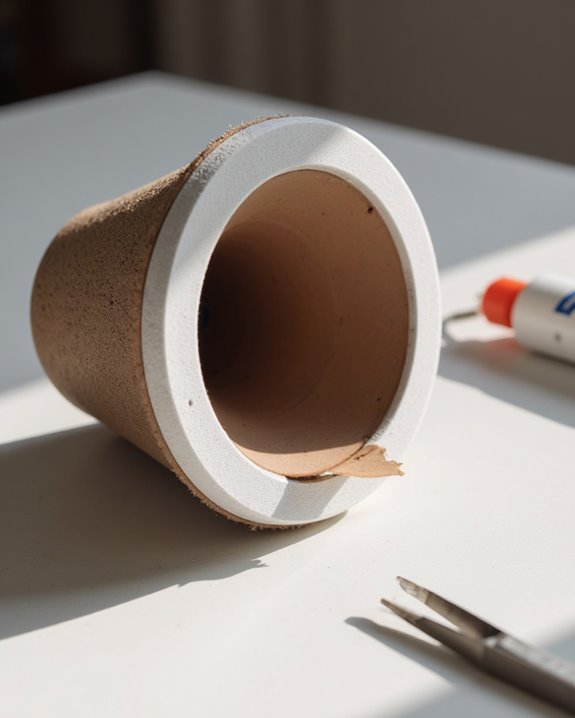
Inspecting the Physical Components for Damage
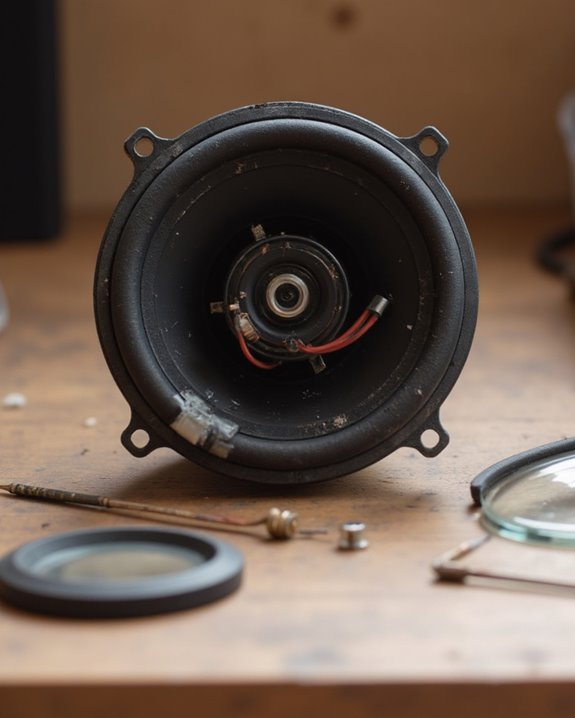
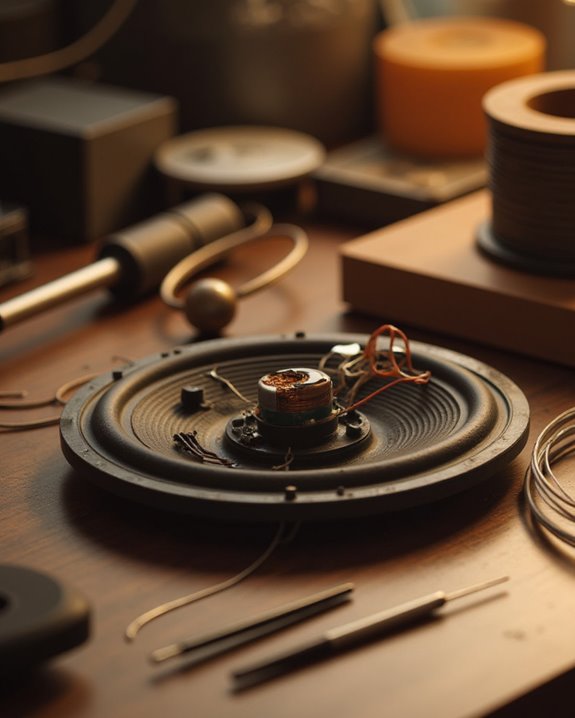
With the proper tools assembled, technicians can begin a thorough examination of the speaker’s physical components, the most visible indicators of potential failure points. The first step involves visually inspecting the speaker cone for tears or punctures that suggest a blown speaker. Many component failures manifest as physical damage visible to the naked eye.
Technicians should methodically examine the surround connecting the cone to the housing, as deterioration here often precedes total failure. If the speaker cone is damaged, sound production becomes compromised. Further inspection requires removing the speaker to check internal components, particularly the voice coil for signs of overheating or detachment. The flexible connection wires warrant careful scrutiny for breaks or thinning that interrupts electrical flow. In severe cases, installing a new voice coil may be necessary if warping or burnt elements are discovered.
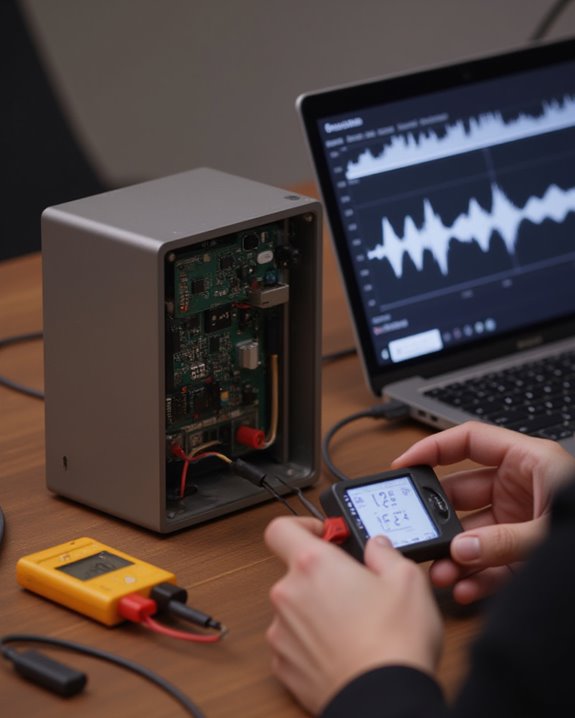
Testing Speaker Wires and Connections
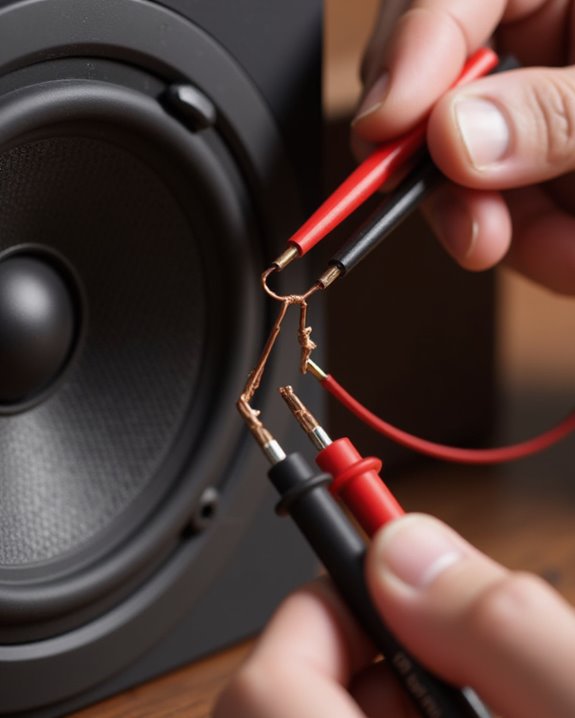
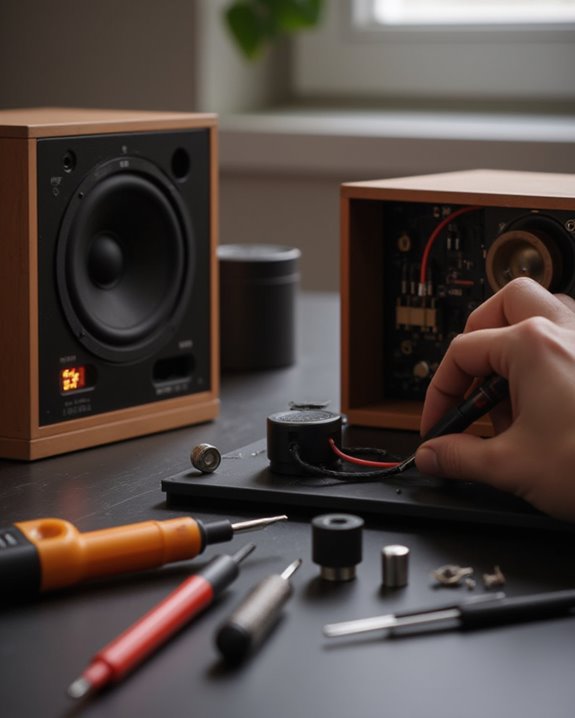
Testing the speaker wires and connections represents a critical step in diagnosing a silent speaker, as electrical pathway interruptions frequently cause sound failure. When a speaker remains without sound despite power, technicians should first remove it from its enclosure to examine the two wires soldered to the speaker’s terminals, looking for breaks, thinning, or loose connections.
A multimeter proves essential to fix a speaker with connection issues, allowing measurement of both continuity and resistance values. Proper speaker sounds require resistance readings typically between 4-8 ohms, while intermittent continuity readings indicate damaged wiring. Technicians should scrape visible sections of wire during testing to guarantee accurate readings. After confirming electrical integrity, secure all connections properly to prevent future disconnections, as poorly positioned wires commonly lead to recurring audio problems.
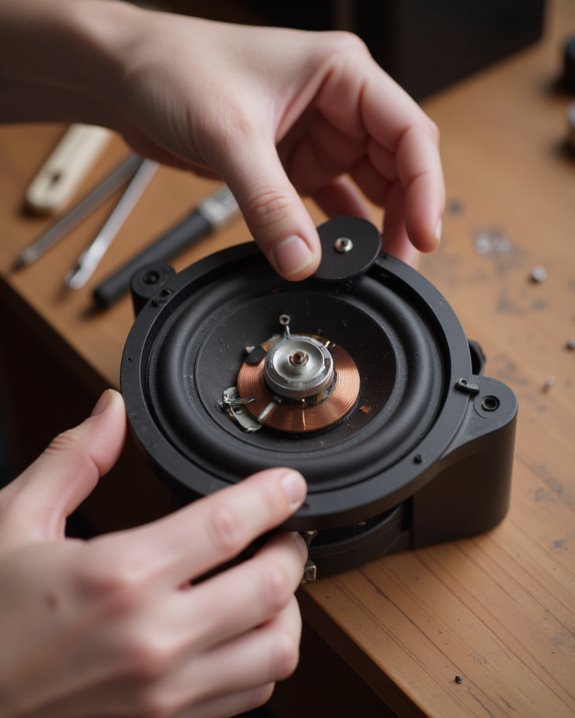
Voice Coil Diagnosis and Repair Techniques
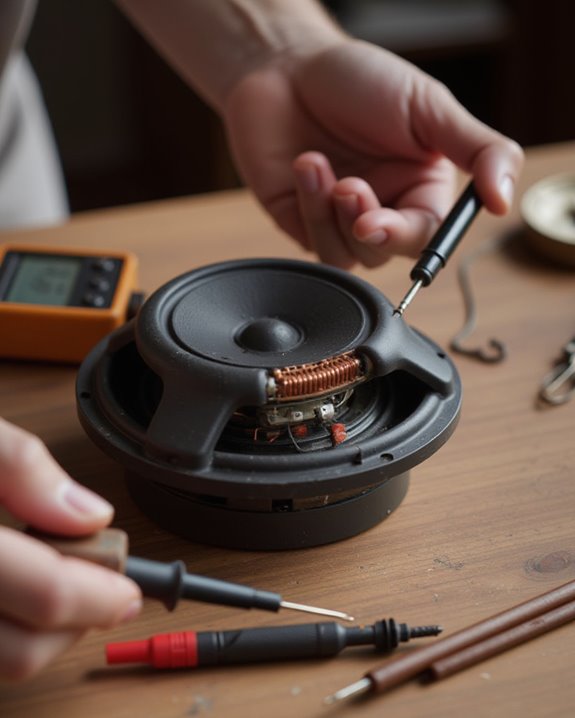
The voice coil, serving as the heart of any speaker system, often represents the primary culprit when troubleshooting complete sound failure. When inspecting for issues, technicians should look for signs of overheating, melting, or detachment, as these conditions frequently cause muffled sounds or total speaker sound loss.
To repair a blown voice coil, carefully separate the cone from the damaged component using a sharp tool to remove adhesive without causing further damage to the speaker. Once detached, insert a replacement coil and secure it with a new spider, ensuring proper alignment with the cone. For severe damage, complete reconing may be necessary, requiring a voice coil with matching diameter specifications. When soldering replacement wires to the voice coil, select wire that matches or exceeds the original thickness to maintain electrical integrity and prevent future failures.
Repairing the Speaker Cone and Surround
Speaker cones and surrounds, two critical components responsible for sound production, often suffer damage that compromises audio quality or causes complete failure. For minor cone tears, technicians recommend applying a 1:1 mixture of white glue and water with a paintbrush, allowing 24 hours drying time before testing. Make sure to clean the cone with rubbing alcohol first to guarantee proper adhesion.
When an old speaker has a deteriorated surround, replacement becomes necessary. First, measure the speaker model to purchase the correct size surround. After carefully removing the damaged part with a sharp knife, clean adhesive residue thoroughly with rubbing alcohol. Apply vinyl or PVA glue to secure the new one, letting it dry for at least an hour before reassembly. Initial testing should be performed at low volume to prevent further damage.
Reassembling Your Speaker Correctly
Carefully reassembling a repaired speaker requires precision and attention to detail, ensuring proper alignment of all components before final assembly. When reconnecting wires, technicians should solder them properly and position connections high enough to prevent breakage, particularly in one of the speakers that may have experienced voice coil damage. The speaker cone must be secured with the new spider, maintaining proper alignment for ideal sounds when testing.
After fastening mounting screws on a flat surface, users should apply adhesive around the dust cap and allow it to dry completely. Avoid playing the Bluetooth speaker’s audio at high volume immediately after repair; instead, test at low volume with familiar music. This verification process helps identify whether the speaker even produces normal output before returning to regular use, preventing potential damage to newly repaired components.
Testing Your Speaker After Repairs
Once repairs are complete, how can one determine if the speaker has been successfully fixed? Testing should begin with a simple beep test to verify basic functionality, confirming the power supply is properly connected and delivering adequate current. A multimeter should be used to check continuity in repaired connections, comparing resistance readings to manufacturer specifications as if the speaker were brand new.
Technicians need to use a familiar song for thorough evaluation, starting at low volume and gradually increasing to detect any distortion, crackling, or imbalance. This methodical approach reveals potential issues that may only appear from time to time under specific conditions. The final assessment should include listening for full frequency reproduction while feeling for appropriate vibrations, ensuring the speaker delivers clear, balanced sound across various volume levels and audio types.
Frequently Asked Questions
How to Fix a Speaker That Has No Sound?
Technicians recommend evaluating the power source first, then proceeding with wiring inspection, amplifier testing, and software updates. If these fail to resolve the issue, driver replacement may be necessary to restore sound output.
Why Does a Speaker Connect but Not Play Sound?
Alas, poor speaker! Connection issues often plague devices when audio signals fail to transmit properly. Hardware defects like blown voice coils, software bugs, signal problems in wiring, or audio conflicts can prevent sound despite successful pairing.
Can You Fix a Dead Speaker?
Dead speakers can often be salvaged. Technicians diagnose issues from physical damage, circuit board failures, and overheating issues. Many repairs may be covered under warranty coverage. Regular maintenance prevents problems and extends battery life in portable models.
How to Fix a Silent Speaker?
Nearly 60% of speaker failures are due to electrical issues. To fix silent speakers, users should check power sources, inspect for audio feedback problems, implement preventive care measures, and consider speaker upgrades for better noise reduction capabilities.