As an Amazon Associate, we earn from qualifying purchases. Some links may be affiliate links at no extra cost to you. Although our opinions are based on curated research, we haven't used these products. Articles generated with AI.
How to Repair Sony Speaker Box in 5 Easy Steps
Repairing a Sony speaker box involves five essential steps: diagnosing the issue by checking connections and listening for distortion; gathering appropriate tools including Phillips screwdrivers and a multimeter; safely disassembling the unit after disconnecting power and arranging fasteners systematically; repairing components by examining wiring and replacing faulty parts with OEM equivalents; and finally reassembling everything while testing with a 1kHz tone at 80dB. Following these steps carefully guarantees ideal performance while preventing additional damage to your audio system.
Key Takeaways
- Diagnose issues by checking power connections, listening for audio distortion, and inspecting for physical damage on speaker grilles.
- Gather essential tools including Phillips screwdrivers, a digital multimeter, and 90% isopropyl alcohol with microfiber cloths.
- Safely disassemble the speaker by disconnecting power, checking warranty, and arranging fasteners in a logical pattern.
- Repair components by examining wiring, soldering loose connections, and replacing faulty parts with genuine Sony components.
- Reassemble the speaker, test with a 1kHz tone at 80dB, and verify proper resistance across terminals with a multimeter.
Diagnosing Common Sony Speaker Problems
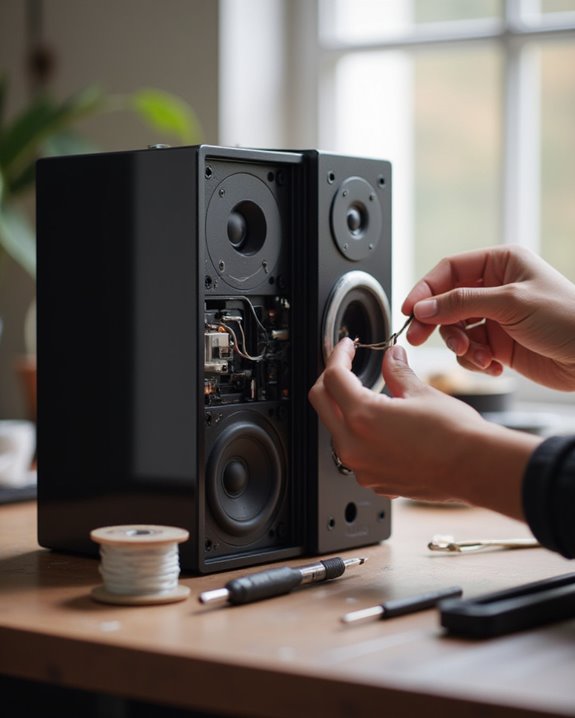
When a Sony speaker malfunctions, proper diagnosis forms the critical first step toward effective repair. Technicians should begin by checking power sources and connections, as models like the SRS-XB43 frequently experience sound issues due to loose cables or depleted batteries. Subsequently, careful listening for audio distortion may reveal damaged internal drivers, particularly in the HT-A9 system after extended high-volume usage.
Bluetooth Troubleshooting often requires attempting device pairing, noting that many Sony speakers, including the WH-1000XM4, need specific reset procedures to resolve connectivity errors. For Overheating Prevention, users should examine the speaker during operation by touching its exterior, as inadequate ventilation in models like the Sony SA-Z9 can trigger automatic shutdowns. Finally, physical inspection for cracks or dents on speaker grilles is essential, since damage to popular models such as the GTK-XB72 typically manifests as rattling sounds during playback.
Gathering the Right Tools and Materials
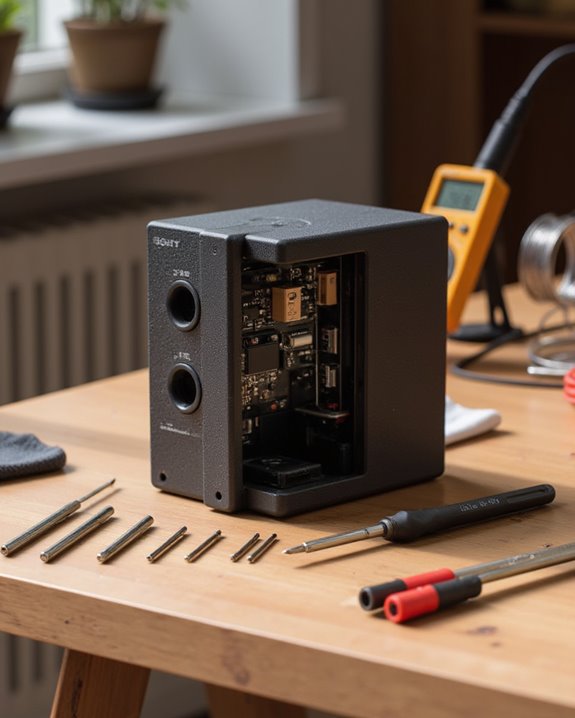
Before starting on any Sony speaker repair project, technicians must assemble the proper toolkit to guarantee professional results and prevent further damage to delicate components. Proper tool storage in a dedicated case helps maintain organization during the repair process, keeping small screws and parts accessible.
Essential items include a precision Phillips screwdriver set (#0 and #1 sizes), a digital multimeter with at least 20 megaohm input impedance, and compatible replacement drivers such as 8-ohm, 4-inch woofers. For wire repairs, electrical tape and heat-shrink tubing rated for 105°C are necessary to prevent shorts. Material alternatives for cleaning include isopropyl alcohol (90%+ concentration) paired with microfiber cloths instead of paper towels, which can leave residue on sensitive components. These supplies guarantee technicians can address most common Sony speaker issues efficiently.
Additionally, for enhanced protection of the speaker during repairs, consider using a silicone case to absorb impacts and maintain accessibility.
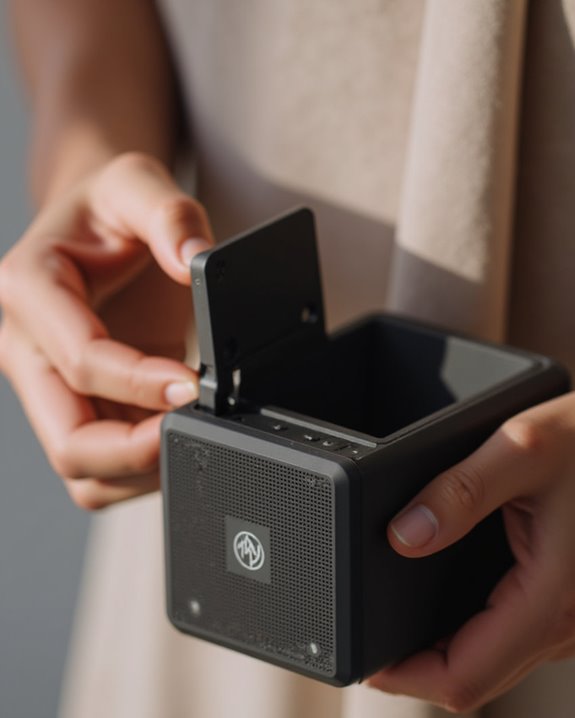
Safely Disassembling Your Speaker Box
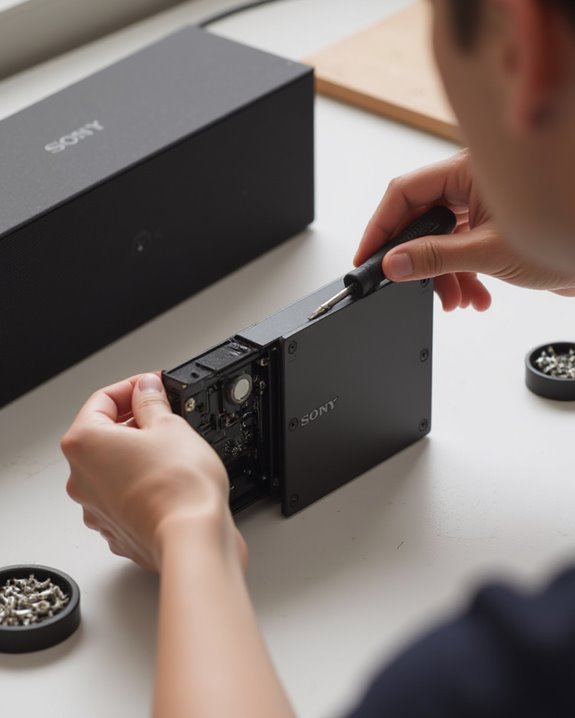
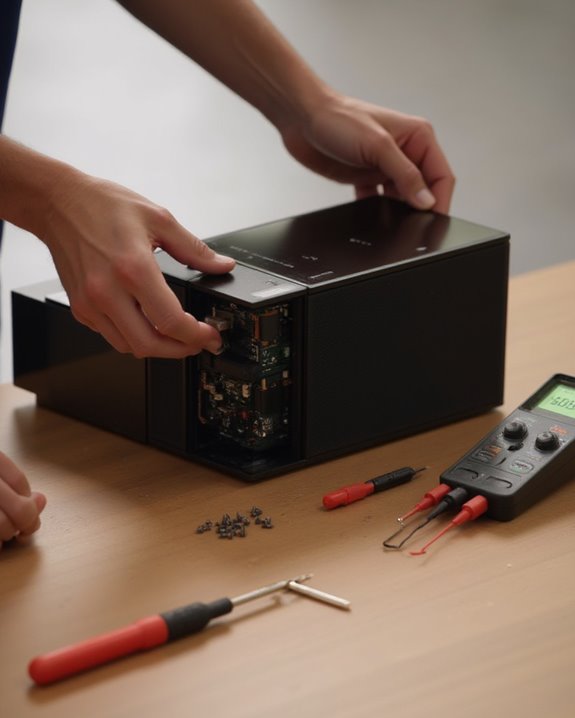
The careful disassembly of a Sony speaker box represents a critical first step in any successful repair process, requiring methodical attention to both safety and component preservation. Before beginning, users must disconnect the unit from power sources and allow sufficient cooling time, which constitutes essential safety measures to prevent electrical shock or burns.
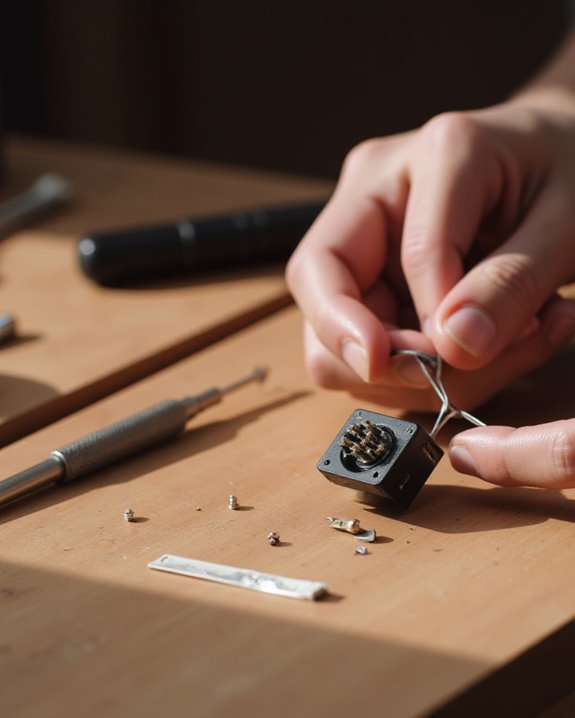
Prior to opening the housing, a warranty check should be performed, inspecting for seals or stickers that might indicate warranty voiding if broken. Using appropriate tools, such as Phillips screwdrivers and plastic pry tools, technicians should methodically remove external fasteners, arranging them in a logical pattern on a static-free surface. Internal components demand gentle handling, particularly wired connections and speaker elements, as excessive force may cause irreparable damage to delicate circuitry or mechanical parts.
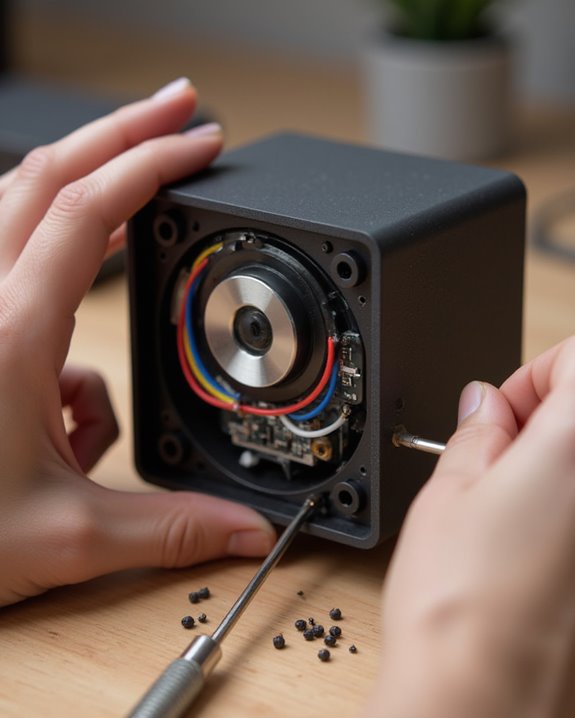
Repairing Faulty Wiring and Components
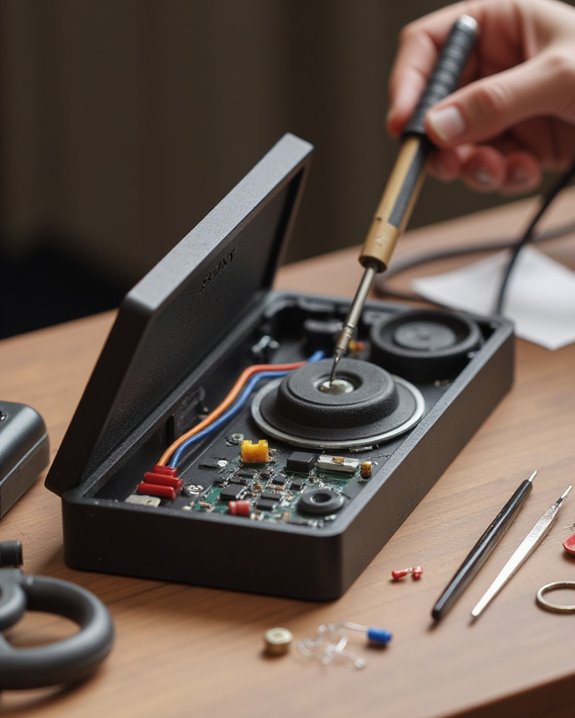
Properly functioning internal wiring and electrical components form the foundation of any Sony speaker box repair, requiring careful inspection and precise soldering techniques for successful restoration. Technicians should first examine the internal wiring for frayed insulation or loose connections, using a multimeter to verify continuity and confirm resistance values below 10 ohms.
When defective wiring is identified, a 30-watt precision soldering iron becomes essential, with flux application ensuring ideal conductivity and preventing cold joints. Faulty components, including capacitors (100 microfarads) and resistors (10 kilo-ohms), must be compared against Sony service manual specifications. While upgrade options exist, genuine Sony OEM components provide the best performance assurance, as aftermarket alternatives often fail to match original impedance levels.
After completing repairs, technicians should test speaker output using a 1 kHz signal generator at 1 watt power to confirm proper functionality.
Reassembling and Testing Your Sony Speaker
Once repairs to faulty wiring and components have been completed, reassembling and testing a Sony speaker box requires methodical precision to guarantee proper functionality and sound quality. Technicians should carefully tighten all screws to the manufacturer’s recommended torque of 1.5 Nm, guaranteeing stability without damaging internal components.
Sound Testing involves connecting the speaker to a compatible audio source and playing a 1kHz test tone at 80dB, which confirms clear audio output without distortion. Using a multimeter to verify 4-8 ohms resistance across terminals guarantees proper electrical connections. Maintenance Tips include performing thorough physical inspections of all components, particularly the woofer and tweeter alignment. If initial testing reveals issues, resetting the speaker by unplugging for 30 seconds often resolves transient problems, allowing for accurate assessment of persistent issues requiring further attention.
Frequently Asked Questions
How Do I Reset My Sony Sound Box?
To reset a Sony Sound Box, users should follow the Reset Guide: power off the device, locate and press the reset button for 10 seconds, wait 30 seconds, then reconnect power to complete the Factory Reset.
How to Fix Sony Speaker Not Charging?
Check the charging cable for damage and test the power source. Battery troubleshooting often requires resetting the speaker by holding the power button for 10-15 seconds. Consider charging alternatives like different outlets or USB ports.
How Do I Connect My Sony Speaker Box?
Over 78% of users connect Bluetooth devices incorrectly. For Sony speaker pairing, make sure the device is in pairing mode, then select it from Bluetooth settings. Alternatively, use the wireless setup through Sony’s app.
How Can I Charge My Bluetooth Speaker if the Charger Port Is Broken?
Owners can explore inductive charging if their Sony model supports Qi technology. Alternatively, solar powering options exist. Removable batteries can be charged externally, or USB OTG adapters may bypass the damaged port entirely.