As an Amazon Associate, we earn from qualifying purchases. Some links may be affiliate links at no extra cost to you. Although our opinions are based on curated research, we haven't used these products. Articles generated with AI.

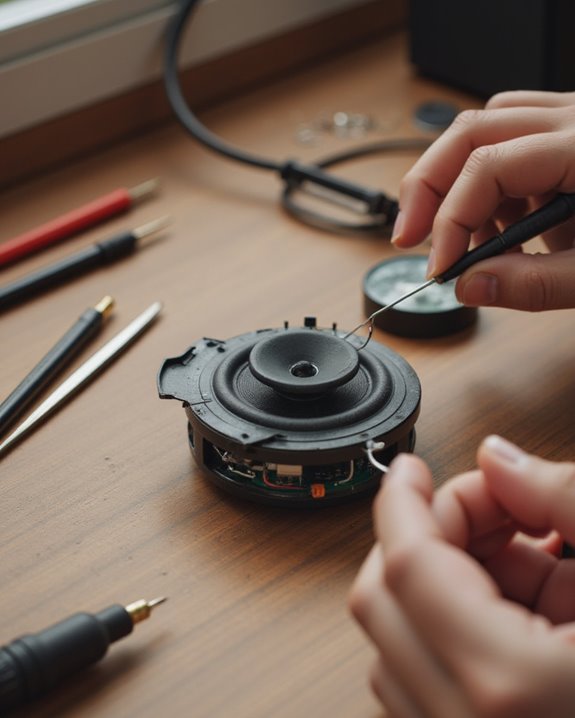
How to Repair a Small Speaker in 10 Easy Steps

Repairing a small speaker requires a systematic approach beginning with disconnection from power sources. First, diagnose the problem through visual inspection and listening tests. Gather necessary tools including screwdrivers, adhesives, and possibly a multimeter. Carefully remove the damaged driver, clean all components with isopropyl alcohol, and make necessary repairs to the cone or surround. Apply appropriate adhesive, allow 24 hours for proper curing, then reinstall and test at low volume. These straightforward steps can restore functionality to most damaged speakers.
Key Takeaways
- Assess damage by checking for buzzing, crackling, or visible issues like cone tears or detachment from the rubber surround.
- Gather necessary tools including screwdrivers, glue, and replacement parts that match your speaker’s specifications.
- Carefully disassemble the speaker by removing screws, disconnecting wires, and separating damaged components.
- Clean all surfaces with isopropyl alcohol on a lint-free cloth before applying appropriate adhesive to repair or replace parts.
- Allow adhesives to dry completely for 24 hours before reinstalling and testing the speaker at low volume.
Understanding Speaker Damage and Assessing Repair Needs
When a small speaker begins to fail, identifying the specific type of damage is the essential first step toward successful repair. A blown speaker typically exhibits distinct auditory symptoms, including buzzing, crackling, or hissing noises when volume is increased, indicating internal component failure such as voice coil damage or cone separation.
Physical inspection can reveal visible issues like punctures, warping, or detachment of the cone from its rubber surround. For thorough assessment, test the speaker by playing music at high volume levels (7-8 out of 10) while adjusting the equalizer to isolate specific frequency problems. Using diagnostic tools, such as a multimeter to check impedance, can confirm suspected issues before determining appropriate repair methods. When evaluating stereo systems, compare both speakers to identify potential imbalances that might indicate damage in one unit.
Additionally, evaluating the RMS power rating helps determine if the speaker was overloaded, as this indicates sustained performance capabilities to avoid distortion in home audio setups.
Gathering Tools and Materials for Speaker Repair
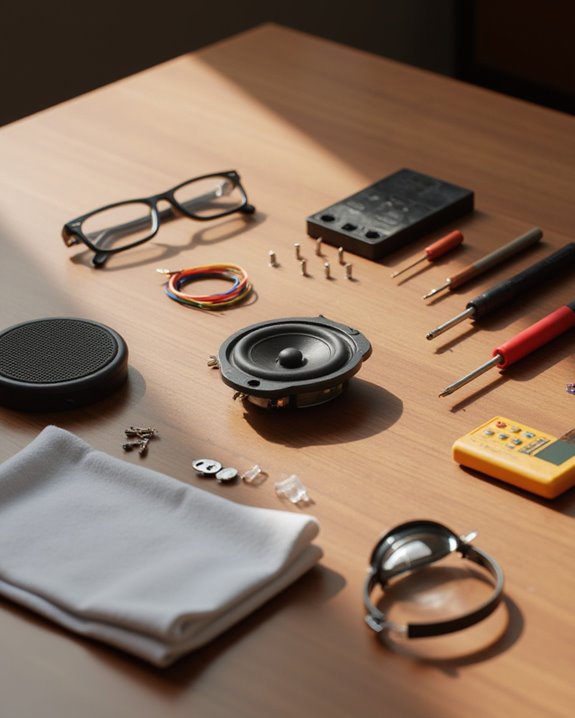
Before attempting any speaker repair project, a thorough collection of appropriate tools and materials must be assembled to guarantee successful outcomes. Basic tools required include a screwdriver for removing fasteners, a drill for making necessary adjustments, and a ruler for taking precise measurements throughout the repair process. A tape measure is essential for determining the exact diameter of the speaker driver, guaranteeing compatibility when selecting replacement components.
For adhesive applications in speaker repair, Gorilla Glue works effectively for bonding rubber surrounds, while rubber cement from bicycle repair kits provides flexibility when fixing plastic cones. Diagnostic equipment, particularly a multimeter, allows technicians to test impedance levels and identify electrical faults before proceeding. Finally, specialized materials such as recone kits or replacement drivers matching the original specifications in wattage and frequency response guarantee ideal sound reproduction after repairs.
Recommended Products
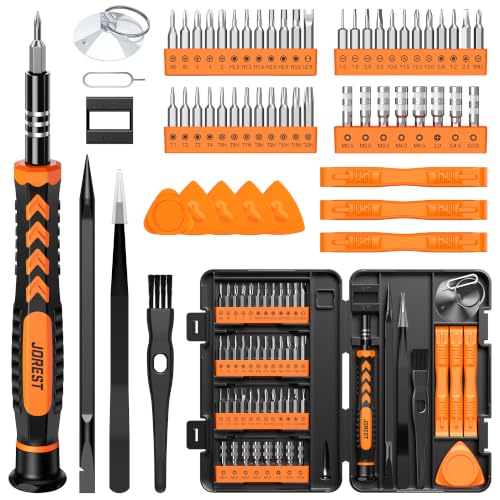
【59 in 1 Precision Screwdriver Set】The screwdriver set contains 44 screwdriver bits, Phillips PH000,PH00,PH0,PH1,PH2; Flathead -1.0, -1.5 -2.0,-3.0; Torx T1 T2 T3 T4 T5, Torx security TR6 TR7 TR8 TR9 TR10 TR15 TR20; Triwing Y0.6, Y1.5. Y2.3, Y3.0; Pentalobe P2(0.8) P5(1.2); Triangle 2.3; U-type U2.6; H-type: H0.9, H1.3, H1.5, H2.0, H2.5, H3.0; MID-type: MID; Sleeve: M2.5, M3.0, M3.5, M4.0, M4.5, Cross 2.0, G3.8, G4.5

Wide Range of Applications: Precision screwdriver can easily tighten or loosen small screws in some household everyday products: glasses, watches, laptops, tablets, cameras, jewelry, Android / iPhone, toys and other electronic products

【Precision screwdriver set】-- 40Pcs screwdriver set has 30 CRV screwdriver bits which are phillips PH000(+1.2) PH000(+1.5) PH00(+2.0) PH0(+3.0) PH1(+4.0), flathead -0.8 -1.2 -1.5 -2.5 -3.0, torx T1 T2 T3 T4 T5, torx security TR6 TR7 TR8 TR9 TR10 TR15 TR20, triwing Y000(Y0.6) Y00(Y1.5) Y0(Y2.5) Y1(Y3.0), pentalobe P2(0.8) P5(1.2) P6(1.5), MID 2.5, with a screwdriver handle, a double-ended spudger, a long spudger, 3 triangle spudgers, Tweezers, a cleaning brush and a suction cup with SIM card thimble.
Safely Removing the Damaged Driver
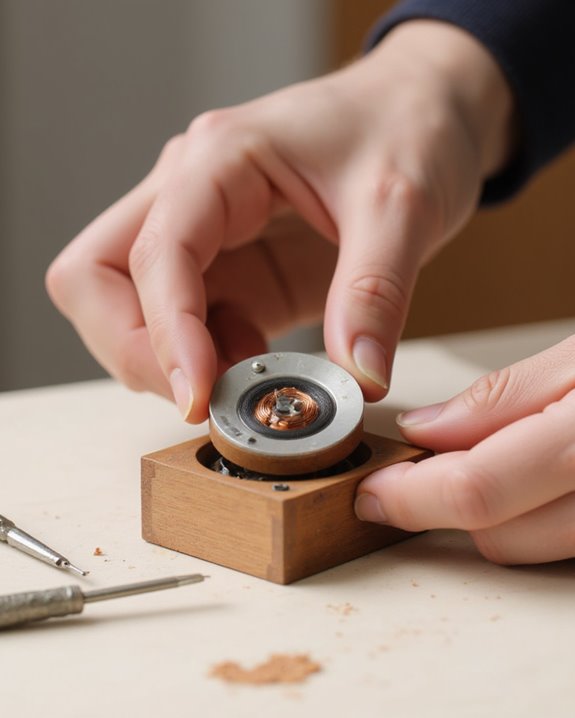
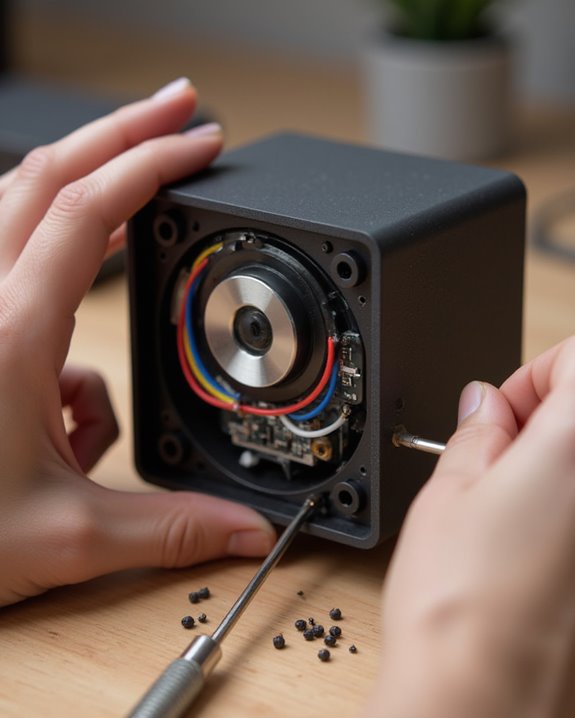
The safe removal of a damaged driver represents the critical first step in any speaker repair process, requiring methodical attention to both electrical safety and mechanical precision. Before attempting to remove the old driver, technicians must disconnect all wires from the power source to eliminate shock risks. Using an appropriate screwdriver, carefully loosen the guide screws around the driver’s perimeter while supporting the component with one hand to prevent accidental drops when the final screw is removed.
For the wire detachment phase, examine whether connections use quick-release clips or soldered joints, making note of any wiring that may need replacement. Once the driver is fully extracted, immediately measure its diameter with a tape measure, recording this essential specification for obtaining a properly sized replacement component.
Recommended Products

FIXES DISTORTED SOUND, CRACKLING & LOW AUDIO: Replaces damaged 40mm headphone drivers to fix crackling, distorted sound, low volume, or no audio issues. Helps restore clear and balanced sound performance for compatible over-ear headphones

Proper Fit Check First: Inside diameter 142mm, convex inside 152mm, convex outside 178mm, outside diameter 196mm. Measure your speaker basket and cone before ordering to ensure this 8 inch rubber edge fits your specific driver

FIXES NO SOUND, CRACKLING & MUFFLED AUDIO — Premium replacement speakers solve the most common Switch audio failures instantly. Restore original factory stereo sound quality to like-new performance in under 10 minutes at home
Diagnosing the Specific Speaker Problem
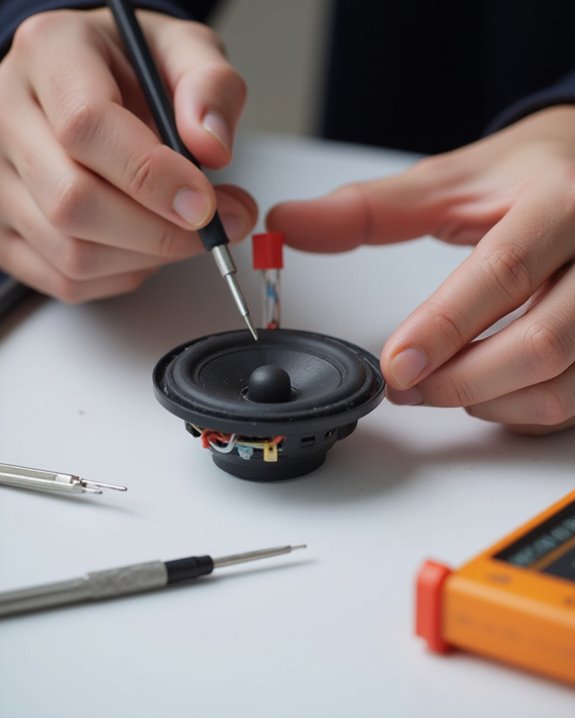
Successful extraction of the damaged driver creates the opportunity for precise problem identification, which forms the backbone of any effective speaker repair. Visual inspection should first focus on physical damage indicators, including cone tears or separation from the rubber surround, as these issues often determine repair feasibility.
To test the speaker thoroughly, technicians should listen for distortion patterns—buzzing, crackling, or hissing—at higher volume levels, particularly focusing on frequency-specific anomalies. For definitive diagnosis, swapping the suspect driver with a functioning unit in a stereo setup can reveal performance disparities. A multimeter reading of the speaker’s impedance provides objective data to compare against manufacturer specifications, potentially identifying voice coil damage. When voice coil issues are suspected, our guide on how to repair a speaker coil walks through the removal and replacement process step by step. During audio tests, manipulating equalizer settings while playing diverse musical selections helps isolate which driver component—tweeter, mid-range, or woofer—exhibits performance issues.
Recommended Products
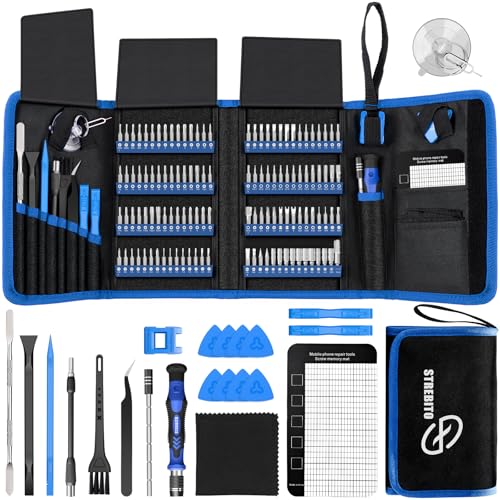
【Wide Application】This precision screwdriver set has 120 bits, complete with every driver bit you’ll need to tackle any repair or DIY project. In addition, this repair kit has 22 practical accessories, such as magnetizer, magnetic mat, ESD tweezers, suction cup, spudger, cleaning brush, etc. Whether you're a professional or a amateur, this toolkit has what you need to repair all cell phone, computer, laptops, SSD, iPad, game consoles, tablets, glasses, HVAC, sewing machine, etc

External Diameter: 5Inch/127mm.Inner Diameter: 3.2Inch/82mm.

【 RESTORE WATCH ACCURACY INSTANTLY】Mechanical watches can easily become magnetized by phones, speakers, or computers, causing them to run fast or inaccurately. This professional degaussing tool effectively eliminates magnetic fields in seconds, restoring your cherished timepiece's precision without the need to open the case back.
Cleaning and Preparing the Speaker Components
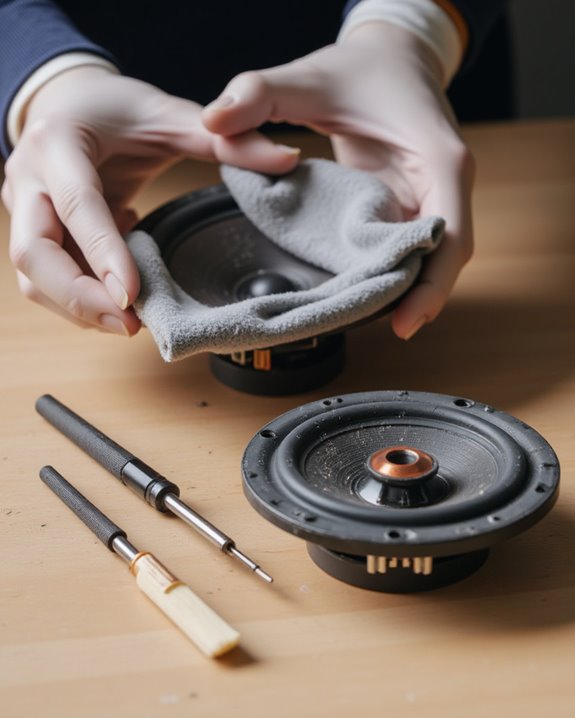
Proper cleaning of speaker components establishes the foundation for successful repairs, ensuring ideal adhesion and performance restoration. Before applying any new adhesive, technicians must meticulously remove old residue using a precision scraper, creating clean bonding surfaces. The speaker cone and surrounding elements require gentle cleaning with isopropyl alcohol on a lint-free cloth to eliminate contaminants that could impair sound quality or adhesion.
Following the initial cleaning, a thorough inspection helps identify any remaining debris or imperfections that might interfere with the speaker’s piston action. Precise measurements using a ruler confirm proper component alignment for reassembly. All cleaned surfaces must dry completely for 15-30 minutes in a dust-free environment, preventing moisture-related complications during subsequent adhesive application. This preparation phase, while often overlooked, directly influences the longevity and acoustic quality of the repair.
Repairing or Replacing the Speaker Cone
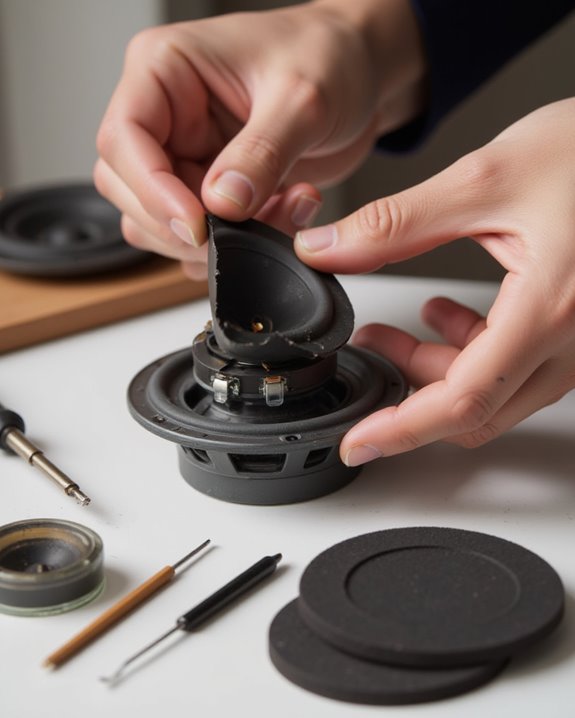
When a speaker’s audio quality deteriorates noticeably, examining the cone for damage becomes essential, as this component directly transforms electrical signals into the sound waves we hear. For small tears, rubber cement from bicycle tire patch kits provides an ideal flexible bond, allowing for future repairs while maintaining proper piston action. When attaching separated cones to their surrounds, Gorilla Glue creates a strong bond, though the adhesive must dry completely before testing.
If damage is extensive, replacement becomes necessary. Measure the speaker driver diameter precisely with a tape measure to verify compatibility with the original specifications. Remove the damaged driver by unscrewing mounting screws and disconnecting wires, then install the replacement by aligning screw holes carefully to prevent voice coil misalignment. After installation, test at low volumes to identify and resolve any buzzing issues. For radio or standalone audio equipment with similar cone damage, our article on how to repair a radio speaker describes an effective glue-and-water mixture technique for minor tears.
Recommended Products

Strong and Flexible: Nexkayee speaker glue is designed to solve the problems of cracking and debonding of speaker equipment. Unlike quick-drying repair adhesive, this speaker repair glue can form an elastic adhesive layer to ensure that the repaired speaker is flexible and strong. The speaker glue is black after drying, which matches the color of the speaker and has an excellent repair effect.
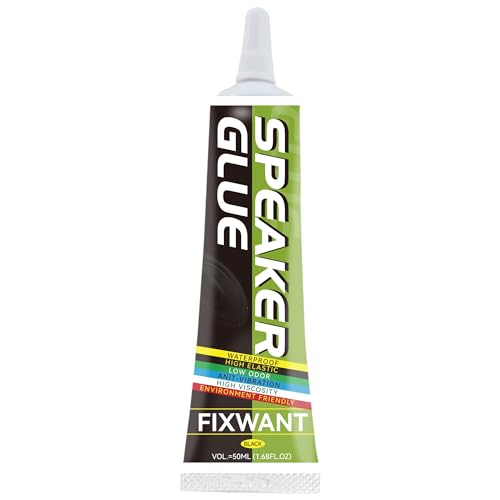
Slow drying: compare with fast drying glue, FIXWANT Speaker Glue is a slow dry glue which take 4-6 minutes for surface to dry which ensure you have enough time to stick the parts and can correct it within this period.

Designed Specifically For Speakers: Speaker glue specifically designed for speaker cone repair and surround rebonding. The flexible, elastic formula moves with the woofer's vibrations without hardening or cracking, restoring original acoustic performance and preventing re-separation under high-volume bass conditions
Reconnecting and Aligning the Voice Coil
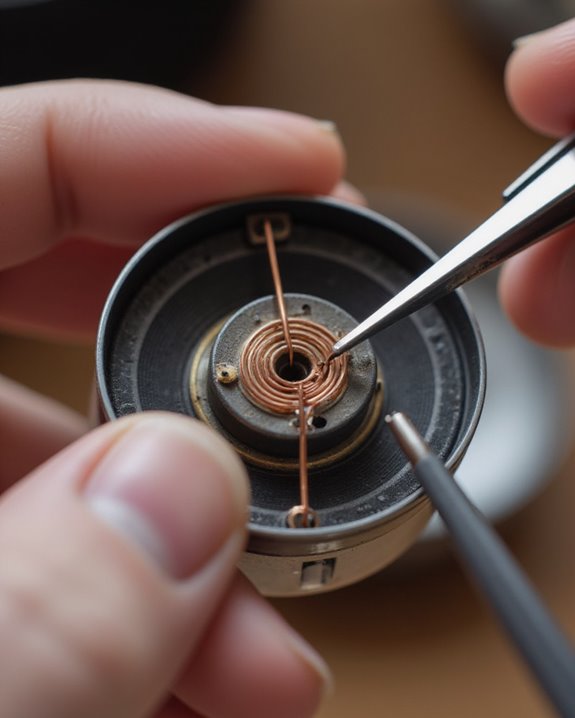
Realigning the voice coil demands precision and careful attention to detail, as this delicate component forms the heart of any speaker system. When reconnecting, technicians must guarantee the coil remains centered within the magnetic gap to prevent scraping against surrounding structures, which could compromise sound quality. Inserting temporary spacers inside the voice coil during repair helps maintain proper alignment and protects sensitive components.
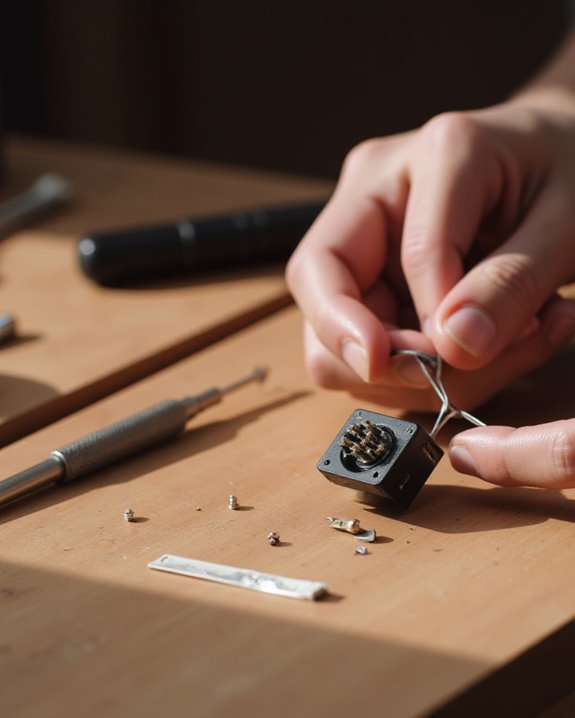
Before reconnection, all old adhesive residue should be thoroughly removed to create an ideal bonding surface. After the voice coil is secured, testing at low volume verifies proper alignment, as uneven tension will immediately manifest as distorted audio output. Many enthusiasts report successful repairs through careful resoldering techniques, with positive results observed in various speaker models including Advents and JBL units, demonstrating that proper voice coil reconnection can fully restore speaker functionality.
Applying Adhesive and Securing Components
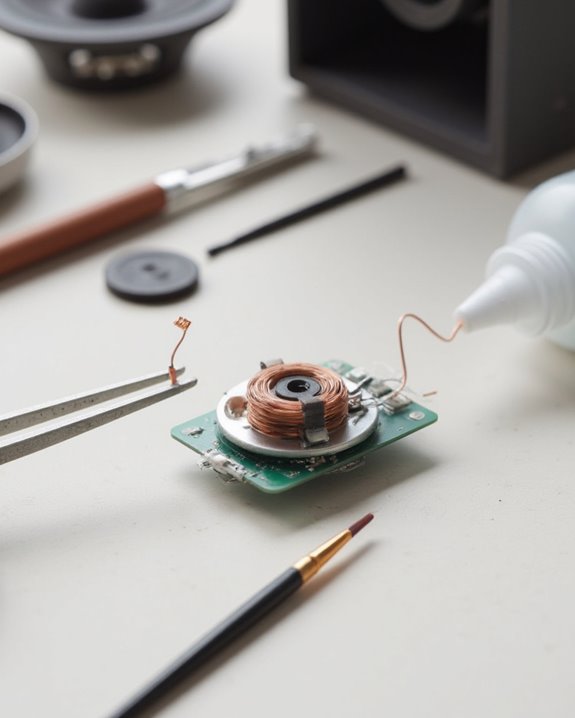
Once the voice coil has been properly aligned, the next phase of speaker repair focuses on applying adhesive and securing the components for long-term durability. Technicians should first remove all traces of old adhesive from the speaker components using an appropriate tool, creating a clean surface for ideal bonding.
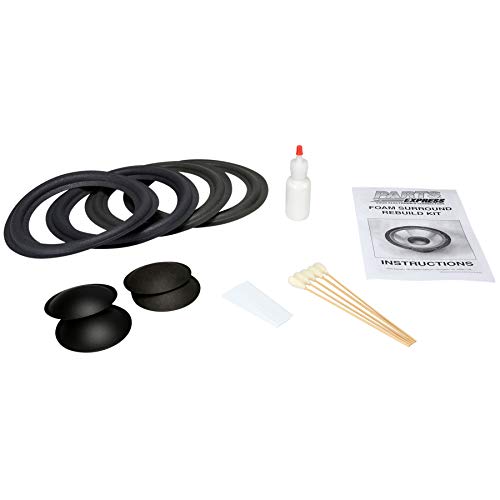
Gorilla Glue should be applied evenly along the rubber surround’s edge when reattaching it to the cone, as this adhesive is specifically formulated for rubber materials in speaker repair. Spacers must remain inside the voice coil during this process to maintain proper alignment within the gap. After applying adhesive, components should be secured by aligning with existing screw holes and fastening gently, avoiding over-tightening that could warp materials. The repaired speaker must then dry thoroughly for several hours in a dust-free environment before testing.
Allowing Proper Drying and Curing Time
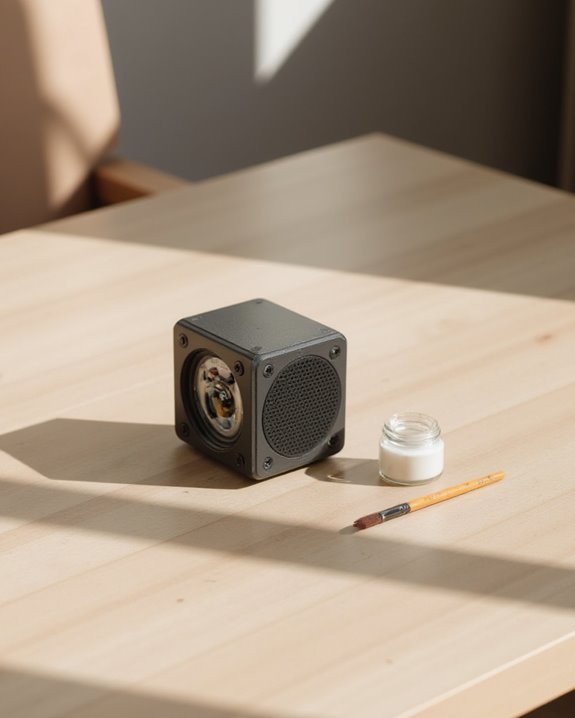
Successful speaker repair depends greatly on allowing adequate time for adhesives to dry and cure completely. For small speaker repairs, particularly when reattaching rubber surrounds, adhesives should dry for a minimum of 24 hours or according to manufacturer specifications. This patience guarantees a strong, even bond that maintains proper voice coil alignment and prevents future damage.
During the curing process, technicians should maintain a dust-free environment, especially when using adhesives like Gorilla Glue, to achieve maximum bonding strength. Rushing this critical step often leads to uneven tension or off-axis attachment, which compromises the speaker’s piston action and overall sound quality. Technical experience shows that inadequate drying time is a primary cause of repair failures, as the voice coil may scrape against the magnet gap when the speaker operates, resulting in distortion or complete failure.
Testing and Reinstalling Your Repaired Speaker
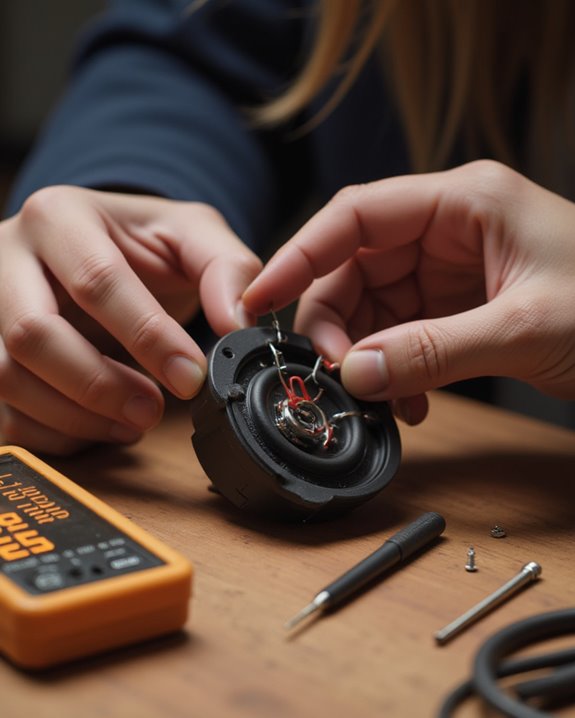
Proper reinstallation represents the final critical phase in the speaker repair process, requiring attention to both physical mounting and electrical connections. When fitting the new driver into the speaker hole, technicians should position wires upward on the back of the component, connect them to their corresponding terminals, and secure the assembly with appropriate screws. After installation, the protective grill must be reattached to shield internal components from potential damage.
Testing should proceed methodically, beginning with audio playback at reduced volume to detect irregularities such as buzzing or distortion. Technicians can isolate frequency-specific issues by adjusting equalizer settings—increasing treble for tweeter assessment, mid-range for vocal clarity, or bass for woofer performance. If anomalies persist during evaluation, operators should verify screw tightness and driver alignment before retesting to confirm the repair’s success. For enhanced testing, incorporating EQ presets can help simulate various audio scenarios and fine-tune the speaker’s performance.
Recommended Products

Works well with up to 1" cabinet thickness

Applicable for Honda Accord 2008-Up Lower;Accord Crosstour 2010-2012;Civic 2012-2019;Civic 2006-2011;CR-V 2007-Up;CRZ 2011-2016 Front Door & Rear Seat Side Panels;2009-Up;HR-V 2016-Up;Insight 2019-Up;Insight 2010-2014;Odyssey 2011-Up;Passport 2019-Up;Pilot 2009-Up;Ridgeline 2017-Up.
Frequently Asked Questions
How Can I Repair a Speaker?
Speaker repair involves diagnosing issues through visual inspection and sound testing, removing damaged drivers, selecting compatible replacements matching specifications, proper installation with correct wiring, and thorough testing. Speaker upgrades can enhance sound quality during repairs.
How to Make a Speaker Step by Step?
Against modern technology’s complexity, Speaker DIY offers simplicity. One can create a speaker by winding a voice coil, positioning it within a magnet, attaching a cone, and enclosing the assembly in a cabinet.
How Do You Fix a Small Tear in a Speaker?
To fix a small tear in a speaker, one should remove the driver, clean the damaged area, and apply rubber cement for tear patching. After allowing adequate drying time, testing at low volume guarantees proper repair completion.
How to Fix a Blown Speaker Without Replacing It?
Just as sound waves find their path, blown speakers can be restored through careful repair. One can reattach loose connections using proper soldering tips, apply adhesive to cone tears, and realign voice coils with spacers.