Connecting a Monster Cable Speaker Selector involves three simple steps. First, connect your amplifier’s outputs to the selector’s input terminals using quality speaker wire up to 14-gauge thickness. Second, wire each speaker pair to the corresponding numbered output terminals, maintaining consistent polarity with red-to-red and black-to-black connections. Finally, test the system by playing audio through each speaker set, verifying all connections are secure and properly engaged. Following these fundamental steps guarantees ideal performance for multi-room audio distribution.
Key Takeaways
- Connect amplifier’s left and right outputs to the input terminals on your Monster speaker selector using quality speaker wire.
- Attach each speaker pair to their designated terminals (Speaker 1, 2, etc.), maintaining correct polarity (red to red, black to black).
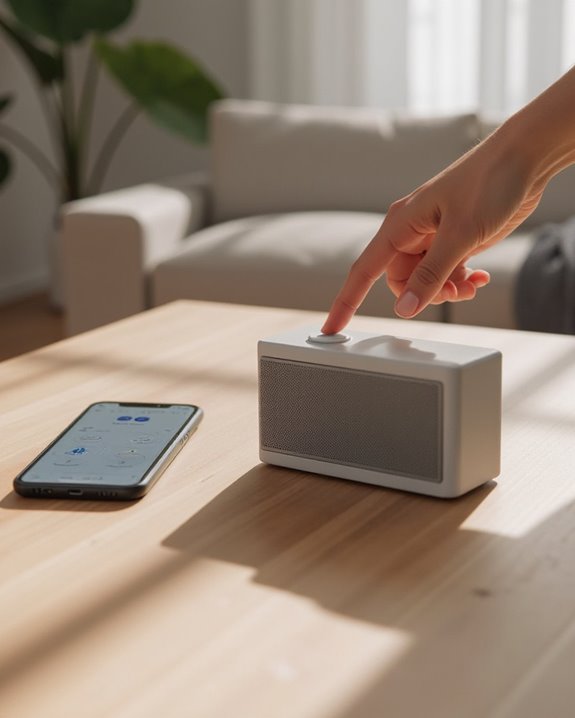
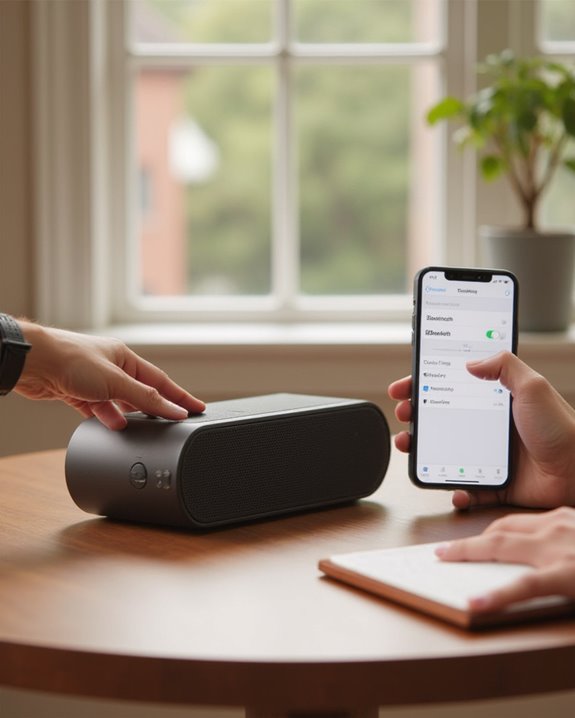
- Engage the proper selector buttons for the speakers you want to use and adjust individual volume levels.
- Ensure all connections are firmly tightened to prevent signal loss and rely on the built-in amplifier protection circuitry.
- Test your setup with one speaker pair directly connected first, then add additional pairs while maintaining impedance above 8 ohms.
Connecting Your Amplifier to the Speaker Selector
Establishing proper connections between the amplifier and Monster Cable Speaker Selector forms the foundation for ideal audio performance throughout a multi-room speaker system. The process requires matching the amplifier’s left and right output channels to the corresponding input terminals on the speaker selector unit, ensuring precise stereo balance as labeled on the back panel.
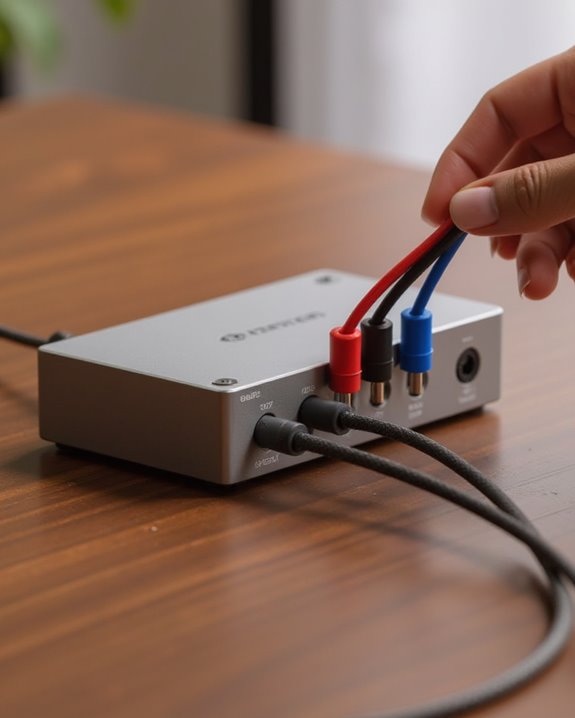
For best signal transfer, utilize pre-terminated speaker wire up to 14 gauge with Angled Gold Pin connectors, which create secure, low-loss connections between components. When installing the Monster Cable speaker selector, verify all connections are firmly seated and tightened to prevent interruptions or potential system damage. The unit’s built-in Amplifier Protection circuitry maintains stable impedance during connection, safeguarding expensive equipment from overload conditions while distributing audio signals efficiently to multiple speaker pairs throughout the home. Additionally, incorporating zone control can allow for independent audio management across different rooms, enhancing overall system versatility.
Wiring Multiple Speaker Sets to the Output Terminals
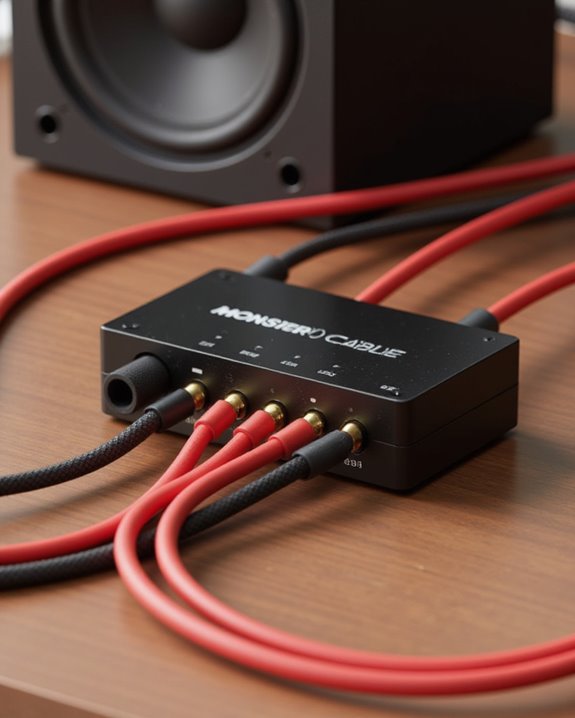
With the amplifier properly connected to the speaker selector unit, users can now proceed to the output side of the system where multiple speaker sets will be integrated. Each speaker pair must be carefully attached to its designated terminals on the Monster speaker switcher, ensuring that one speaker set connects to Speaker 1, another to Speaker 2, and so forth.
When connecting each speaker, make sure to maintain consistent polarity by attaching positive wires to red terminals and negative wires to black ones. For best performance, use cables with Angled Gold Pin connectors and wire up to 14-gauge thickness. The Monster MSS-6 model accommodates up to six speaker pairs, each requiring secure terminal connections. After wiring is complete, verify all connections are tight to prevent signal loss or potential shorts during operation.
For enhanced wireless options, this setup can be paired with compatible audio systems featuring Bluetooth 5.0 connectivity.
Testing and Troubleshooting Your Speaker Setup
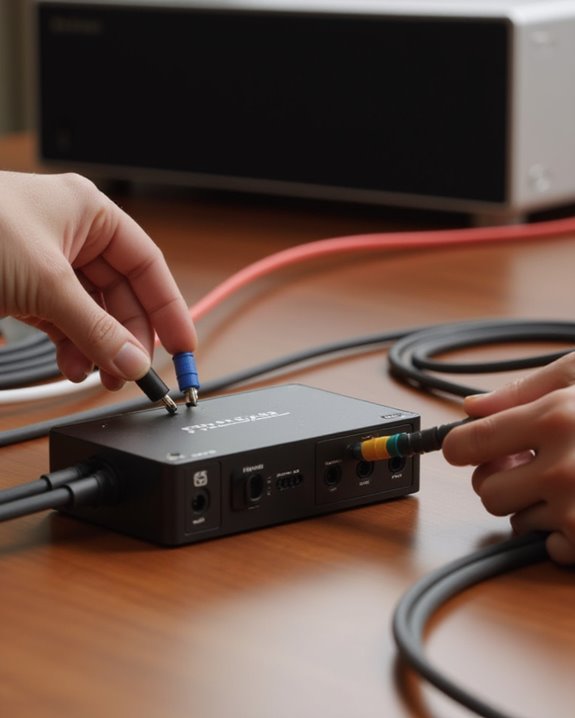
Once all connections have been properly made, thorough testing becomes essential to guarantee ideal performance from the Monster Cable Speaker Selector system. When issues arise, such as the receiver shutting down or sound coming from only one side, systematic troubleshooting can identify the source of the problem. Begin by using a digital multimeter to test for shorts in the wiring from the new Monster MSS4 to each speaker. Next, verify that volume control switches maintain impedance above 8 ohms, as lower values can trigger protection circuits in receivers like the Yamaha RX-V765. For definitive testing, bypass wall controls by connecting one speaker set directly to the selector. Finally, make sure all selector buttons are properly engaged and that all cable terminations match their corresponding terminals, using pre-terminated cables whenever possible for ideal signal transfer. To optimize your setup for better connectivity, ensure compatibility with speakers that feature Bluetooth 5.3 technology.
Frequently Asked Questions
How to Connect a Speaker Selector?
Like conducting an orchestra, speaker selector connection requires careful attention. One connects the amplifier outputs to selector inputs, wires speakers to output terminals, and confirms compatibility. Proper audio routing guarantees intimate soundscapes during installation. Speaker maintenance follows naturally.
How Do You Connect Speaker Wire Cable?
When connecting speaker wire cable, one should begin with proper gauge selection, followed by wire stripping to expose conductors. A thorough polarity check guarantees correct pairing, while connector tools secure the wires to terminals for ideal sound transfer.
How Does a Speaker Selector Switch Work?
A speaker selector switch manages audio routing through switching technology that controls signal path to multiple speakers. It maintains proper impedance effects between amplifier and speakers, preventing overload while allowing intimate listening experiences in different rooms.
How Do I Connect 3 Speakers in Series?
Like threaded pearls on a necklace, series connection involves linking speakers positive-to-negative sequentially. Total impedance adds up, affecting power distribution. Proper wiring benefits include balanced sound, though amplifier compatibility must be considered.