As an Amazon Associate, we earn from qualifying purchases. Some links may be affiliate links at no extra cost to you. Although our opinions are based on curated research, we haven't used these products. Articles generated with AI.

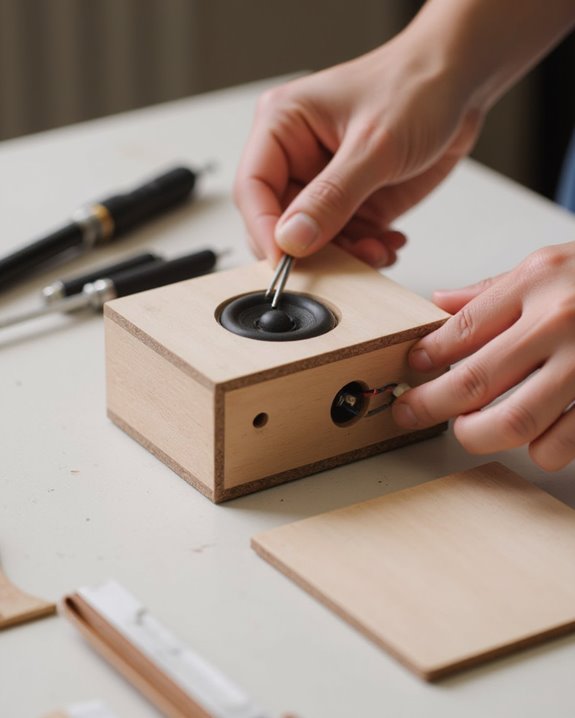
How To Make A Mini Speaker Box

To make a mini speaker box, first select appropriate materials like MDF at 1/8-inch thickness for rigidity. Calculate internal volume based on driver specifications, typically adding 2 inches to speaker dimensions for proper spacing. Cut panels precisely using a jigsaw and router, then install crossover components, battery power system, and Bluetooth module. Apply silicon caulk to all seams for complete sealing, add poly fill for resonance control, and test connections before final assembly. Proper construction techniques guarantee best sound quality in even the smallest enclosures.
Key Takeaways
- Calculate internal box volume based on your speaker’s specifications to ensure proper bass response.
- Choose materials like MDF (1/8 inch thickness) for consistent density and sound quality.
- Measure and cut speaker openings precisely using a compass, jigsaw, and router.
- Seal all internal seams with silicon caulk and add poly fill to minimize resonance.
- Install appropriate power components (batteries, Bluetooth module, voltage regulator) based on portability needs.
Understanding Speaker Box Fundamentals
Why do speaker boxes matter so much in sound reproduction? Speaker enclosures serve as critical components that directly influence audio quality by controlling how sound waves propagate. A properly designed speaker box separates front and rear sound waves, which prevents phase cancellation and enhances bass response. Internal volume, calculated by multiplying the depth, height, and width dimensions, must align with manufacturer specifications to avoid distortion.
Materials selection greatly impacts sound character, with pine providing an excellent balance of weight and tonal properties for mini enclosures. Medium density fiberboard offers another viable option due to its consistent density and smooth finish. For the speaker baffle, which holds the driver, birch plywood provides superior strength. The enclosure must be completely sealed to maintain proper air pressure relationships, as even small leaks can compromise the carefully calculated acoustic properties of the speaker box.
Selecting the Right Materials and Components
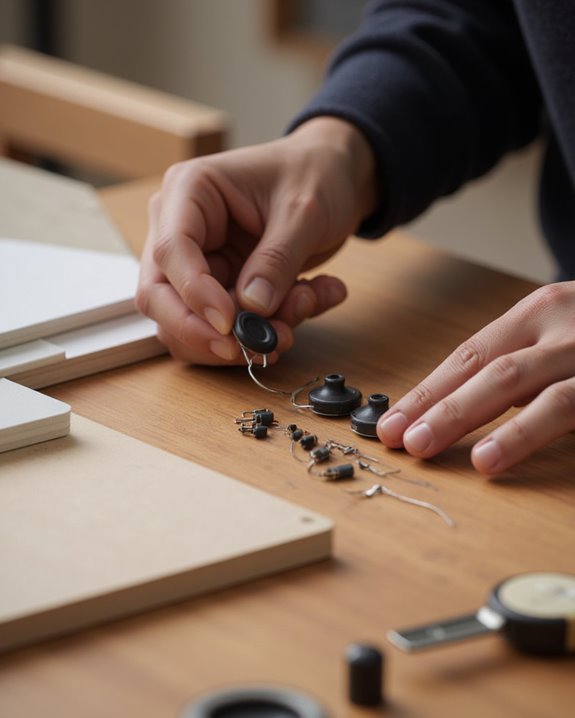
The foundation of any successful mini speaker box begins with carefully selecting appropriate materials and components that work harmoniously together. MDF stands out as the ideal enclosure material, offering rigidity and workability at just 1/8 inch thickness for mini speaker applications.
For audio reproduction, quality drivers from brands like Dayton or Focal should be selected based on specific frequency responses—woofers handling 60Hz-6kHz, midrange covering 200Hz-6kHz, and tweeters managing 4kHz-20kHz. The power system requires careful consideration, with 18650 Lithium-Ion cells configured in series to provide 11.1V for the amplifier. A Bluetooth module paired with a DC step-down regulator guarantees wireless connectivity while maintaining stable 5V power. Sealed enclosures work best for drivers under 6.5 inches, creating punchy sound with minimal resonance when properly calculated using speaker parameters.
To enhance audio output, consider integrating a 10W stereo system for clear and powerful sound in demanding environments.
Recommended Products

Clear Sound Quality: This mini speaker features a built-in speaker unit with a miniature cavity design. Rated at 1 watt (8 ohms impedance), it delivers clear and full sound, suitable for space-constrained electronic projects.

【Stable performance】: The use of high-end built-in magnetic speaker, durable
![Adafruit Mini Metal Speaker w/Wires - 8 ohm 0.5W [ADA1890]](https://m.media-amazon.com/images/I/41Ok-JImo-L._SL500_.jpg)
Tiny 1" diameter speaker cone is the perfect addition to any small audio project
Calculating the Perfect Box Dimensions
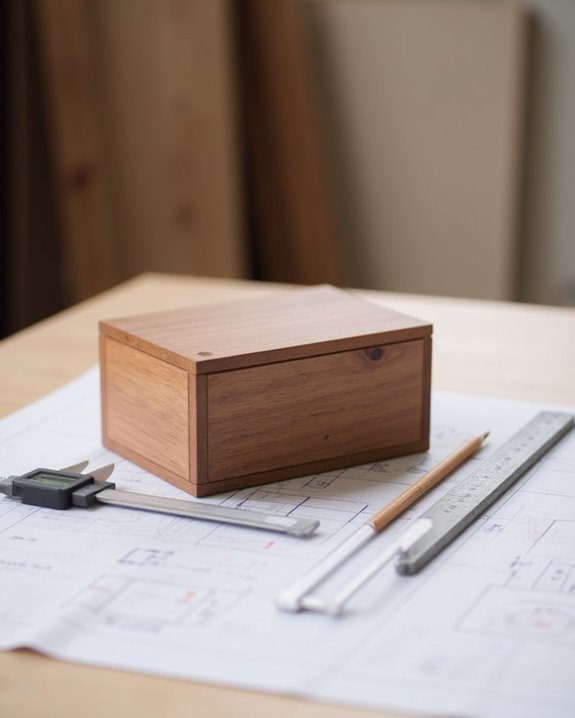
Precisely calculating dimensions for a mini speaker box guarantees ideal acoustic performance, transforming an ordinary project into a high-fidelity sound system. Begin by measuring the speaker’s depth, height, and length from its template, then add 2 inches (5 cm) to the depth for proper internal spacing. The internal volume, calculated by multiplying these adjusted dimensions, must match the manufacturer’s recommended range for ideal bass response.
When designing the front and rear panels, account for material thickness, especially when using MDF, to maintain the calculated internal volume. The rear panel should include appropriate cutouts for wire connections, while the front requires carefully positioned mounting screw holes for secure speaker attachment. For specialized calculations, utilize online tools from DIYaudio.com, which require speaker datasheet specifications to determine precise dimensions for either sealed or ported enclosures. If you want to go further and boost your output, learning how to make a mini speaker amplifier can significantly improve the overall sound performance of your build.
Recommended Products

Optimal Acoustic Design: With 0.21 Cubic Feet of air space, each 6x9 speaker box features a carefully engineered MDF enclosure that enhances sound quality for your car or truck, delivering optimal acoustics by minimizing vibrations and sonic distortions


【Bluetooth Speaker DIY Kit】No soldering iron, Our Kits include laser-cut wooden components,2 pcs Subwoofer 2 inch 4 ohm 3 w Full Range Speaker, Dual Channel Bluetooth Amplifier Board, Clear&Simple Instructions, It needs to be powered by 4 batteries (not include) when using, and it can be connected to the mobile phone or computer
Measuring and Marking Your Design
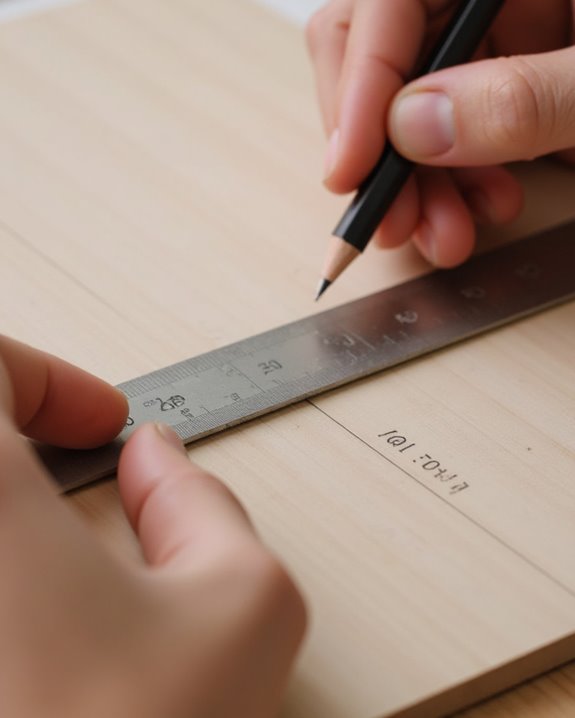
Now that dimensions have been calculated, moving to physical layout requires accurate tools and a methodical approach for translating measurements into markable guidelines. The craftsperson should gather a straight ruler, L-ruler, and vernier caliper to precisely measure each component dimension, adding the recommended 2 inches to speaker depth for ideal acoustic performance.
When preparing the board for speaker cutouts, careful marking prevents costly errors during construction. Place the materials on a flat surface, then use a compass to trace perfect circles for speaker openings, ensuring each measurement aligns with manufacturer specifications. Once marked, the need to cut precisely becomes paramount; an x-acto knife creates clean initial outlines on MDF before moving to power tools. Proper measurement now prevents acoustic compromises later, as dimensional accuracy directly impacts the enclosure’s final sound quality. To enhance your design’s appeal, consider incorporating elements that support speakers with deep bass capabilities for a richer audio experience.
Cutting and Assembling the Enclosure
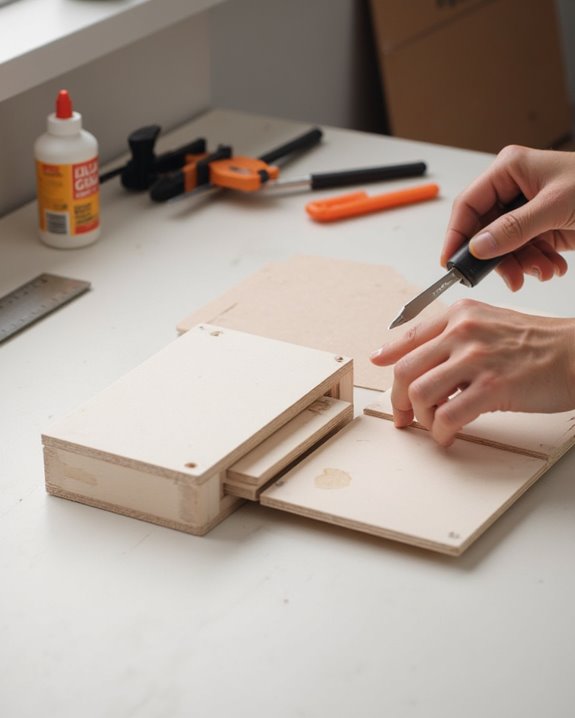
Transforming marked designs into functional speaker components requires precise cutting techniques and methodical assembly. When making a DIY Bluetooth speaker, craftspeople trace speaker patterns onto MDF board, including openings for audio components, then use a jigsaw and router to cut each piece with precision. For circular holes, they drill a starter opening to insert the jigsaw blade, ensuring clean cuts through the material.
After cutting, all edges require thorough sanding to create smooth surfaces, preventing splinters and enabling professional assembly. Interior bracing with 1-inch battens covering 60 percent of each edge greatly enhances structural rigidity and minimizes unwanted vibrations. The final assembly process involves pre-drilling holes in the appropriate locations, applying carpenter’s glue to all joining surfaces, and securing pieces with furniture clamps to create an airtight enclosure that delivers ideal sound performance.
Recommended Products

Note: This product is designed specifically for DIY speaker projects and includes only the wooden panels; you will need to assemble the cabinet yourself and purchase a speaker kit separately for installation.

Delivers a natural relaxed sound with flat smooth response

POWERFUL BASS PACKAGE: Dual 8" subwoofers deliver 800W peak power; includes a 1200W peak mono amp (CEA-2006 compliant) with 200W RMS @ 4-ohm and 400W RMS @ 2-ohm for tight, clean bass.
Installing the Electronic Components
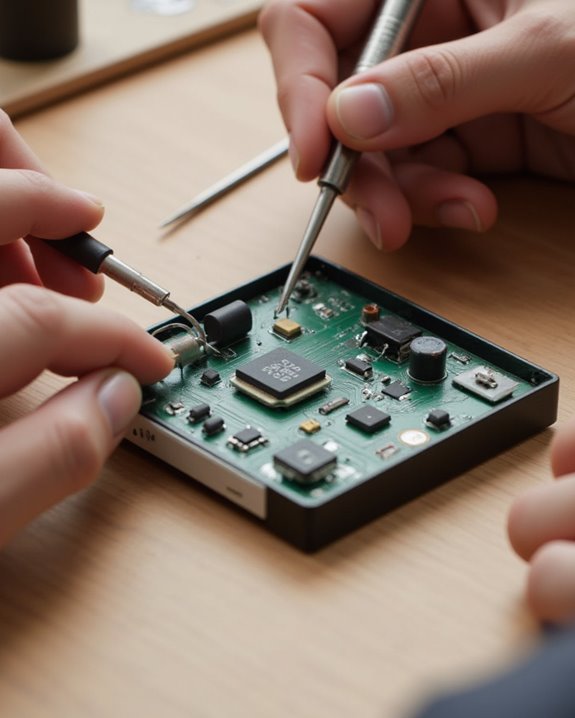
Once the speaker enclosure has been assembled, installing the electronic components requires careful attention to detail and proper connectivity to achieve ideal sound reproduction. Begin by soldering two 3.7V batteries in series to reach 7.4 volts, using heat shrink tubes to prevent shorts. Connect these batteries to the protection board with male-female connectors, ensuring both safety and ease of future replacement.
Next, solder the switch to the protection board and then to the DC step-down module, which regulates voltage from 7.4V to 5V. The bluetooth amplifier board connects to this module, with proper connection verified by the blue indicator light. Finally, solder the speakers to their designated connectors and integrate them with the Bluetooth module, securing them firmly in the enclosure using washers, nuts, and bolts for ideal audio signal transmission.
To enhance the build’s durability for outdoor use, incorporate an IPX7 waterproof rating by sealing the enclosure against submersion.
Recommended Products

Over charge voltage range: 4.25v±0.05v. Over discarge voltage range: 2.9v±0.05v. Max. working current 8A. Max peak current: 10A. Working current: 8.4V - 9V.

HIGH-ACCURACY, HIGHLY DURABLE: High-accuracy voltage detection circuit, fine workmanship and durable, Effective life greater than 50000 hours.

This is a 2S 8A 7.4v balanced 18650 lithium ion lithium battery BMS charger protection board, current limiting protection about 10A.
Sealing and Soundproofing Techniques
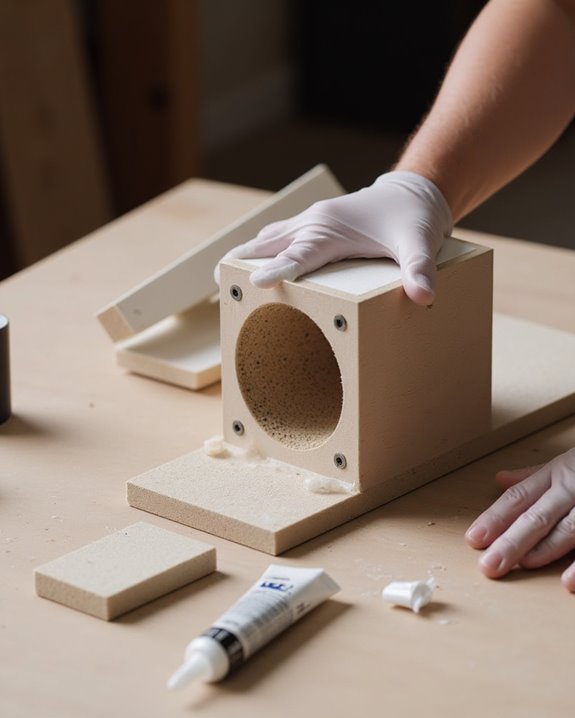
Proper sealing and soundproofing of a mini speaker box greatly enhance sound quality while eliminating sound leakage that diminishes bass reproduction. Apply silicon caulk to all internal seams and openings, allowing 12-24 hours for curing, creating an environment where audio quality can reach its full potential. For ideal audio systems, seal panel edges with woodglue, which can be quickly dried using a hairdryer to reduce waiting time to minutes rather than hours.
To guarantee your mini speaker sounds just as good as larger models, add 1 inch of poly fill to the back, top, and bottom surfaces, minimizing internal resonance and unwanted vibrations. Finally, caulk any remaining openings around mounted speakers or connectors with silicon caulk, completing the soundproofing process and maximizing bass response and clarity. For inspiration on what a finished compact build can sound like, check out some of the best small powered speakers available today to set a quality benchmark for your project.
Recommended Products

100% Waterproof and Weatherproof: This 100% silicone formula offers protection from water damage, providing a reliable seal in areas exposed to harsh weather

100% Waterproof and Weatherproof: 100% silicone formula offers protection against water damage, providing a reliable seal in areas prone to harsh weather

Waterproof sealant: This clear caulk seals out air, water, and moisture with 100% silicone as cured
Testing and Tuning Your Mini Speaker
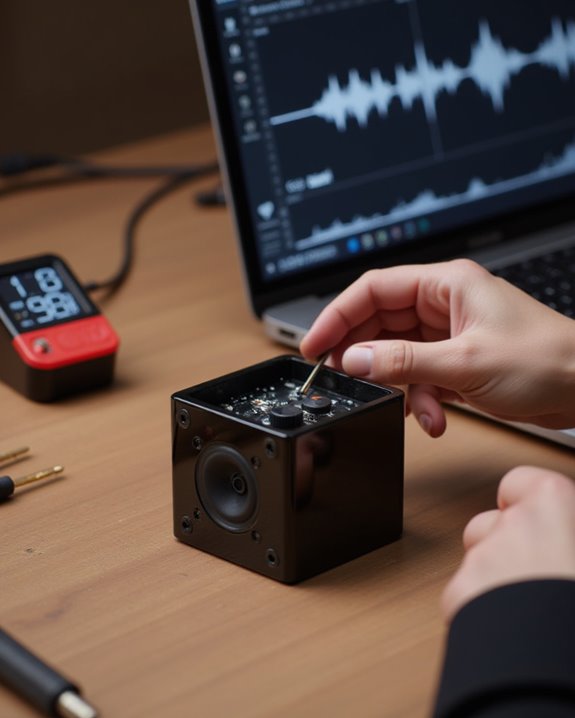
Before finalizing your mini speaker project, thorough testing and tuning must be performed to guarantee ideal performance and sound quality. Once assembled, conduct a complete circuit test to verify all components function properly, especially the Bluetooth module and speaker connections. Charge the batteries fully and use a DC meter to monitor the Lithium battery consumption during extended testing, tracking power draws to calculate expected runtime—systems can achieve up to 50 hours at quarter volume with a 7Ah battery pack.
For ideal acoustic performance, verify that the internal box volume matches speaker specifications, adding approximately 1 inch of poly fill to reduce unwanted resonance. Test sound output at various volume levels, ensuring the system delivers clear, balanced audio even at maximum volume without distortion, making final adjustments as needed.
Customizing and Finishing Touches
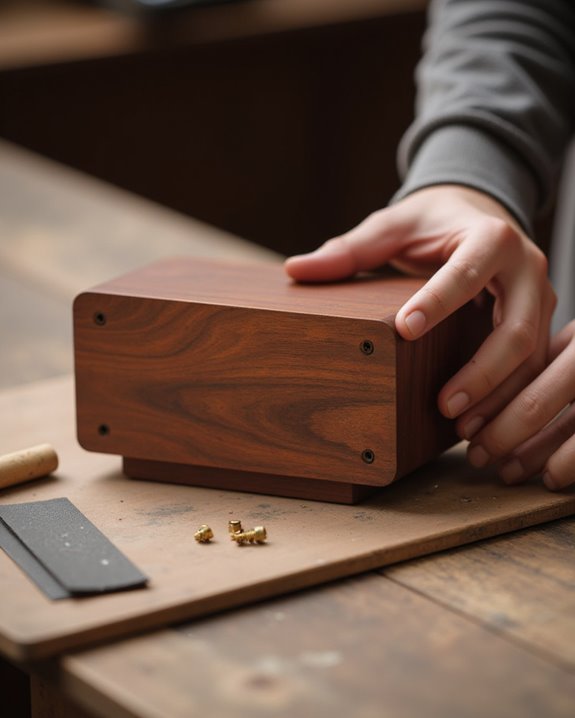
The aesthetic appearance and personal touches of your mini speaker box transform a basic audio device into a customized creation that reflects individual style and preferences. Make sure to sand all wooden edges with fine-grit sandpaper for a smooth, professional finish that’s pleasant to touch. Solar film provides everything you need for a cost-effective alternative to paint, requiring precise cutting and secure adhesion to the enclosure. For fabric customization, contact cement used to make durable side panels from materials like denim creates distinctive textures, with excess trimmed using an X-ACTO knife. Add exactly 1 inch of poly fill to minimize resonance and enhance audio quality. Finally, install a handle by drilling precise holes and fastening with screws, improving portability while completing the speaker’s personalized appearance.
Frequently Asked Questions
How to Make Small Speaker Box at Home?
60% edge bracing guarantees ideal sound in small speaker boxes. Creating one requires basic home tools, precise assembly steps—measuring, cutting MDF, drilling holes, sealing seams—and testing methods to verify acoustic performance before final installation.
What Is the Best Material for a DIY Speaker Box?
For DIY speaker enclosures, MDF offers ideal acoustic properties with minimal resonance, while birch plywood provides superior material strength. Particle board creates a “dead” sound. Pine presents an eco-friendly option but sacrifices durability in high-stress applications.
How to Make a Simple Speaker System?
Many DIY enthusiasts like Marco transformed old bookshelf materials into impressive sound systems. Creating a simple speaker system requires connecting speakers to a Power Source, establishing an Audio Input connection, and incorporating Volume Control functionality.
How to Do a Small Speaker?
Creating a small speaker involves balancing portable design with audio quality considerations. One should select compact drivers, construct a properly sized enclosure, and incorporate sufficient battery life for extended listening pleasure wherever intimacy is desired.