To make a speaker cable for a guitar amp, select 18-gauge unshielded oxygen-free copper wire and mono 1/4-inch TS plugs for amps under 100 watts. Gather a soldering iron (30-45 watts), wire cutters, and needle-nose pliers. Measure needed length, cut wire, strip 1/2 inch of insulation, and twist exposed strands. Solder connections to plug terminals, guaranteeing proper polarity. Test for continuity with a multimeter (approximately 2.1Ω for a six-foot cable). These steps guarantee reliable connections that protect valuable equipment.
Key Takeaways
- Use 18-gauge tinned oxygen-free copper wire for amps under 100 watts to maintain optimal signal transfer.
- Strip approximately 1/2 to 1 inch of outer jacket without damaging strands, then twist exposed ends tightly.
- Tin the wire ends with solder using a 30-45 watt iron to prevent oxidation and ensure better connections.
- Solder ground wire to the plug’s sleeve and signal wire to the tip, ensuring secure connections.
- Test completed cables with a multimeter for continuity and absence of shorts before connecting to equipment.
Understanding Wire Gauge Requirements for Guitar Amp Speakers
The selection of appropriate wire gauge forms a critical foundation for building effective guitar amp speaker cables. Musicians must understand that for standard guitar amplifiers under 100 watts, 18 gauge SPEAKER wire provides the ideal balance of performance and practicality, handling power requirements without notable signal loss over typical stage distances. While vintage amplifiers often contain lighter gauge wiring that performs adequately for short cable runs, this represents the practical minimum for reliable connections.
Although 14 and 16 gauge options appear in larger sound systems, they rarely offer meaningful advantages in guitar applications unless dealing with unusually high power demands. Heavier 10 gauge wire, while suitable for industrial applications or massive PA systems, presents unnecessary challenges for guitar amp builders, including difficult soldering and reduced flexibility. The 18 gauge standard guarantees efficient signal transfer while maintaining ease of handling during construction.
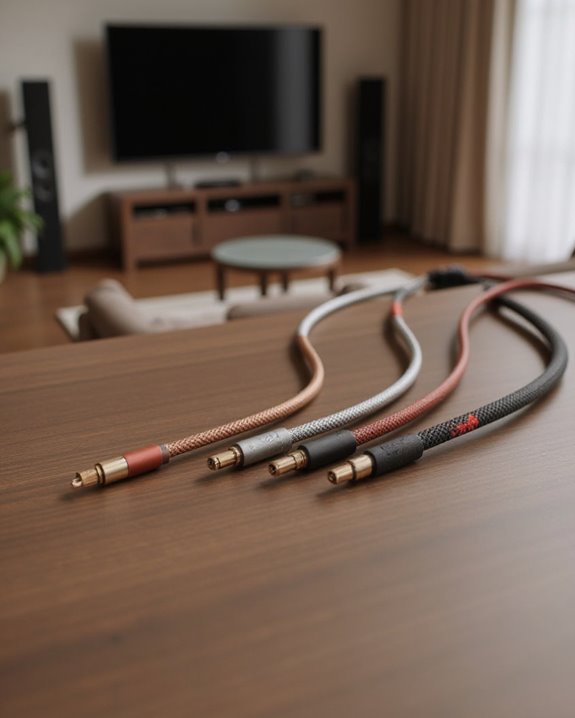
Selecting the Right Materials: Wire and Connectors
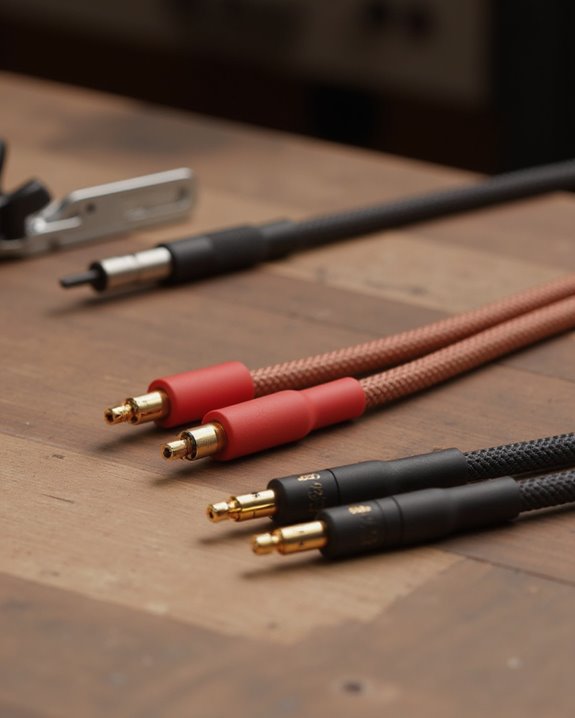
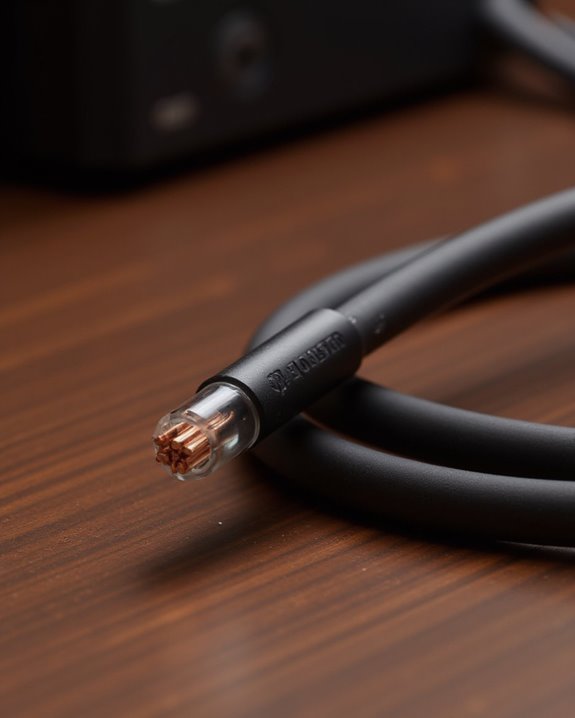
Having established the appropriate wire gauge, musicians must now focus on specific material qualities that maximize performance in guitar amplification systems. Quality 18 gauge, 462 stranded tinned oxygen-free copper wire represents the ideal choice for most setups, offering superior conductivity without the harshness sometimes associated with silver-plated alternatives. This copper wire construction delivers reliable signal transfer while remaining manageable during installation.
When selecting materials, guitarists should prioritize un-shielded wire for speaker connections, as shielded options can actually damage amplifiers due to the high voltage and low impedance characteristics of guitar systems. Matching connector types between cabinet internals and external connections guarantees consistent performance throughout the signal chain. Premium connectors, while representing a modest investment, prevent connection failures that could interrupt performances, making them an essential component alongside properly selected copper wire.
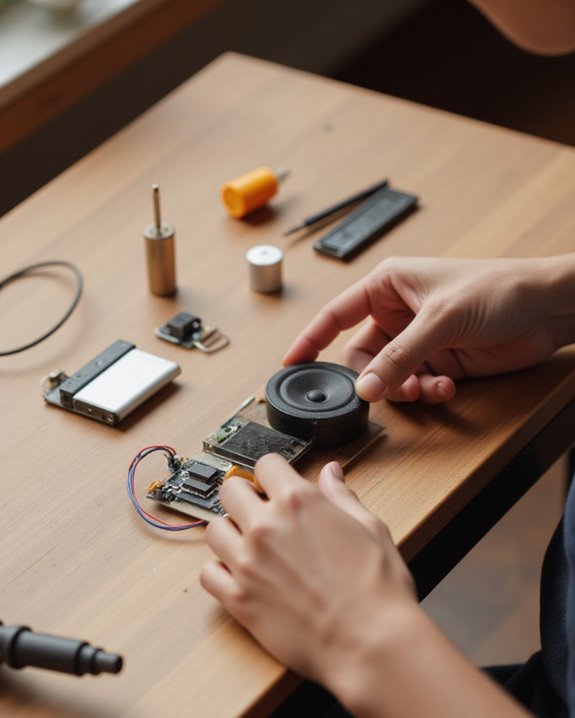
Gathering Essential Tools for Cable Assembly
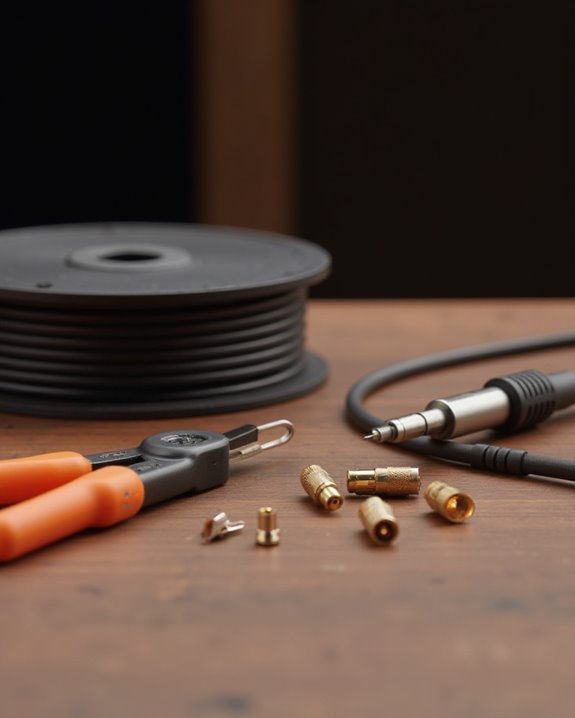
Before undertaking speaker cable assembly, musicians must gather appropriate tools that guarantee proper connections and long-lasting reliability in their guitar amplification systems. A soldering iron with 30-45 watts power rating stands as the cornerstone instrument, essential for creating secure connections when working with shielded cable components. Wire cutters and needle nose pliers complement this setup, allowing for precise trimming and manipulation of wire strands during the preparation process.
To properly insulate connections, a lighter or hot air gun becomes necessary for shrinking heat shrink tubing around soldered joints, protecting them from environmental damage. Musicians may also consider adding a wire stripper to their toolkit, as this optional but valuable tool removes insulation efficiently, eliminating the risk of damaging the internal conductors that carry the audio signal through the shielded cable.
Measuring and Cutting Your Speaker Wire to Length
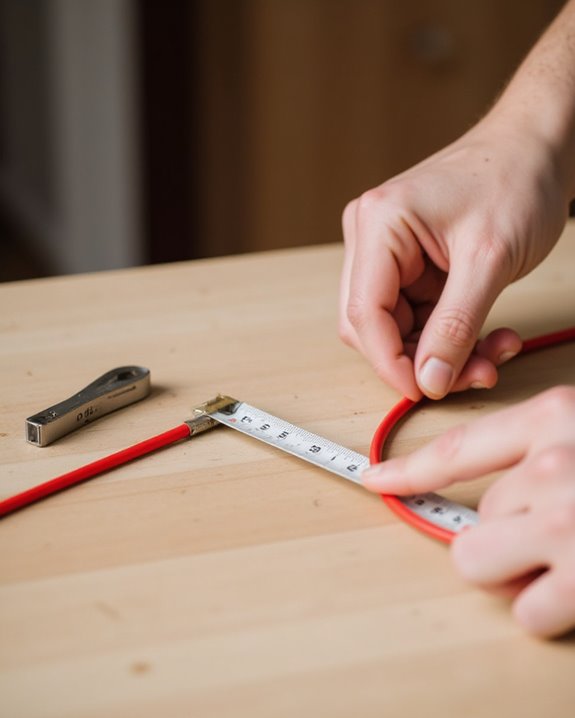
Accurate measurement forms the foundation of a successful speaker cable assembly project, ensuring ideal performance without signal degradation or potential damage to valuable equipment. When creating Guitar Cables, technicians should measure the distance between amplifier and speaker cabinet, adding several extra inches to accommodate connections and movement flexibility.
For amplifiers under 100 watts, 18-gauge wire provides sufficient conductivity while remaining cost-effective, typically priced around two dollars for a standard six-foot length. After selecting appropriate wire gauge, use sharp wire cutters from your toolkit to make precise, clean cuts that eliminate fraying. The technician should verify that the final length matches the initial measurements before proceeding.
Unlike instrument cables, guitar amp speaker connections typically utilize unshielded wire, which prevents potential equipment damage while maintaining ideal signal transfer between components.
Proper Wire Stripping Techniques
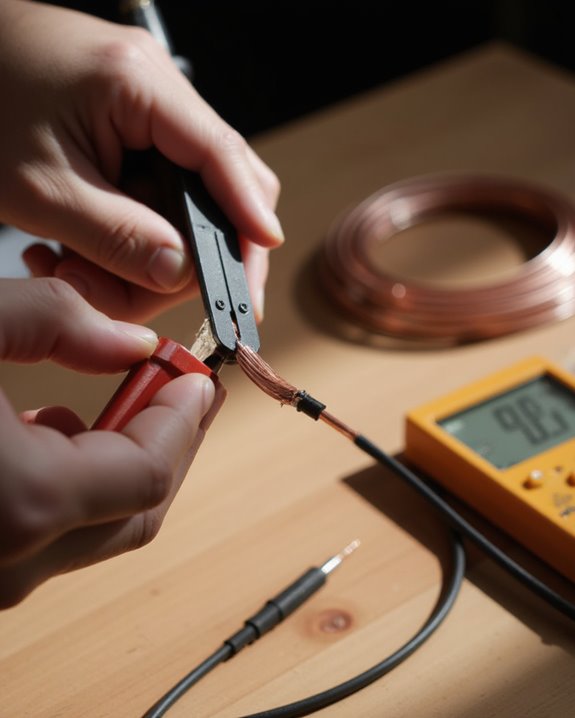
With measurements complete, technicians must now prepare the wire ends for connection through proper stripping techniques. Using wire strippers or wire cutters, carefully remove approximately 1/2 to 1 inch of the outer jacket without damaging the delicate conductor strands beneath. Musical instruments, particularly guitar amplifiers, require flawless connections to maintain tonal integrity and prevent signal degradation.
After separating the individual conductors, gently twist the exposed strands together to prevent fraying and enhance solder adhesion. This meticulous preparation guarantees ideal current flow when the cable connects instrument to amplifier. Inspect the stripped wire thoroughly for any nicks or breaks in the strands, as damaged wires compromise performance and may lead to equipment failure. Remember to expose only the necessary amount of wire, minimizing the risk of short circuits in high-power amplification systems.
Preparing Wire Ends for Connection
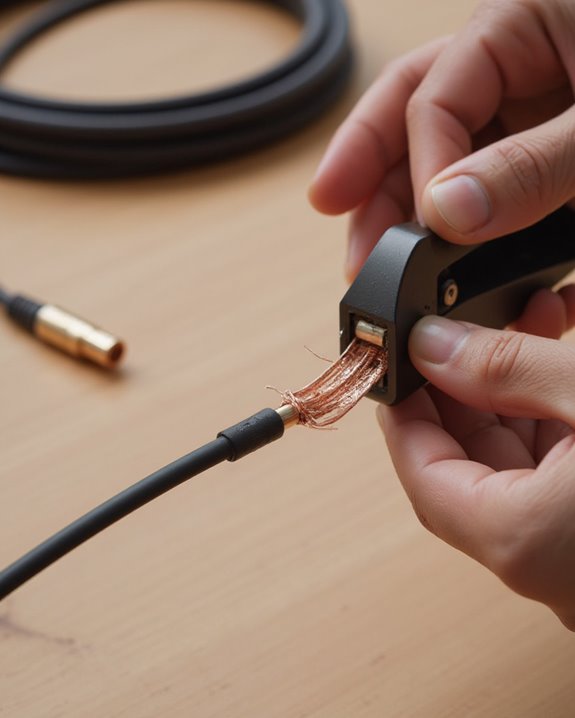
Once the wire has been properly measured and cut, technicians must carefully prepare the ends for ideal connection to the guitar amplifier’s terminals. Using good quality wire cutters or strippers, they remove approximately ¾ inch of the outer jacket to expose the inner conductors, taking care not to damage the strands beneath.
The exposed copper strands should be tightly twisted together to prevent fraying and guarantee even contact throughout the connection point. For best results, technicians apply a thin layer of solder to the twisted ends using a 30-45 watt soldering iron, a process known as “tinning.” This critical step reduces oxidation while dramatically improving connection reliability. Importantly, builders should confirm they’ve selected unshielded wire of appropriate gauge—18 gauge for amplifiers under 100 watts—before proceeding with terminal connection.
Attaching Connectors: Soldering vs. Crimping Methods
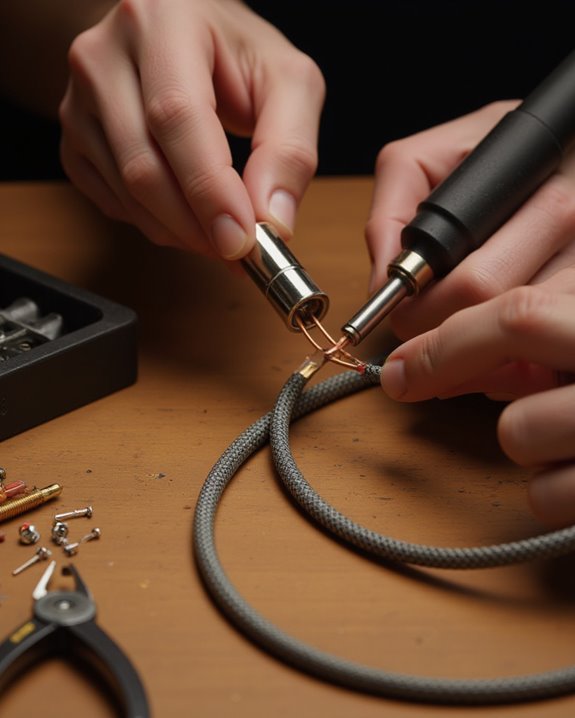
After preparing the wire ends, technicians must decide between two primary methods for attaching connectors to their guitar amplifier speaker cables: soldering or crimping. Soldering, preferred by many in the online community, utilizes a 30-45 watt iron to create permanent connections with approximately 2.1 Ω impedance, ensuring ideal signal integrity. This method involves heating silver solder until it flows between wire strands and connector tabs, creating a fusion resistant to vibration.
Crimping, alternatively, offers faster assembly using mechanical pressure rather than heat. While popular in the marketplace for its simplicity, this approach may not provide the same long-term durability for high-power applications. Quality connectors costing around $1.50 each are essential regardless of method, though soldered connections typically deliver superior electrical performance for guitar amplifier applications.
Testing Your Cable for Continuity and Shorts
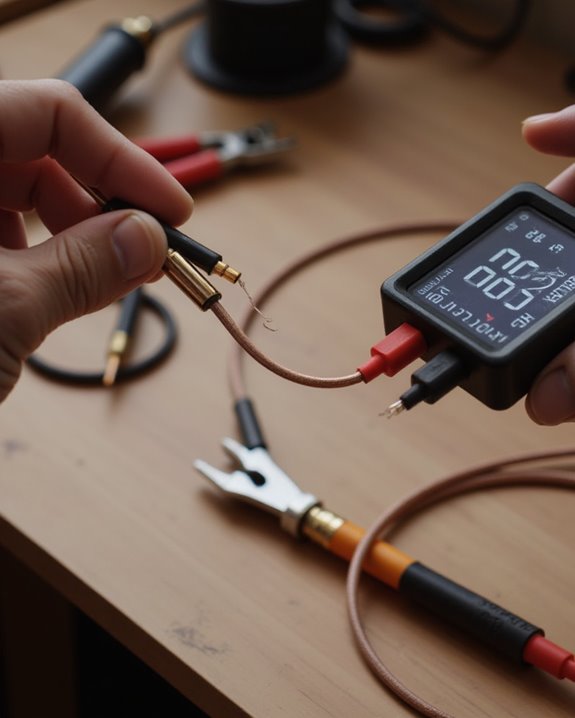
Proper testing represents the essential final step before connecting a newly built speaker cable to a guitar amplifier. Using a multimeter, technicians should check continuity by placing probes at both ends of the conductor, confirming a reading close to 2.1 Ω for a standard 6-foot cable. This measurement, consistent with commercial Fender and Yamaha cables, verifies proper assembly.
To identify potential shorts, measure resistance between the conductor and shield; anything other than infinite resistance indicates a problematic connection that could damage equipment. Both cable terminations must display identical continuity readings, confirming the absence of internal breaks. While some builders might consider skipping this diagnostic process, anything else risks compromised performance or amplifier damage. These verification procedures, though requiring additional time, guarantee reliable connections and protect valuable equipment from preventable failures.
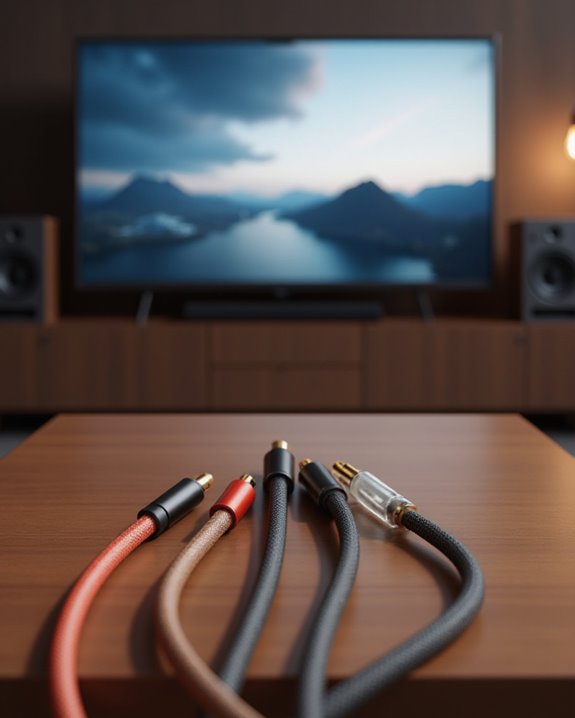
Installing the Completed Cable on Your Amp
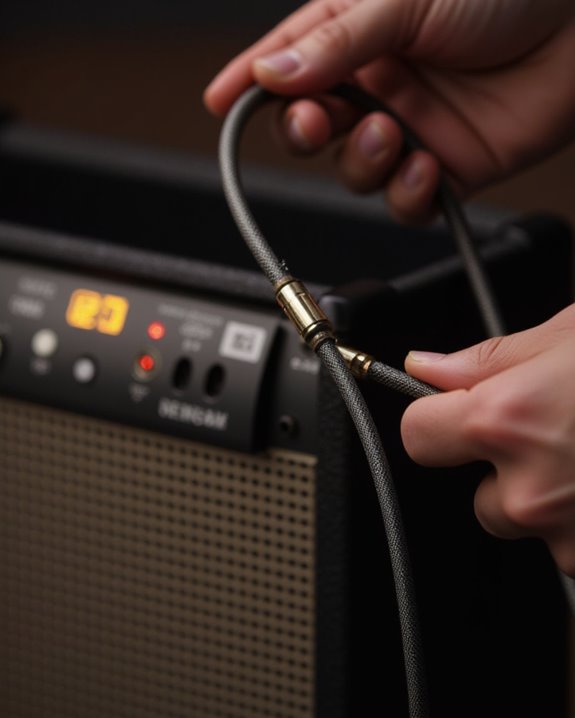
With testing complete and verification confirmed, guitar enthusiasts can proceed to install their newly constructed speaker cable between the amplifier and cabinet. The process requires connecting one end to the speaker output jack on the guitar amp and securing the opposite end to the input jack on the speaker cabinet, making sure all connections are tight and secure to prevent signal degradation.
Before finalizing installation, users should verify their cable utilizes un-shielded wire, which prevents potential amp damage from high signal voltage. Media embeds via instructional videos can offer visual guidance during this critical step. For amplifiers under 100 watts, the previously selected 18-gauge wire should provide adequate signal transfer with minimal loss. Performing a final impedance check with a multimeter confirms the connection maintains the low impedance characteristics essential for ideal tone production and amplifier performance.
Avoiding Common Speaker Cable Mistakes

Even experienced guitarists can make critical errors when constructing speaker cables, potentially damaging expensive amplification equipment or degrading sound quality. According to our leading online community of amp technicians, shielded wire should never be used for speaker connections, as the high voltage and low impedance can cause dangerous short circuits. Similarly, excessively heavy gauge wire like 10-gauge is unnecessary for amps under 100 watts, with 18-gauge providing sufficient conductivity for typical setups.
Musicians should avoid silver or silver-plated wire, which often produces harsh tones, opting instead for tinned oxygen-free copper wire for superior sonic results. Twisted pair configurations add unwanted inductance without audible benefits in short cable runs. For ideal performance, maintain consistency by using identical wire types throughout the entire signal path, from cabinet wiring to amp connections.
Frequently Asked Questions
How Do You Wire Speakers to an Amp?
When connecting speakers to an amplifier, one must carefully match speaker polarity, using 18-gauge unshielded wire for intimate sonic connection. The positive and negative terminals should align perfectly between components for best performance.
How to Prepare Speaker Wire?
Cutting corners on preparation can spell disaster. To prepare speaker wire, strip 0.5-1 inch of jacket with wire cutters, twist exposed conductors tightly, and consider tinning with solder. Always observe safety precautions throughout.
Can I Use Any Cable as Speaker Cable?
No, not all cables work as speaker cables. Using inappropriate wires can cause impedance mismatch, potentially damaging equipment. For guitar amps, unshielded cables of appropriate gauge (like lamp cord) with quality connectors are recommended.
Can a Guitar Cable Be Used as a Speaker Cable?
Using a guitar cable as a speaker cable poses serious impedance risks. The shielded design meant for instrument signals can damage amplifiers when handling high-power, low-impedance speaker connections, potentially causing catastrophic failures or short circuits.