As an Amazon Associate, we earn from qualifying purchases. Some links may be affiliate links at no extra cost to you. Although our opinions are based on curated research, we haven't used these products. Articles generated with AI.
How to Set Up Mini HiFi Speaker in 3 Easy Steps
Setting up a mini HiFi speaker system requires three basic steps. First, position speakers in an equilateral triangle with the listening area, keeping them 2-3 feet from walls and 4 feet apart for ideal sound staging. Second, connect speaker wires correctly by matching colors (white/black) to their designated ports, ensuring secure connections. Finally, plug the system into a power outlet, turn it on, and test with an audio source to verify proper operation. The following details explore advanced placement techniques for maximizing audio performance.
Key Takeaways
- Place speakers 2-3 feet from walls, 4 feet apart, forming an equilateral triangle with your listening position.
- Position tweeters at ear level on stable surfaces away from turntables to prevent vibration interference.
- Connect white and black wires to their designated slots by pressing buttons on speakers to access connection ports.
- Verify all connections with an audio source before powering on the system through an outlet.
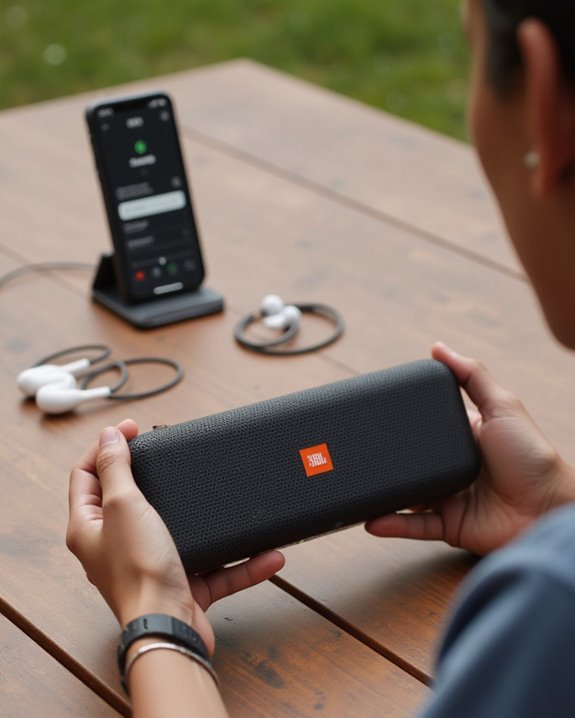
- Create optimal sound by maintaining proper speaker spacing and leveraging Bluetooth for convenient playback options.
Positioning Your Mini HiFi Speaker for Optimal Sound
Where one places their Mini HiFi speakers greatly impacts the overall listening experience, making proper positioning a critical first step in any audio setup. For maximum sound quality, speakers should be positioned 2-3 feet from walls, reducing unwanted vibrations while enhancing bass response.
The ideal arrangement forms an equilateral triangle between the speakers and the listener, with bookshelf-style units spaced approximately 4 feet apart. This configuration guarantees balanced stereo imaging when one sits down to listen to music. Tweeters should align at ear level for accurate sound reproduction, while the Left Front Speaker requires placement directly behind the Function Selector on a stable surface. Keeping speakers separate from other components, particularly turntables, minimizes interference and preserves clarity across all audio frequencies. For added versatility in setups, consider wall-mounting options to accommodate various room constraints and improve overall audio integration.
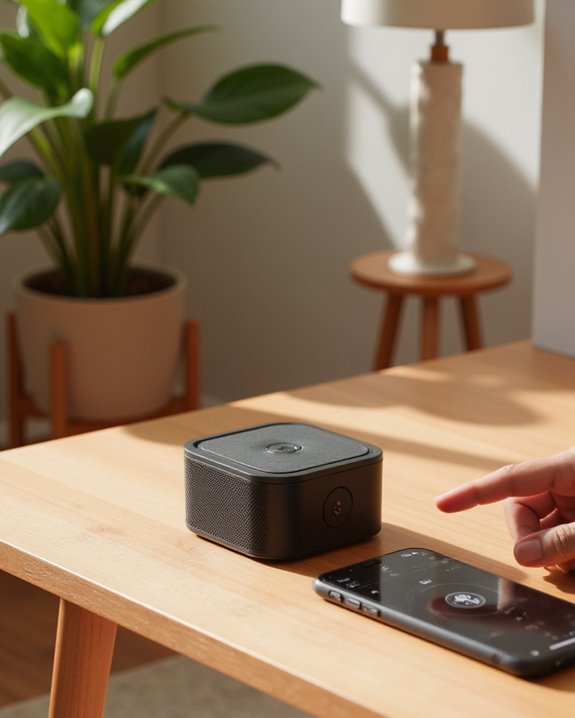
Connecting Your Speaker to Audio Sources
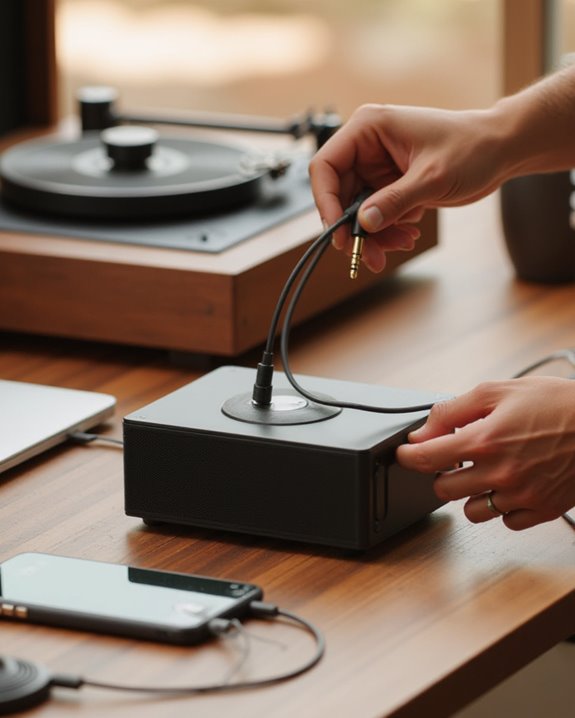
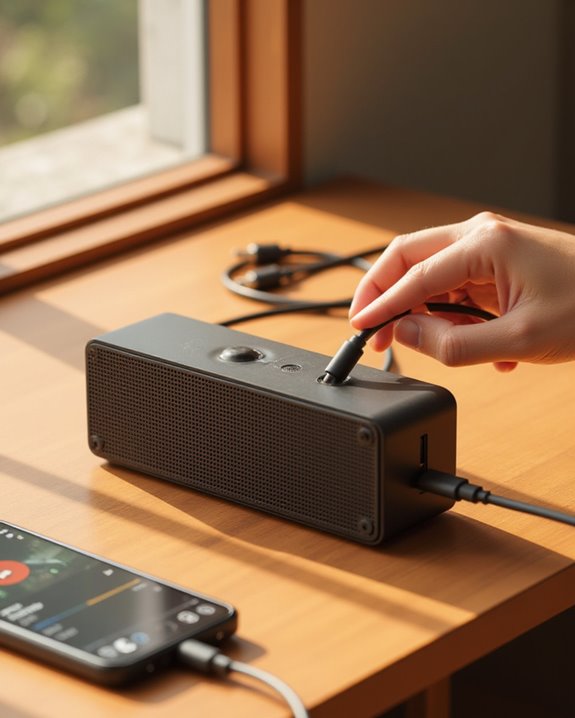
How does one properly connect their Mini HiFi system to various audio sources? The process requires matching wires to their corresponding in-ports for best signal transmission. First, identify the white wire and connect it to its designated in-port, followed by securing the black wire to its appropriate connection to maintain audio balance. Make sure to press the buttons on the speaker system to access the slots where wire tips will be inserted.
One thing to remember when establishing connections is proper placement of wire tips into designated slots, such as positioning the silver-topped wire into the top slot when connecting to turntables or amplifiers. Before powering on the system, verify all connections by testing with an audio source, ensuring stable linkage and best sound quality throughout the setup.
Moreover, for added connectivity options, your Mini HiFi system may also support a 3.5mm aux input to connect wired devices seamlessly.
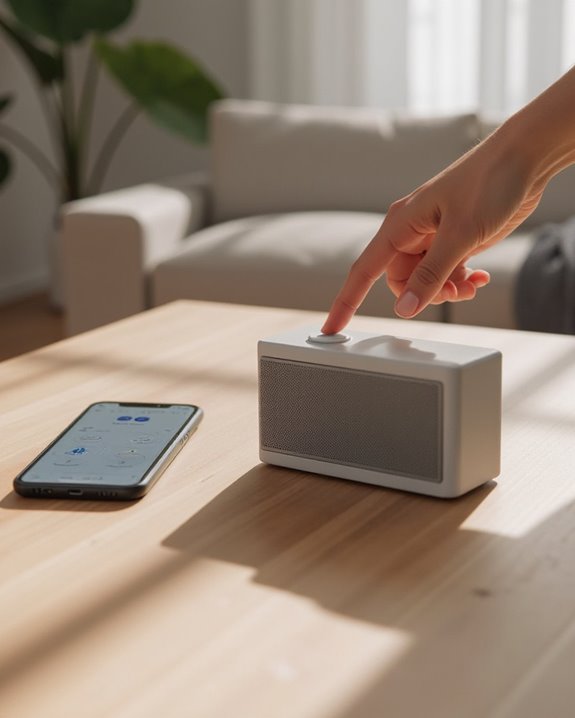
Powering Up and Fine-Tuning Your Sound System
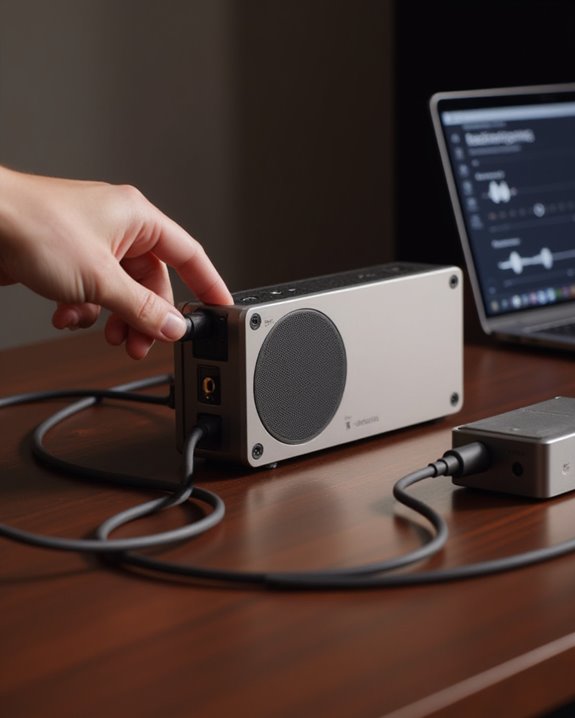
Once all connections have been properly secured, what remains is the essential step of powering up and optimizing your Mini HiFi system for ideal acoustic performance. Plug the system into an outlet via an extension cord and power it on to verify safe operation. For ideal sound staging, position speakers 2-3 feet from walls and 4 feet apart, ensuring tweeters align with ear level to enhance bass response.
Create an equilateral triangle between yourself and both speakers, maintaining equal distance to achieve balanced stereo imaging. To minimize distortion, arrange components strategically, keeping the turntable away from speakers to reduce vibrations. After completing these adjustments, if you experience any audio inconsistencies, let us know so further troubleshooting can be provided. This careful positioning transforms ordinary listening into an immersive audio experience. To maximize the system’s potential, incorporate Bluetooth streaming for versatile playback options that align with its built-in features.
Frequently Asked Questions
What Is a 3 Way Speaker Setup?
A 3-way speaker setup utilizes three separate speaker drivers, each handling distinct frequency bands: a woofer for bass, midrange driver for vocals, and tweeter for highs, creating an intimate, fully-realized soundscape for discerning listeners.
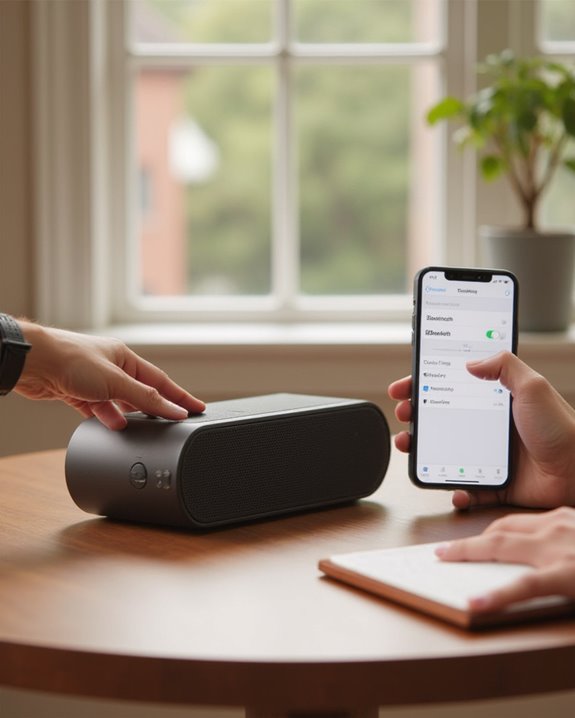
How Do I Connect My Mini Hifi Speaker to My Phone?
Like stars aligning in a cosmic dance, connect the Mini HiFi Speaker to your phone through Bluetooth Pairing. Simply activate Bluetooth on both devices, select the speaker from your phone’s list, and enjoy intimate Wireless Streaming.
What Is the 1 3 Rule for Speaker Placement?
The 1/3 rule, a fundamental acoustic rule, recommends positioning speakers one-third of the room’s depth from walls. This placement strategy reduces standing waves, optimizes bass response, and creates an intimate, balanced soundstage for your listening experience.
How Do I Connect My Hifi Speakers?
Oh, the intimate dance of Amplifier Wiring! One connects HiFi speakers by matching color-coded wires to corresponding ports—white to white, black to black. Push terminal buttons, insert wire tips (silver top upward), and verify Signal Routing is secure.