As an Amazon Associate, we earn from qualifying purchases. Some links may be affiliate links at no extra cost to you. Although our opinions are based on curated research, we haven't used these products. Articles generated with AI.
How to Remove Water From Iphone in 10 Easy Steps
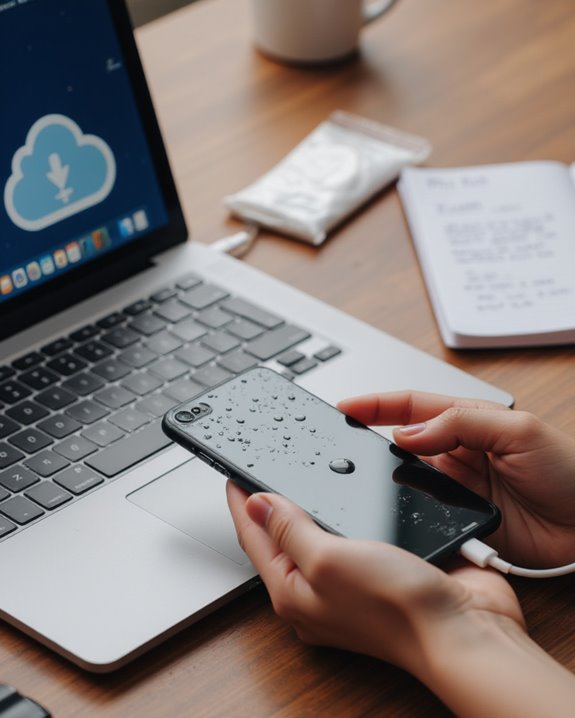
To remove water from an iPhone, immediately power off the device, remove case and SIM card tray, and gently dry external surfaces with a lint-free cloth. Download the Water Eject shortcut application, which uses vibration frequencies to expel moisture from speakers and ports. Position the device speaker-side down for ideal drainage, then allow 24-48 hours of natural air drying in a well-ventilated area. These initial steps protect internal components from potential short circuits and corrosion damage that water exposure typically causes.
Key Takeaways
- Power off the iPhone immediately after water exposure to prevent electrical shorts and component damage.
- Remove the case and SIM card to improve air circulation and accelerate the drying process.
- Use a soft, lint-free cloth to gently dab (not rub) external surfaces and ports to remove visible water.
- Download and run the Water Eject shortcut to use vibration frequencies that expel water from speaker chambers.
- Allow the device to dry naturally for 24-48 hours in a well-ventilated area before attempting to power it on.
Power off Your Iphone Immediately
Shutting down an iPhone immediately after water exposure represents the most critical first step in preventing potential damage. While newer models offer water resistant features, they remain vulnerable to liquid infiltration, which can cause electrical shorts and component failure when the device remains powered on. Evidence from iPhone 11 incidents demonstrates that prompt power-off followed by undisturbed drying greatly mitigates damage potential.
Users should resist the temptation to check functionality or use Water Eject tools from the App Store until after the device has completely dried, typically requiring 24-48 hours of non-use. This waiting period allows natural evaporation to occur without electricity flowing through potentially compromised circuits. Apple support forums consistently emphasize this approach, noting that premature reactivation often results in screen glitching, functionality loss, and permanent damage that could have been avoided with proper initial response. For added context, while some accessories boast IPX7 rating for water resistance, iPhones still demand immediate shutdown to avoid irreversible harm.
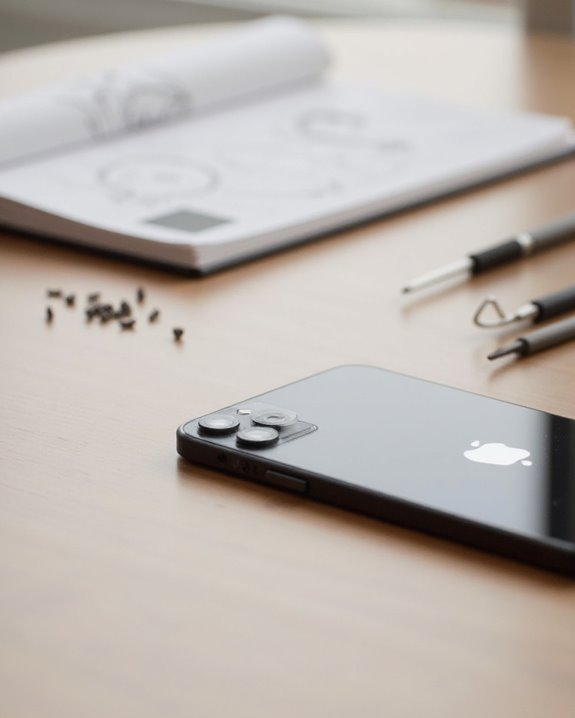
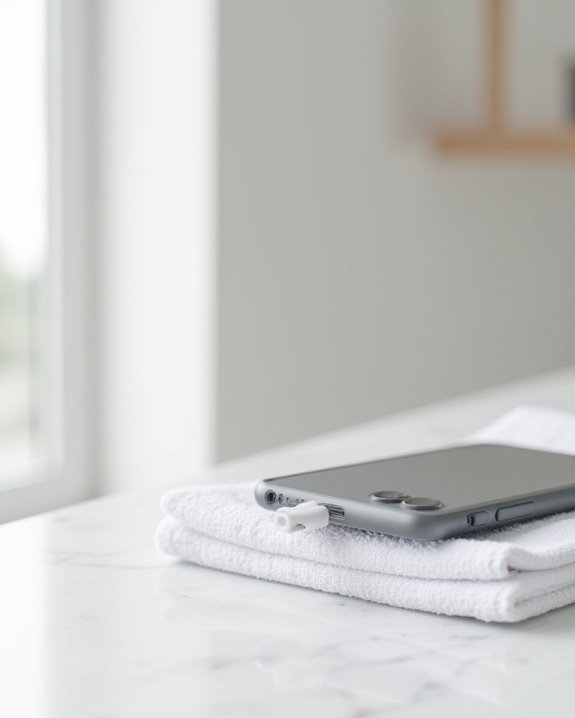
Remove Case and SIM Card Tray
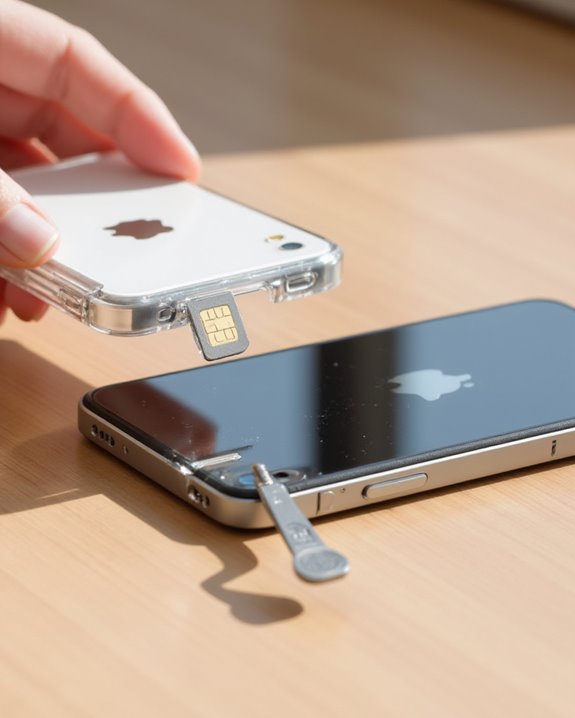
Removing any protective case and extracting the SIM card tray represents a critical second step in water damage mitigation for iPhones. Users should make sure their device is completely powered off before proceeding to minimize potential electrical damage, which is pretty much essential for preventing short circuits. The case removal allows for improved air circulation around the device, accelerating the evaporation process of any trapped moisture.
To remove the SIM card tray, locate the small pinhole on the side of the iPhone and insert the provided SIM eject tool or a straightened paperclip. Apply gentle pressure until the tray ejects, then carefully remove both the tray and SIM card, placing them in a dry location. Before setting the iPhone aside to dry, inspect the SIM tray area for any remaining water droplets that could cause corrosion.
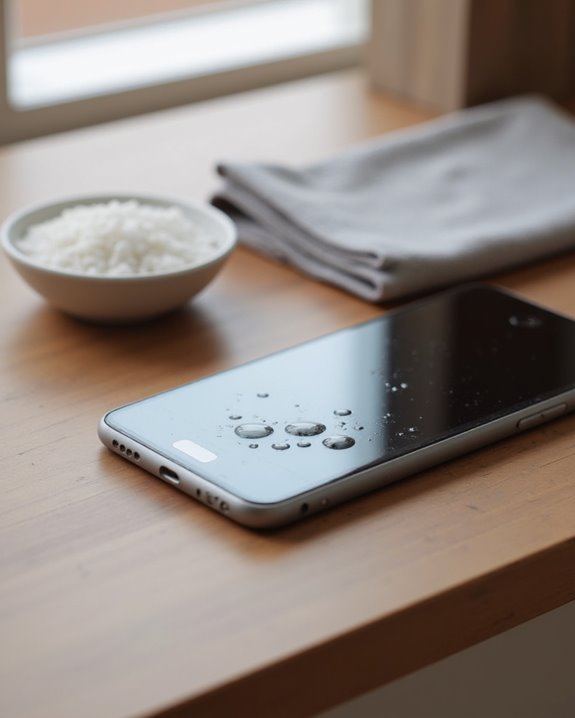
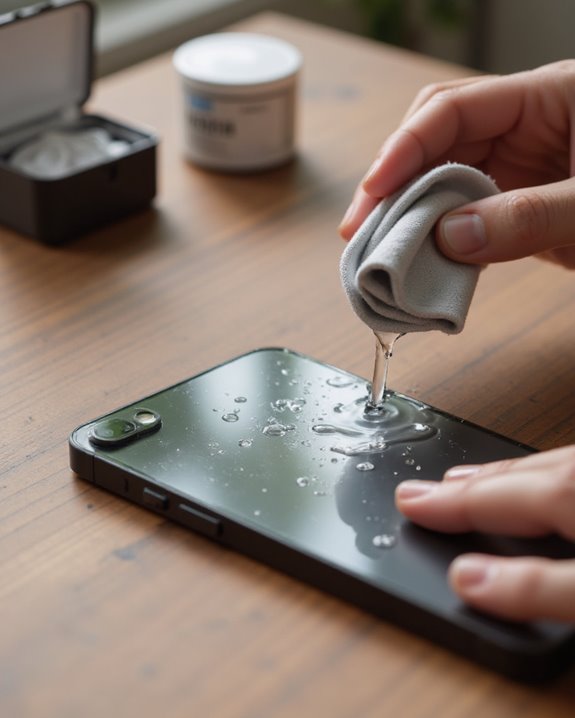
Dry External Water With Absorbent Cloth
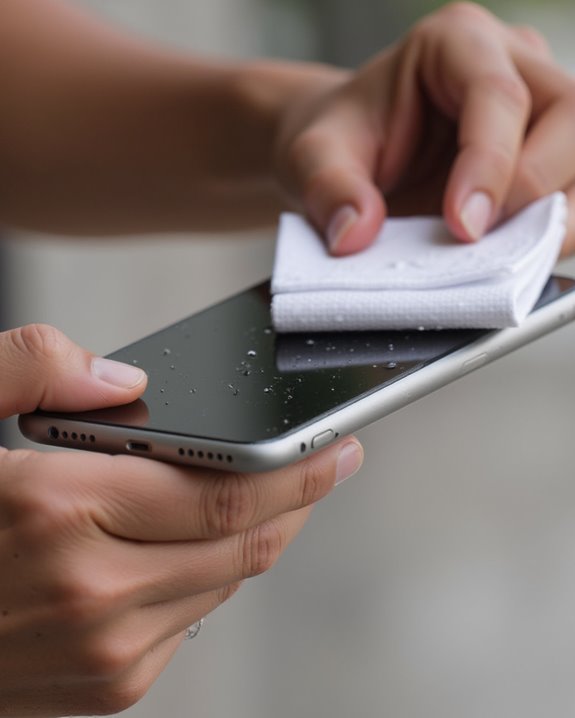
Gently dab the external surfaces of your iPhone with a soft, lint-free cloth to remove visible water immediately after exposure, focusing particular attention on critical areas like charging ports, speaker grilles, and button recesses where moisture tends to accumulate. The appropriate cloth materials include microfiber or other absorbent, non-abrasive fabrics that effectively capture moisture without leaving behind lint residue.
The patting technique is essential for moisture prevention; users should avoid rubbing motions that could potentially scratch the device’s exterior or force water deeper into openings. After the initial drying process, allow the iPhone to rest for several minutes in an upright position, permitting any remaining droplets to evaporate naturally before attempting to power on the device, particularly with water-resistant models like iPhone 11 and newer versions.
To enhance device longevity against water exposure, ensure this drying approach aligns with standards like those for IPX7 rated electronics that handle submersion effectively.
Download the Water Eject Shortcut
Accessing the Water Eject shortcut requires users to navigate to a specific link provided outside the native Shortcuts app environment, where they can efficiently download this specialized tool designed to expel water from iPhone speakers. The download speed typically depends on the user’s internet connection, though the shortcut itself is relatively small in size. Upon accessing the link, users should tap “Get Shortcut” followed by “Add Shortcut” to integrate it into their library.
User reviews consistently highlight the shortcut’s effectiveness in removing trapped moisture from speaker components without external tools. Apple regularly provides shortcut updates to maintain compatibility with newer iOS versions, ensuring best performance across different iPhone models. This method leverages precise vibration frequencies that specifically target water molecules lodged within speaker cavities.
After using the shortcut, it’s advisable to rinse with fresh water to maintain the device’s IP67 rating.
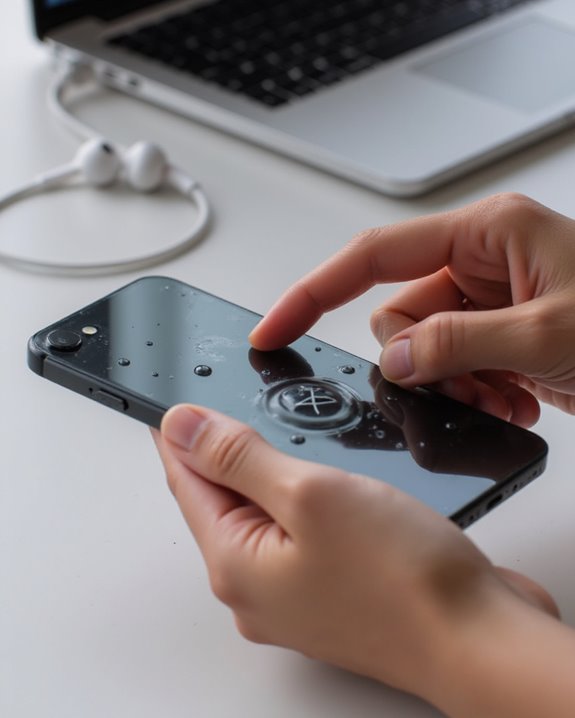
Activate the Water Ejection Process
Once the Water Eject shortcut has been successfully added to the iPhone’s shortcut library, users can proceed with the actual water removal operation. Opening the Shortcuts app provides access to the “Eject Water” option, which initiates the water removal mechanism when tapped. Users should select “Begin” on the prompt to start a brief countdown before the Eject Mechanism activates.
The Process Duration typically spans several seconds, during which the iPhone generates low-frequency vibrations at a controlled Vibration Intensity designed specifically for water displacement. These vibrations operate through the device’s speakers to expel trapped moisture without causing damage to internal components. The process continues until manually terminated by pressing “Stop,” allowing users to extend the ejection cycle if water remains in the device’s ports or speaker chambers.
Maximize Volume for Better Results
Turning the iPhone’s volume to its maximum setting greatly enhances the water ejection process by increasing vibration intensity. The volume benefits are significant, as higher audio levels generate stronger low-frequency vibrations from the speakers, creating more force to expel trapped moisture effectively. Users should understand that these vibration techniques rely on sound waves to physically push water out from speaker cavities and ports.
Audio precautions should be considered when implementing this step, as the device will emit loud tones during the ejection cycle. Expert analysis shows that submaximal volume settings produce weaker vibrations, potentially leaving residual water inside the device. For best results, users must verify volume is set to 100% before initiating the Water Eject shortcut, as this maximizes the mechanical displacement needed to thoroughly remove liquid from sensitive speaker components.
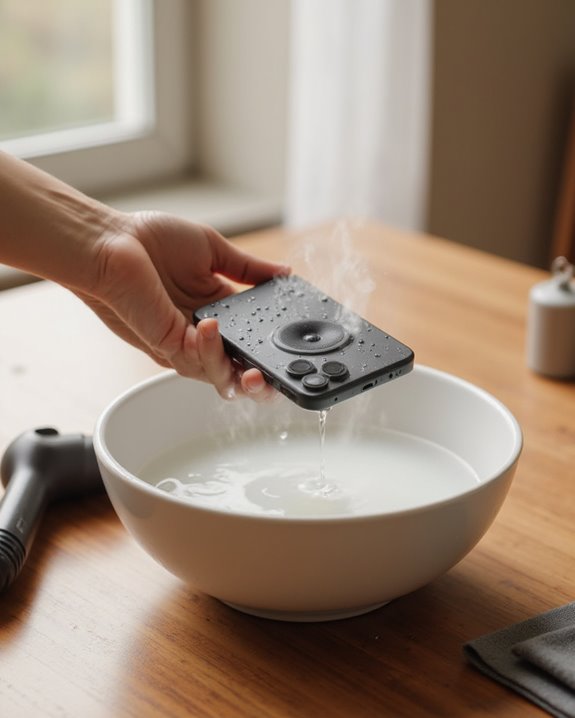
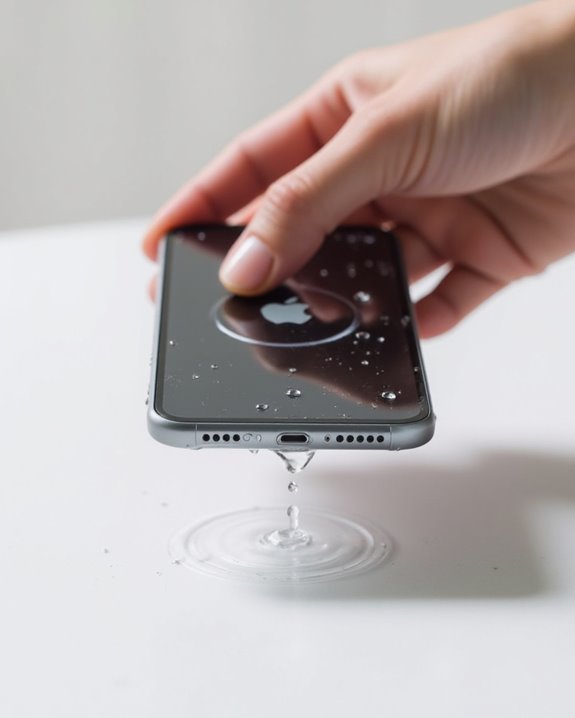
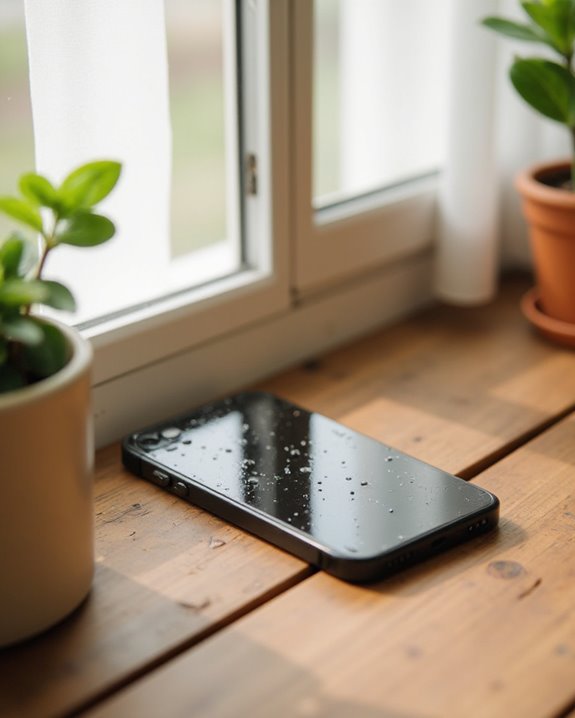
Position Your Iphone for Optimal Drainage
Proper positioning of the iPhone plays a crucial role in facilitating effective water drainage after exposure to moisture. Users should place the device with speakers facing downward, utilizing gravity positioning to naturally guide water out of the device’s ports and crevices. This orientation leverages physical forces to expedite the removal of unwanted liquid from internal components.
For ideal angle placement, position the iPhone upright or at a slight incline on a flat, dry drainage surface, preferably in a well-ventilated area near air conditioning units to enhance evaporation. This setup complements water ejection methods while preventing additional moisture infiltration. Avoid enclosed drying methods such as rice, which Apple explicitly discourages, and instead maintain the device in an open-air environment to prevent dust contamination while allowing unrestricted airflow around all surfaces.
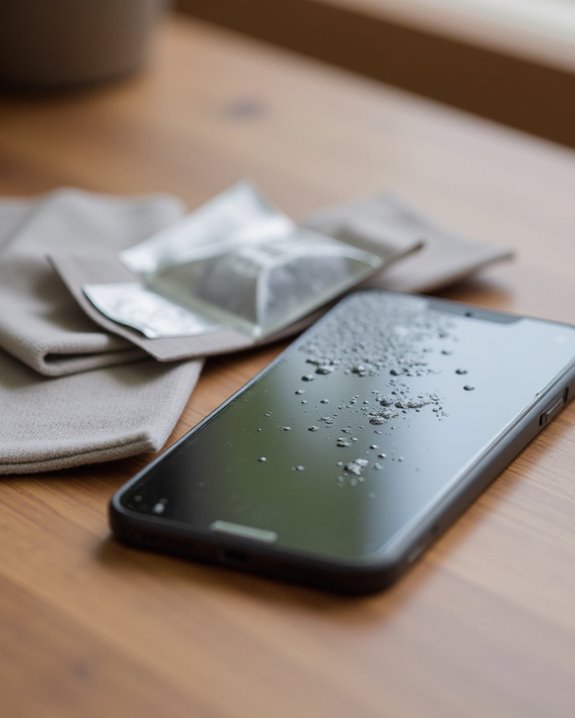
Allow Natural Air Drying in Ventilated Area
Natural air drying represents the most effective method for recovering an iPhone from water exposure. After turning off the device, users should place it in a well-ventilated location, such as near an air conditioning unit, where consistent airflow can effectively evaporate trapped moisture. Ventilation benefits include accelerated evaporation and reduced risk of internal component damage, particularly when the case and SIM card are removed to maximize exposure to circulating air.
Drying duration should extend for a minimum of overnight, though community experience suggests 24-48 hours produces best results. Users should resist the temptation to power on or charge the device during this period. Airflow alternatives such as positioning near a gentle fan or air conditioner outperform traditional remedies like rice, which Apple explicitly discourages due to potential risks of dust particles entering and damaging internal components.
Check Speaker Functionality
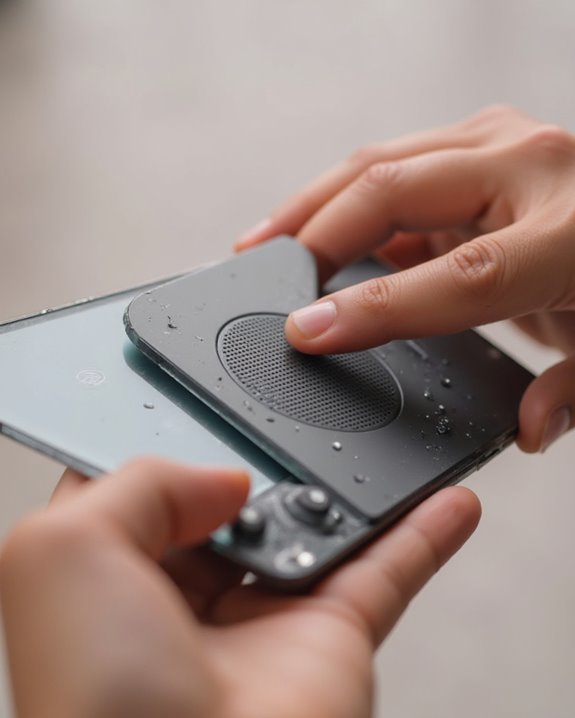
Once the iPhone has undergone thorough drying, evaluating speaker functionality becomes a critical diagnostic step to determine if water damage persists. Users should play a familiar song through the built-in Music app at maximum volume, establishing a baseline for normal audio performance through systematic speaker testing.
Audio diagnostics should include listening for telltale signs of moisture, such as crackling, distortion, or reduced volume during playback. Additionally, conducting a test call enables thorough sound analysis, as the recipient can verify voice clarity from the device. If abnormalities are detected, residual water may still be present within the speaker components. After utilizing water removal techniques like the Water Eject shortcut, users should observe if sound quality improves and monitor for any visible moisture being expelled, confirming successful water extraction from the speaker chambers.
Back Up Your Data Before Further Use
After exposing your iPhone to water, securing your data through an immediate backup represents the most essential preventative measure against permanent information loss. Technical experts consistently emphasize this critical step before attempting any drying methods, as water damage often leads to unexpected device failure that standard warranties do not cover.
Users should explore multiple Backup Methods, including iTunes synchronization for local storage or iCloud backup for remote Data Security. Apple’s Cloud Options provide automatic safeguards against potential screen glitching, speaker malfunctions, or total system failures that commonly develop hours after initial water exposure. The backup process preserves photos, messages, settings, and application data that would otherwise be irretrievable if the device experiences progressive damage, allowing for complete data restoration to a replacement device if necessary.
Frequently Asked Questions
How to Clear Water Out of Iphone?
Like a digital lifeboat in a tempestuous sea, the Water Eject shortcut pushes moisture from iPhone speakers using vibrations. After damage assessment, users should maximize volume, run the shortcut, then allow natural drying as prevention methods.
How Do I Get Water Out of My Iphone ASAP?
Users should first perform damage assessment by checking ports and speakers. Using the Water Eject Shortcut app creates vibrations to expel moisture. Function testing confirms device recovery. Prevention strategies include waterproof cases for future protection.
Does the Iphone Have an Eject Water Feature?
Unlike the Apple Watch used by 30% of smartwatch owners, iPhones lack a native water eject feature. Feature myths persist despite verification showing no built-in solution—though innovation speculation continues around third-party shortcuts that vibrate water out.
How to Expel Water From a Phone?
To expel water from a phone, one can utilize the Water Eject shortcut, employ desiccant methods like silica gel packets, implement prevention strategies before damage occurs, or rely on natural drying in well-ventilated areas.